Adjust shelves, Adjust door(s), Reverse door – Gladiator GAWG302DRG Premier Series 30 Wall GearBox User Manual
Page 4
4
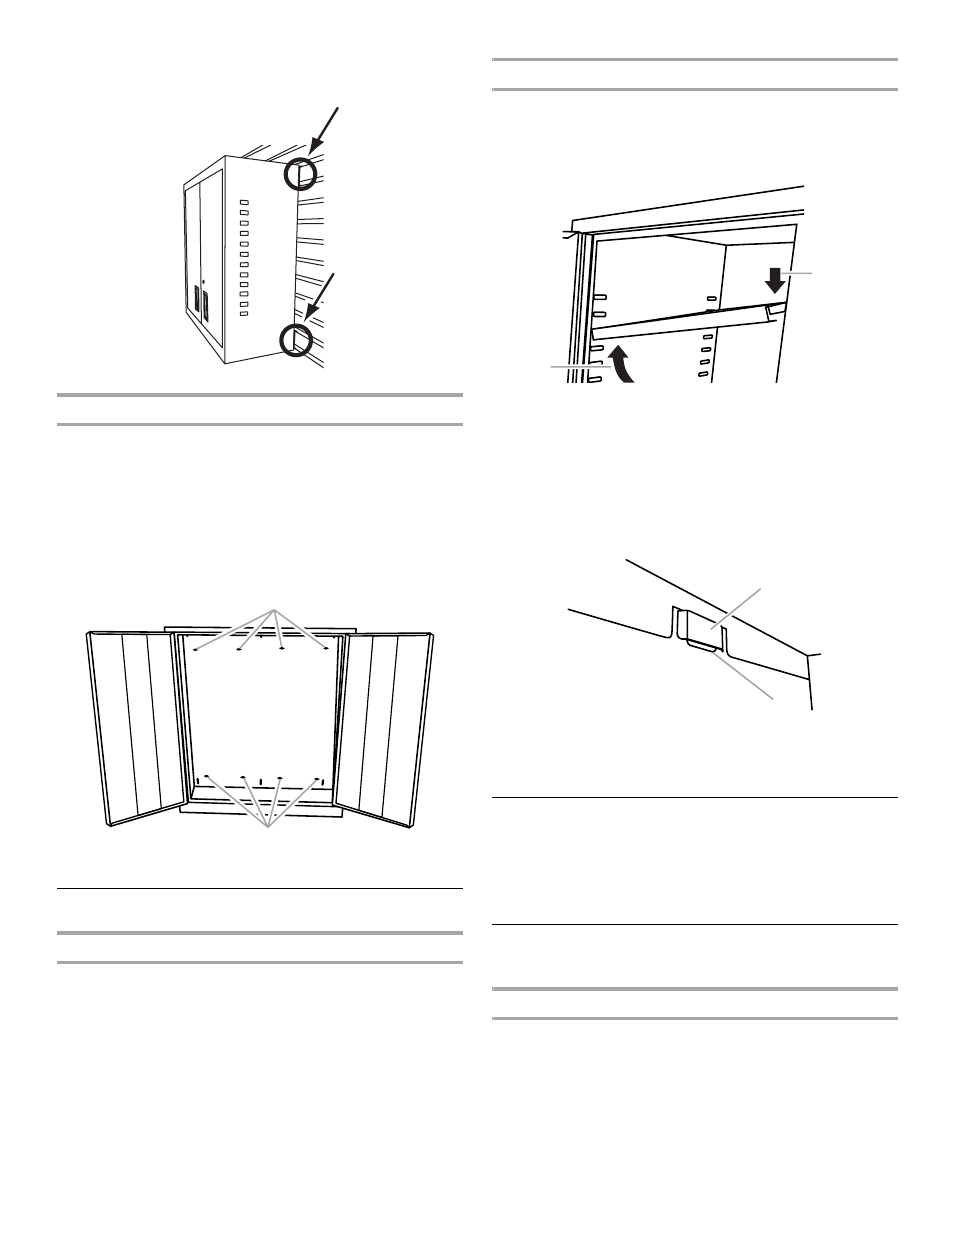
10. Inspect the cabinet from the sides to ensure both the top and
bottom wall-mounting brackets are fully engaged in their
respective slots as shown.
Install Cabinet to a Standard Wall
IMPORTANT: The round holes in the top and bottom cabinet back
panels are spaced 8" (20.32 cm) apart to allow you to mount the wall
cabinet to your garage wall studs.
1.
Locate the wood studs in your garage wall.
2.
Align two holes at the top and two holes at the bottom with the
wood studs, and mark the location of the holes.
3.
While two or more people hold the cabinet against the wall,
attach the wall cabinet to the garage wall using
¹⁄₄" flat washers
and
¹⁄₄" – 20 x 1¹⁄₂" Lag screws (not provided).
4.
Using a
⁷⁄₁₆" wrench, fully tighten the screws.
Adjust Shelves
Remove the Shelves
1.
Remove the shelf clips from their shipping position on the sides
and rear of the cabinet. Working from the inside of the cabinet
and using a blunt tool, push out the plastic shelf clips. Discard
the clips.
2.
Lift up on the underside of the shelf until the shelf tabs are free of
the cabinet slots.
3.
Tilt the shelf up to reposition it within the cabinet or to remove it
from the cabinet.
Replace the Shelves
NOTE: Plan your shelf heights and install shelves starting from the
bottom. The shelves are supported by the metal tabs on the back
and side walls of the cabinet.
1.
Determine the placement of the shelves.
2.
Tilt the shelf so that one end is higher than the other as shown.
3.
Insert the shelf into the cabinet so that the higher end is directly
above the desired slots and push the shelf down in place behind
the side slots.
4.
Raise the lower end so it is directly above the desired slots and
push the shelf down.
NOTE: Make sure the shelf tabs are in place behind all the slots,
as shown.
5.
Repeat this process for the other shelf.
Adjust Door(s)
The cabinets are designed with adjustable door(s).
1.
Using a Phillips screwdriver, loosen all screws attaching the
hinge to the cabinet.
2.
Adjust door to the desired height.
3.
Tighten the screws.
Reverse Door
(24" [60.96 cm] wall cabinet only)
Style 1 - Magnetic Latch
1.
Using a Phillips screwdriver, remove all the screws attaching the
door hinge to the cabinet.
2.
Place the magnetic strip in desired location on the opposite side
of the cabinet.
NOTE: Permanently affix the magnetic latch to the cabinet by
removing the paper backing from the adhesive and firmly
pressing it to the cabinet.
3.
Using the screws removed in Step 1, reattach the door hinge to
the opposite side of the cabinet.
A. Holes for standard wall mounting
A
A
A. Push down
B. Lift up
A. Slot
B. Shelf tab
A
B
A
B