Chapter 1: hardware installation, Chapter 2: driver installation, Chapter : driver installation – Freecom Tough Drive Custom User Manual
Page 8
EN
1
Freecom ToughDrive Custom
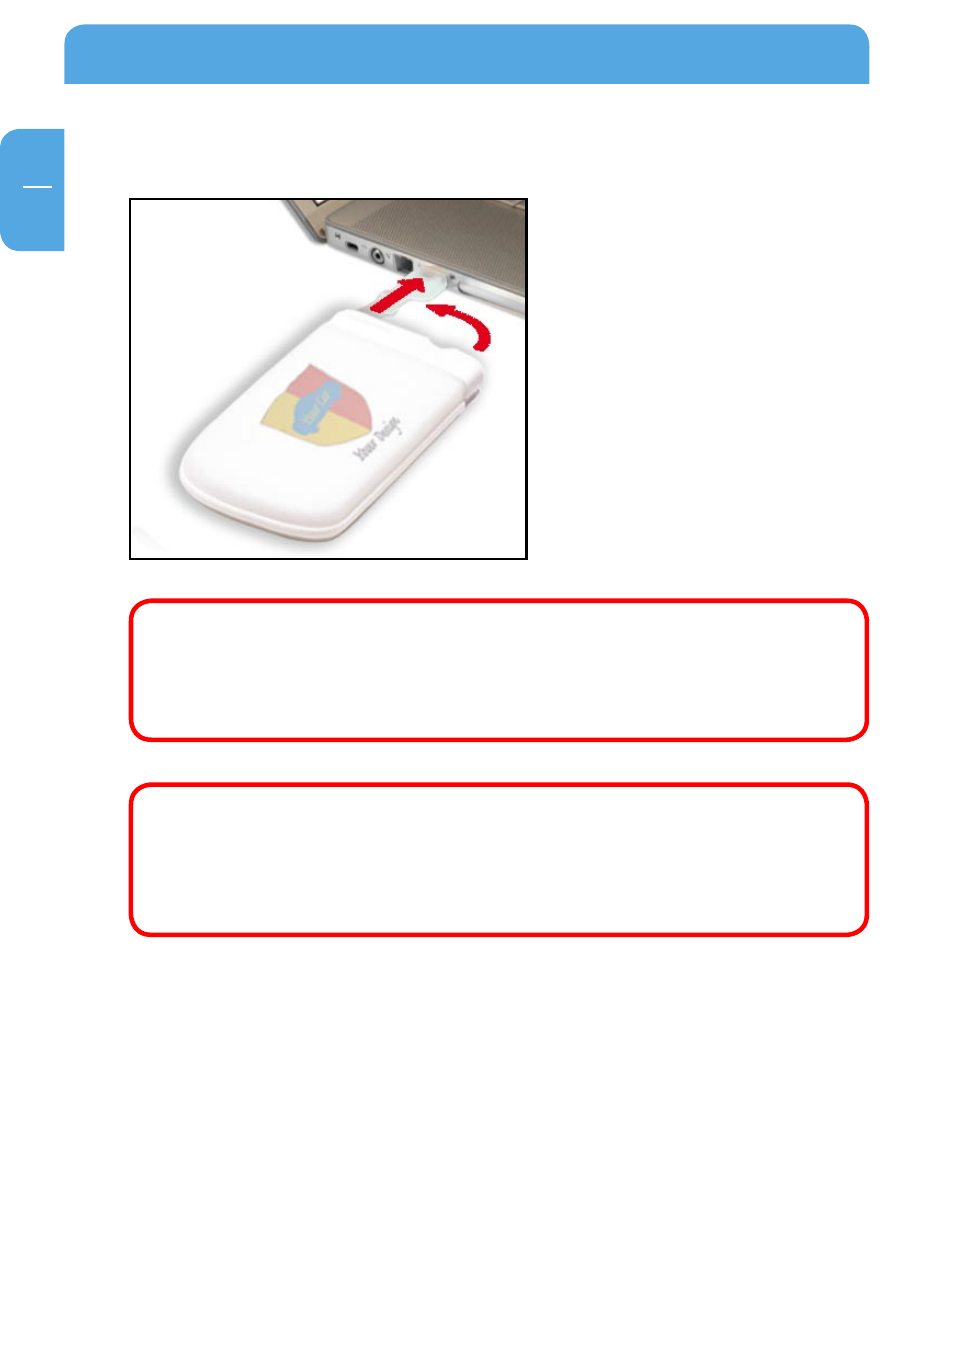
Chapter 1: Hardware Installation
Connect the interface cable to the
Freecom ToughDrive Custom.
Since USB .0 is backwards compatible with USB 1.1, the Freecom Tough-
Drive Custom can be connected to all USB ports. When connected to a USB
1.1 port, however, the performance (data transfer rate) of the Freecom
ToughDrive Custom will be much lower than when the drive is connected
to a USB .0 port.
On some computers it might occur that the USB port does not deliver
enough power to the ToughDrive Custom. In that case, you need to use
an external power supply.
For safety reasons you must only use Freecom’s Power Supply Part.No.
091. Don’t use any other power supply!
Chapter : Driver Installation
Under Windows 2000 / XP / Vista and Mac OS X a separate Freecom driver is not required.
The drivers will be installed automatically by the operating system after plugging in the
Freecom ToughDrive Custom into the USB port of the computer.