Flowserve BTV 2000 Lined Butterfly Valve User Manual
Page 13
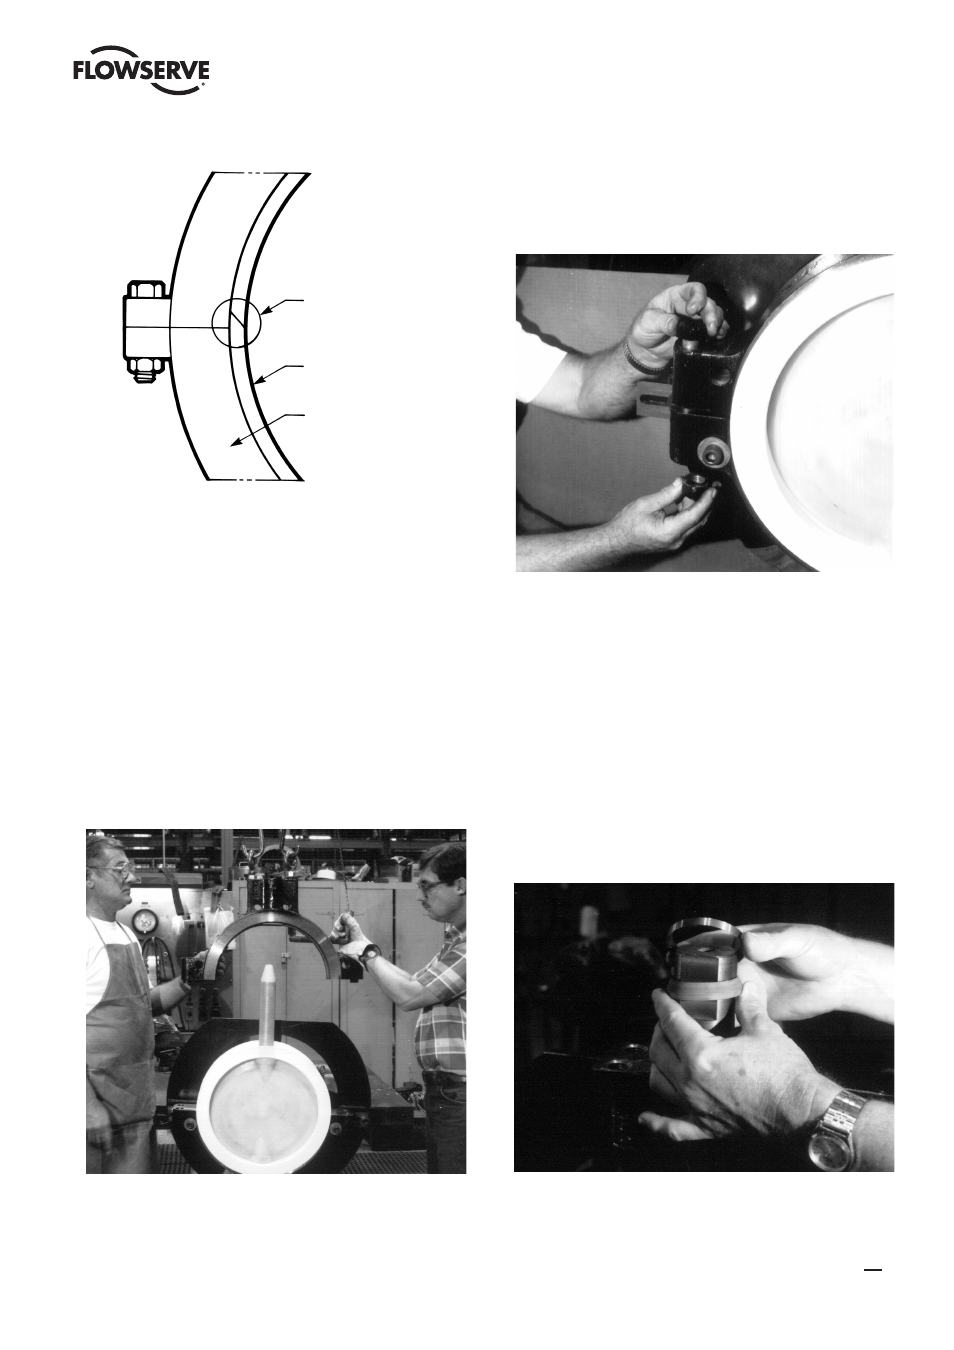
Trim the seat
energizers to length
per
instructions in Step
6
and firmly push the
energizer into the
groove in the body.
8.
All Sizes
Remove the liner
stem seal die from
the
long stem of the disc.
Slide the disc stem
body guide (repair
tool item 4) over the
long stem making
sure that the end of
the
body guide covers
the
liner stem seal neck.
Orient the top body
half so that when put together with the bottom half, the
counterbored bolt holes will line up with the body bushings
(1C) in the bottom half. The DURCO logo on the top body
half should be on the opposite side of the bottom half when
bolted together. Carefully lower the top body half over the disc
stem and push firmly in place (Figure 17). The gap between
the body halves should be approximately 1/4” when properly
assembled.
Figure 17
9. All Sizes
Install the four body bolts (1A) and finger tighten the nuts
(1B) maintaining an even gap between body halves (Figure
18). See note – Table 6.
Figure 18
10. All Sizes
There are two individually packaged stem packing kits
on all sizes (except for 2” and 3” which only have one).
The packing sets are calibrated for stack height so it is
very important not to mix parts between kits. Locate the
top stem packing kit. This kit has a packing gland (5) with a
large hole bored through for the disc stem. Place the rubber
stem compression ring (9) into the top body stem bore with
the conical end facing upward, away from disc. Next place
the stem wedge ring (8) into the stem bore with the flat side
upward, away from the disc (Figure 19). The conical end
of the stem compression ring is designed to mate with the
conical bore in the wedge ring. Using the stem seal push
rod (repair tool item 2), push the compression ring and
wedge ring to the bottom of the body stem bore (Figure 20).
Figure 19
Figure 20
11. All Sizes
Next, place the bearing (7) over the disc stem and push
it into the body stem bore. Do not use excessive force to
prevent damage to the bearing. Using the stem seal push
rod, push the bearing to the bottom of the body stem bore.
If necessary, use a hammer and lightly tap on the stem seal
push rod to push the bearing into position. The 18” - 24”
sizes have two bearings. Install the second bearing in the
same manner. Next place the metal shims (15) on top of
the bearing. Slide the spring (6) over the stem and into the
13
BTV/BUV 2000
- BUV 2000 Lined Butterfly Valve McCANNA General Purpose Threaded MARPAC General Purpose Threaded Cartridge Seals 582 Mixerpac 2561 Mixerpac 2562 Mixerpac 579 Mixerpac 2563 Mixerpac 2564 Mixerpac 591 Mixerpac 581 Mixerpac 587 Mixerpac ML-200 Mixerpac 2577 Mixerpac 2554 Mixerpac 588 Mixerpac 585 Mixerpac Seal Gard Circpac MD Nordstrom Dynamic Balance Plug Valve and Double DB Plug Valve Serck Audco Super-H Plug Valve Serck Audco Twin Isolation Plug Valve Serck Audco Double Isolation Plug Valve Serck Audco Standard Type Plug Valves 51 Series 52 Series