Troubleshooting fault cause remedy, Fault cause remedy, Maintenance and cleaning – Dexaplan TA 603 User Manual
Page 2: Disposal, Warranty, Service, Activating / deactivating alarm functions
o Place the switching key R in the switching lock W and turn it to
ON position.
o Pull the switching key out of the switching lock. The arrow mark
points towards the ON position and the LED lights up green for
approx. 12 - 18 sec. During this time you may leave the room.
The alarm function is activated as soon as the illuminating diode is
switched off. During the delay time after the door has been opened,
the illuminating diode lights red for 12 - 18 seconds. If the door alarm
is not deactivated within this period, the alarm signal will sound and
the illuminating diode will switch off. The alarm signal sounds for up to
90 seconds. During this period, the alarm signal can be switched off
only with the switch key.
- Deactivating the alarm function
o Place the switching key in the switching lock and turn it to OFF
position. The alarm is switched off.
o Pull the switching key out of the switching lock. The arrow mark-
ing points towards OFF position.
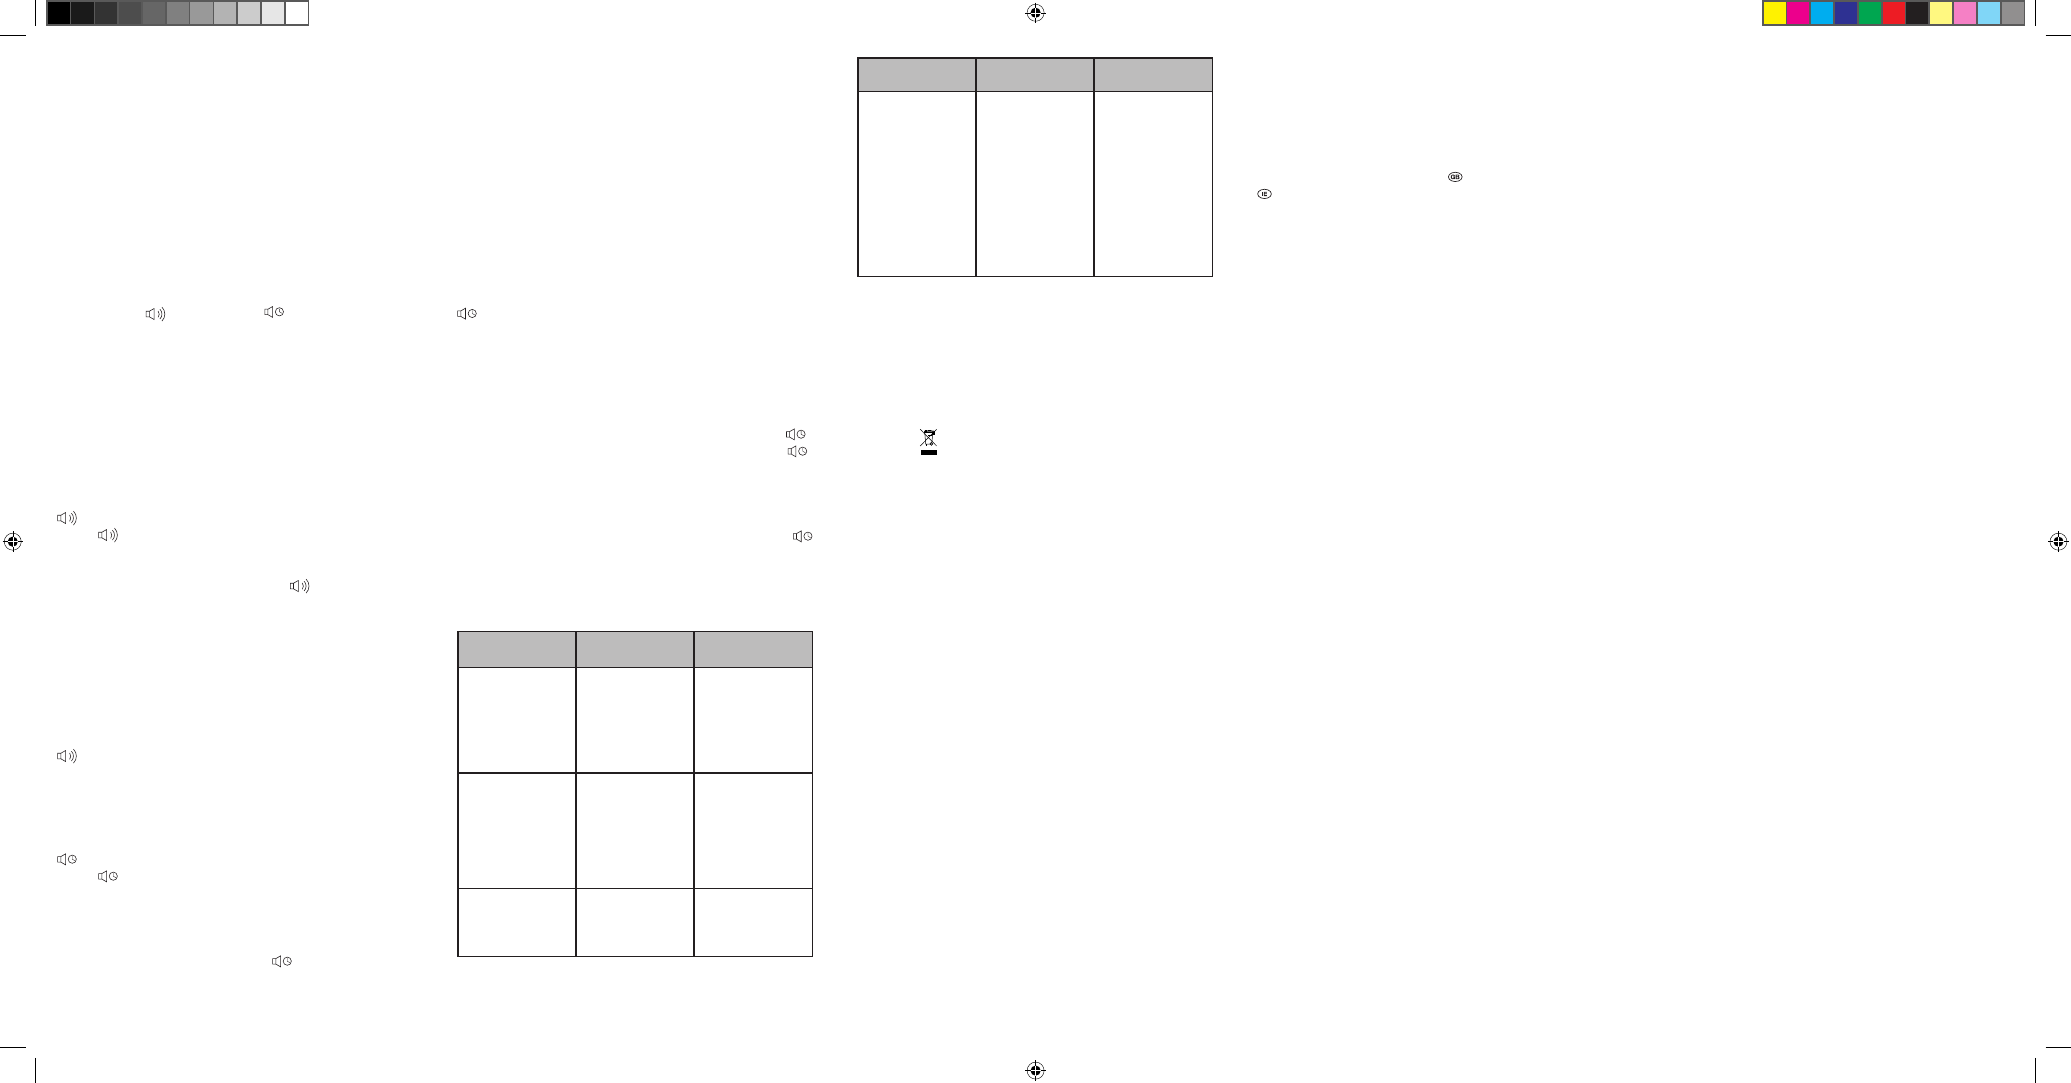
Overview of LED indications
Green LED 12 - 18 sec: the period when the delayed alarm is activated
..
Red LED 12 - 18 sec: the period for deactivation of the delayed alarm
Flashing green:
alarm has responded.
Flashing red:
if the alarm function is deactivated:
the batteries must be replaced.
Flashing green / red
alternately:
The period for deactivating the delayed alarm
Alarm was signalled.
Troubleshooting
Fault
Cause
Remedy
The alarm functions
cannot be deacti-
vated.
The switching keys
are missing.
Remove the batteries
from the battery com-
partment and contact
the service office for
your country.
The alarm function
is activated but
does not respond
when the door is
opened.
The distance between
the magnet and the
magnet switch is too
large (or the arrow is
pointing in the wrong
direction).
Reduce the distance.
The alarm signal
is weak and the
LED flashes red.
The batteries have
run out.
Insert new batteries.
Fault
Cause
Remedy
The device does
not work or does
not work properly.
- The batteries
have run out.
- The batteries are
inserted with the
wrong polarity.
- The arrow on the
magnet is not
pointing to the
mark on the
alarm unit.
Insert new batteries.
Check that the batter-
ies have the correct
polarity and make
contact.
Maintenance and cleaning
o Check the technical safety and function of the device regularly.
o Remove the batteries before cleaning the device.
o Use a fluff-free cloth and a mild agent (no solvents) to clean the
plastic and metal surfaces.
Disposal
Dispose of packaging materials, used batteries and worn out devices
at a local authority approved disposal facility.
In accordance with European Directive 2002/96/EC (covering waste
electrical and electronic equipment) and its transposition into national
legislation, worn out electrical devices must be collected separately
and recycled. Take out the batteries before you dispose of electrical
devices. As the end user you have a duty to recycle or properly dispose
of your used batteries. Batteries must not be disposed of with the
household refuse.
Warranty
This device has a warranty of 3 years from the date of purchase. The
device was manufactured with care and inspected thoroughly before
delivery. Please keep your receipt as proof of purchase. If you have a
claim under the warranty, please contact the service office for your
country. This is the only way to ensure that your device can be sent in
free of charge.
This warranty is only valid for the first purchaser and is not transferable.
The warranty furthermore covers material or manufacturing defects
only. It does not apply to wear parts or damage to fragile parts, e.g.
switches or batteries. The product is solely intended for private use
and not for commercial use. No claim for damages may be made in
the event of a burglary. An alarm is no substitute for insurance cover
and does not replace your duty of care.
In the event of incorrect and / or improper handling, the use of force or
any work on the device that is not performed by the service office, the
warranty shall expire. This warranty does not restrict your statutory rights.
Service
Information on dealing with problems can be found under
www.dexaplan.com.
If you have any questions, please contact our service office by email
([email protected]) or by telephone (
T
0870 - 241 3029;
T
1890 851 851; Monday - Friday between 8.30 and 17.00). Here
you will find all necessary information on service questions such as returns,
etc.
Dexaplan GmbH
Paul-Böhringer-Str. 3 · D - 74229 Oedheim
Last Information Update 10 / 2006 · Ident.-No.: 10-2006-TA 603-GB / IE
o Remove the fastening screw U of the battery compartment lid I
in an anti-clockwise direction.
o Draw the battery compartment lid from the door alarm.
o Insert two new LR03 1.5 V (AAA) batteries into the battery com-
partment with correct + and - alignment.
o Pin the battery compartment lid on the door alarm.
o Tighten the battery compartment lid fastening screw U by turning
it clockwise.
Activating / deactivating alarm functions
You can set two different alarm functions on the door alarm:
Immediate alarm
and delayed alarm
..
The magnetic sensors of the activated door alarm react as soon as
the distance to the magnet becomes greater than approx. 15 mm.
When the alarm responds, the loud alarm signal is emitted for approx.
90 sec. After the alarm has been triggered, the LED P lights up green.
As soon as the door is closed completely again, the alarm function is
reactivated.
o To change the operating mode, first switch the key to the “OFF”
position and then to “ON” to activate the function.
o Do not leave the switching key in the switching lock when the
alarm function has been activated.
- Activating the alarm function
Use the
- alarm function so that the door alarm emits the alarm
signal immediately when the door is opened.
o Close the door completely.
o Switch the function switch E to position
.
o Place the switching key R in the switching lock W and turn it to
ON position.
o Pull the switching key out of the switching lock. The arrow mark
points towards the ON position.
o The illuminating diode is switched off.
The alarm signal is triggered when the door is opened. The alarm sig-
nal sounds for up to 90 seconds. During this period, the alarm signal
can be switched off only with the switch key.
- Deactivating the alarm function
o Place the switching key in the switching lock and turn it to OFF
position. The alarm function is deactivated.
o Pull the switching key out of the switching lock. The arrow mark
points towards OFF position. The LED is switched off.
- Activating the alarm function
Use the
alarm function so that the door alarm can be deactivated
alarm function so that the door alarm can be deactivated
with the switching key approx. 12-18 sec after the door has been
opened. If the door alarm is not deactivated within this period of time,
the alarm signal is emitted to indicate that the door has been opened.
o Close the door completely.
o Set the function switch E to position
..
KOE362_T82_GB.indd 6-10
25.10.2006 13:27:21 Uhr