Battery installation – Baja Motorsports WD400-U Assembly Guide User Manual
Page 9
9
Battery Installation
note: The following page is for vehicles with battery’s containing separate electrolyte pack. Most
batteries will come with the electrolyte already sealed into the battery.
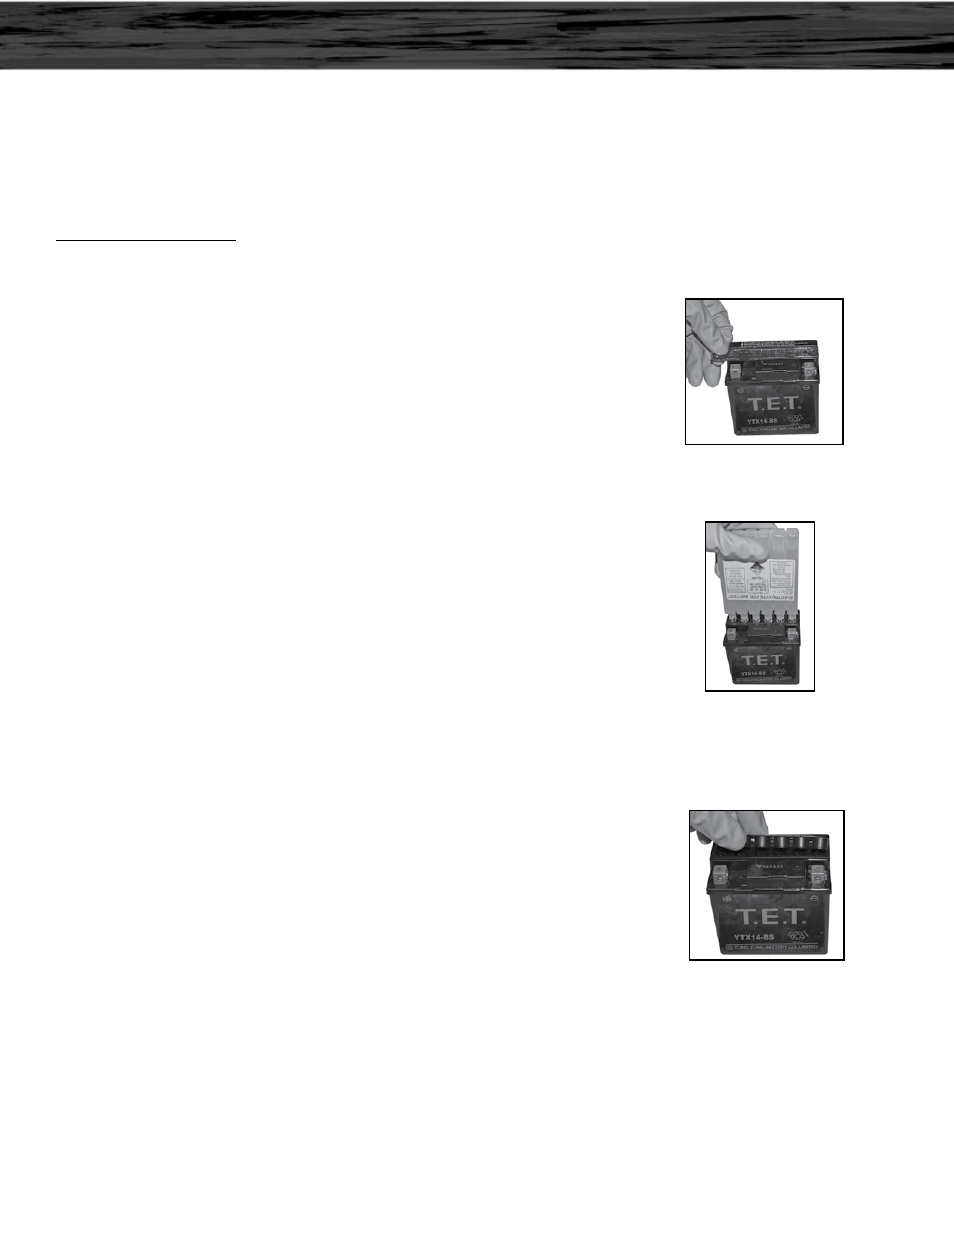
Preparing the battery:
· Place battery on level surface. Remove sealing tape from top.
(see figure 20)
· Take the electrolyte container out of the plastic bag.
· Place electrolyte container upside down with the sealed silver
mouths of the electrolyte bottles in line with the six filler
holes of the battery. (see figure 21)
· Push the container down strongly enough to break the silver
seals.
· As electrolyte starts flowing into battery, air bubbles will
come up from the mouths of the plastic electrolyte bottles.
· leave bottles upside down in battery holes until electrolyte is
completely drained.
· never leave children unattended around battery.
· If air bubbles cease to float to the top of the electrolyte
bottles, tap lightly on top.
· DO nOT remove container from battery while it is draining.
· never cut or pierce electrolyte container.
· After all the electrolyte has drained from the bottles into
the battery, pull plastic electrolyte bottles gently out of the
battery.
· Discard empty electrolyte bottles in a waste area that is
inaccessible to children and animals.
· After filling, let battery stand for at least 30 minutes before
charging. This allows the electrolyte to penetrate plates for
optimum performance and ensures longer battery life.
· After 30 minutes the battery is ready for its initial charge.
Place cap strip loosely over the filling holes as shown in the
picture. (see figure 23)
Figure 20
Figure 21
Figure 23