TelVue AdCaster User Manual
Page 10
login
psgadmin
password
psgadmin
Figure 2.9: The default login and password for the AdCaster web app.
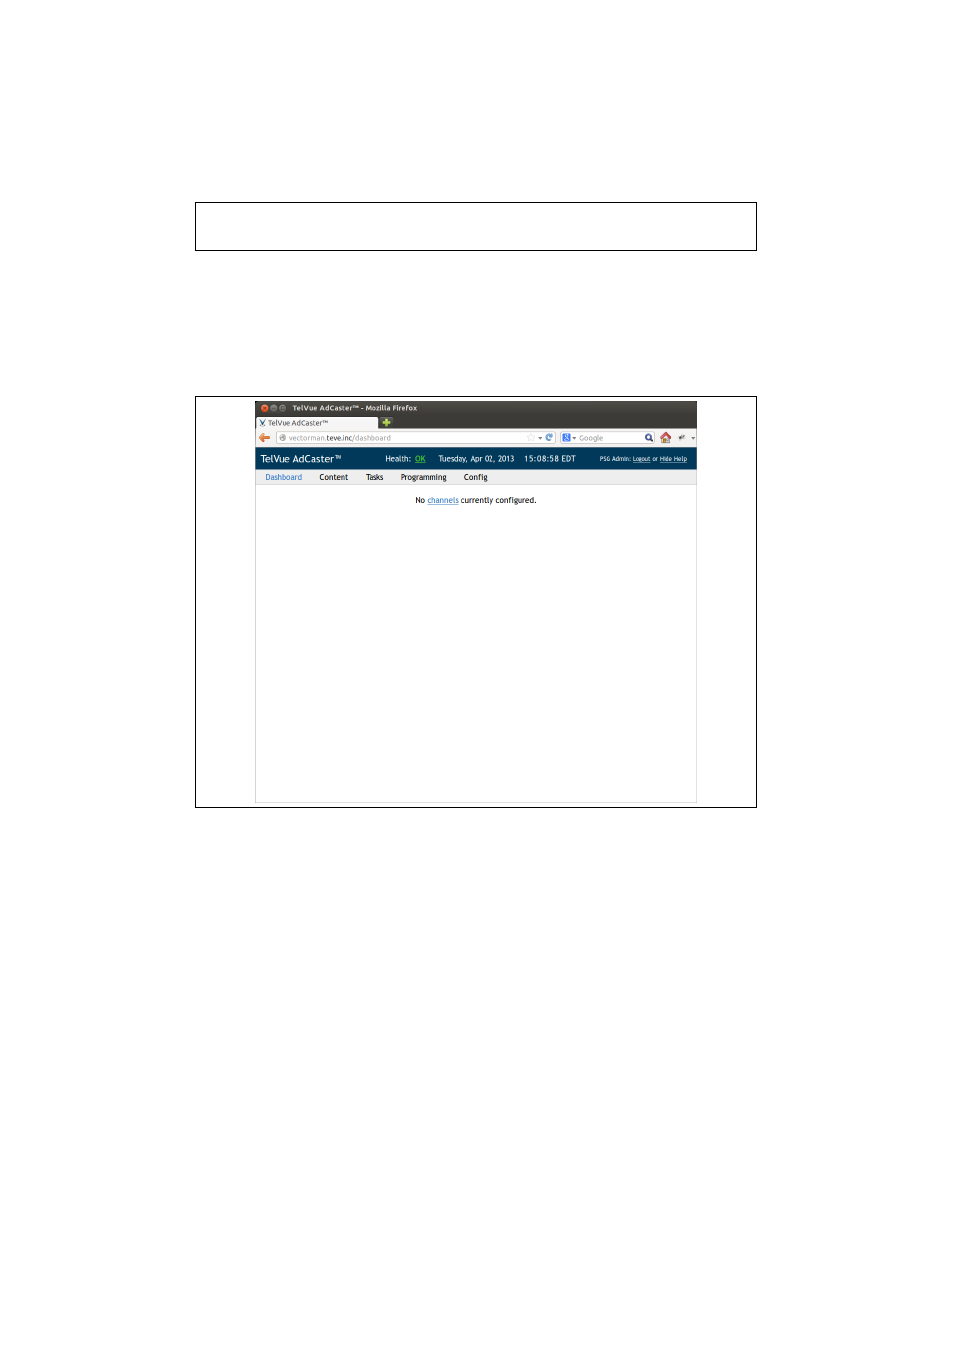
Once you have logged into the web application you will be presented with
the default dashboard. See figure 2.10 for details. Since this is a new unit it
will tell you that there are no channels configured on the system. Configuring
splicers and channels is covered in chapter 3.
Figure 2.10: The dashboard display on a new AdCaster unit. Note that no
channels have been configured yet.
To continue with the network configuration click on the “Config” tab at
the top of the screen under the date display. Once you are on the configuration
screen click on “Server”, then “Network” located on the left hand side bar. This
will bring you to the screen shown in figure 2.11.
Once you are on this screen you can make network configuration changes,
such as setting up eth1 for use on the video network. Click on the “Edit”
button below the interface table. This will take you to the edit screen shown in
figure 2.12. You can choose either DHCP or static configuration. Once you are
satisfied with the configuration press the save button to commit your changes.
After you have saved your changes, if you will be using Multicast on your
video network, click the ”Route All Multicast” link next to the edit link for
whichever eth device you have hooked to the video network (most likely your
eth1 device.) Once this step is complete you are ready to begin setting up
9