Brennenstuhl Illuminated House Number Solar Power SH 4000 User Manual
Page 19
Solar Powered SH 4000
Brennenstuhl
User's Handbook
Version: S-P_11_2006
19
Step
Operation
Description
3 Drill
mounting
holes
DANGER: When drilling and installing screws, take care to
avoid damaging electricity cables and gas and water pipes. This
could lead to severe injuries and damage.
NOTE: The fastening materials included in the pack are
suitable for direct mounting to brick or concrete walls. If the
substrate is other than these, suitable fastening materials must be
obtained from an appropriate retail outlet.
Drill two mounting holes (6 mm diameter) in the substrate and insert
the plugs included in the pack.
4 Mount
rear
panel
Secure the rear panel to the substrate with the screws supplied.
TIP: Use a spirit level to adjust the rear panel so that it is level.
5 Affix
the
house number
See Section 7.2
6
Install battery
See Section 7.3
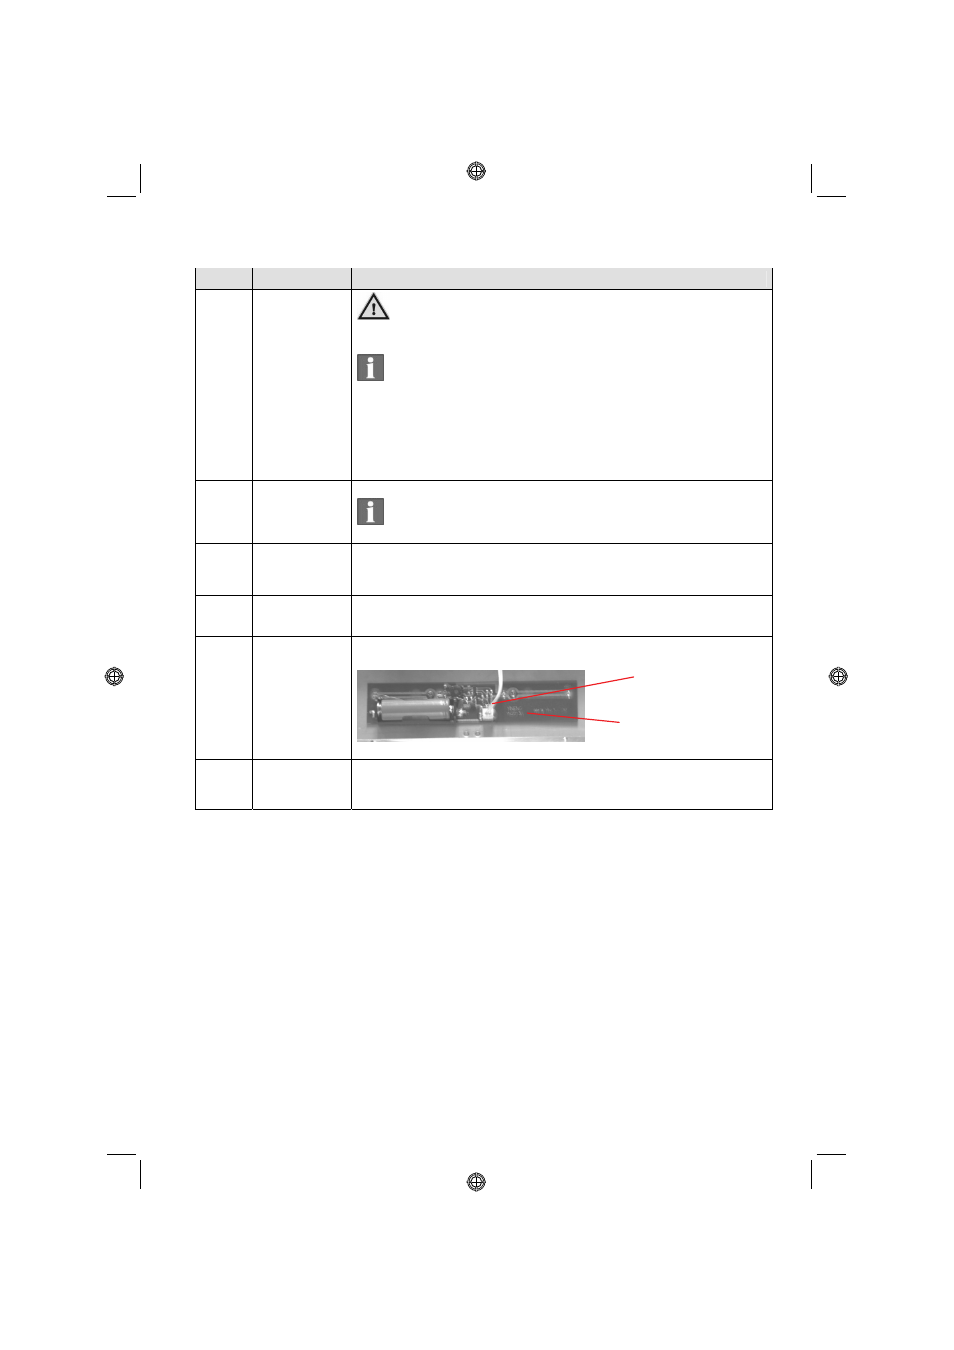
7 Connect
solar
cell to circuit
board
Plug the connecting lead into the socket in the printed circuit board.
8
Fit the house
number light
With a small Phillips-type screwdriver, install the screws [11] on the
underside of the house number light.
On completing the installation, remove the protective foil from the solar cell
Period of illumination:
Dull days: up to 5 hours
Sunny days: over 9 hours
3
6
0415880 Solar_Hausnr_SH 4000-Dru19 19
0415880 Solar_Hausnr_SH 4000-Dru19 19
22.02.2007 15:41:32
22.02.2007 15:41:32