Atlona AT HDPIX User Manual
Page 10
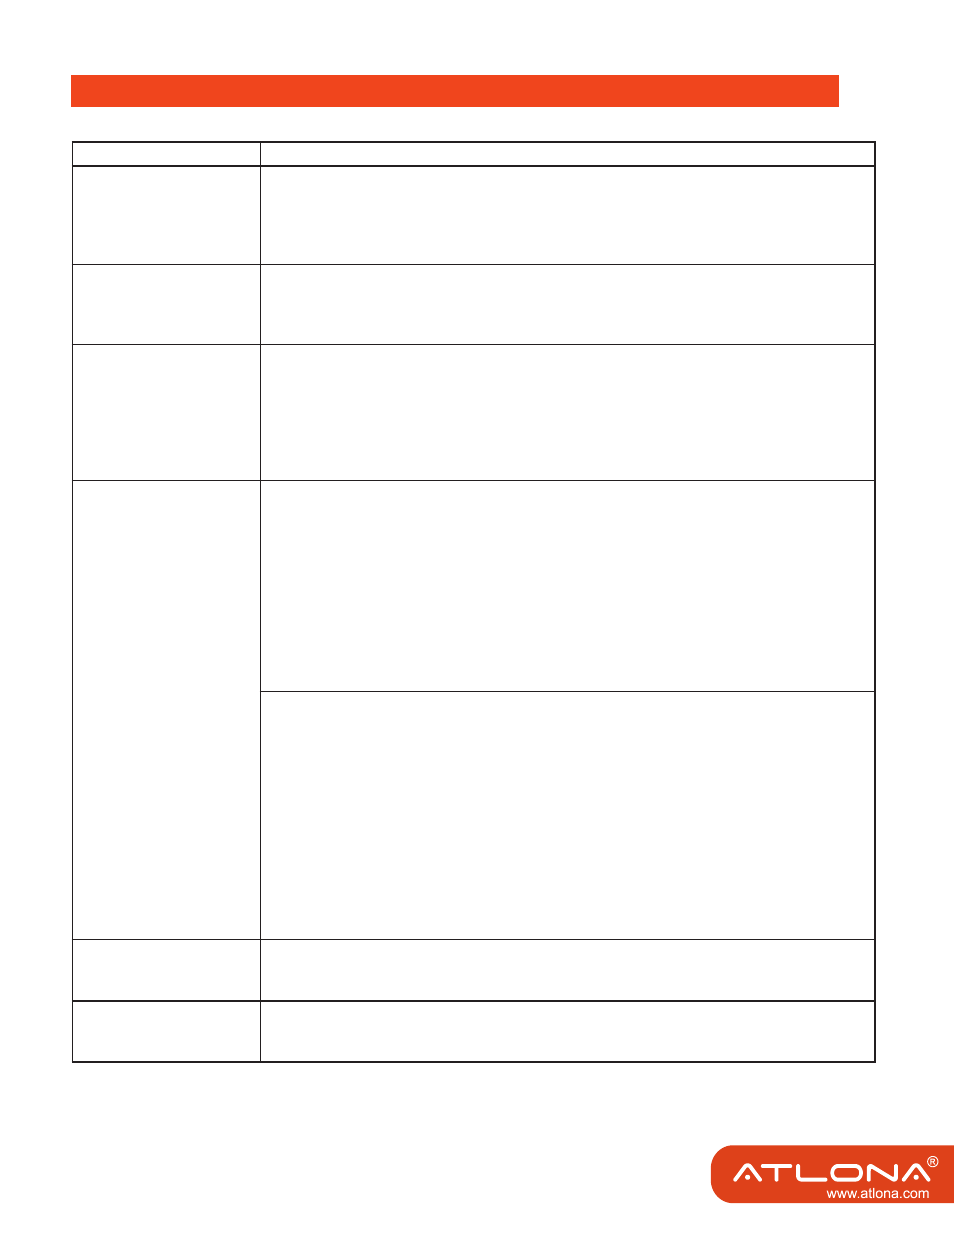
HDPiX Troubleshooting guide
Problem
Solution
If your HDPiX doesn’t turn
on after being plugged in
try the following:
a. Turn of all Programs that are running (i.e. Internet Explorer, Microsoft Word) and re-
connect the HDPiX
b. If you have an Antivirus running, disable it and reconnect the HDPix. Once the HDPiX
connects turn the Antivirus program back on.
c. Leave the HDPiX plugged in and restart the computer.
If the screen on the
TV/Monitor
connected
through the HDPiX keeps
flashing:
a. If you are using a notebook, make sure the power plug is connected to the laptop.
b. Adjust the power setting on your notebook to maximum performance.
c. Make sure the HDPiX is connected directly to your computer and not through a USB
hub.
If your screen freezes
during viewing video or
other programs this might
be due to hardware over-
lays. In order to turn hard-
ware overlays do the fol-
lowing:
a. First, you can set your media player to disable overlays. In Windows Media Player,
you do this by following Tools => Options => Performance => Advanced. There are two
checkboxes here to turn overlays on or off. One is for DVDs and the other is for every-
thing else.
b. You can also set Windows to disable hardware overlays. For Windows XP, right click
on your desktop and click Properties => Settings => Advanced => Troubleshoot and
move the slider all the way to the left. This will stop all overlays, system-wide.
If the screen on your TV/
Monitor is cutoff on the
edges follow these steps:
a. Mirrored Mode:
1. Windows XP: Click Start => Control Panel => Display => Settings Adjust the resolution
to 1024 by 768 and click Apply. If the screen is still cropped, change to a different resolu-
tion until one support by your TV/Monitor is found.
2. Windows Vista: Click Start => Control Panel => Personalization=> Display Settings.
Adjust the resolution to 1024 by 768 and click Apply. If the screen is still cropped, change
to a different resolution until one support by your TV/Monitor is found.
3. Mac. Click on the Apple Icon on the top left corner => System Preferences => Dis-
plays.
Adjust the resolution to 1024 by 768 and click Apply. If the screen is still cropped, change
to a different resolution until one support by your TV/Monitor is found.
b. Extended Mode:
1. Windows: Click on the HDPiX Icon on the bottom right corner of the screen => Screen
Resolution. Adjust the resolution to 1024 by 768 and click Apply. If the screen is still
cropped, change to a different resolution until one support by your TV/Monitor is found.
2. Mac: Click on the Apple Icon on the top left corner => System Preferences => Dis-
plays. Select the TV/Monitor that’s connected through the HDPiX. Adjust the resolution
to 1024 by 768 and click Apply. If the screen is still cropped, change to a different resolu-
tion until one support by your TV/Monitor is found.
For advanced Users only:
The EDID Switch on the HDPiX when left ON, allows your HDTV/Monitor to communicate
supported resolutions to your computer. This switch should be left ON unless a desired
resolution is not listed when attempting to adjust the resolution of the screen. Turning the
EDID switch to OFF allows the HDPiX to render any resolution up to 1600 by 1200.
Displaylink icon does not
appear in the task bar
manager
Restart the computer and reconnect the usb cable
Screens flash after in-
stall, wont stop.
If continues flashing, update graphic driver and check the manufacture website for lat-
est version. Update display link software. Check website for latest
version.
8