Installation and calibrating of the balance – American Weigh Scales (AWS) AL-311 User Manual
Page 8
8
AL-Series Manual
2. INSTALLATION
2.1. Part List
Balance . . . . . . . . . . . . . . . . . . . . . . . . . . . . . . . . . . . . . . . . . . . . . . . . . . . . . .1 pc.
200g Calibration Weight . . . . . . . . . . . . . . . . . . . . . . . . . . . . . . . . . . . . . . . . . . . .1 pc.
Weighing Pan . . . . . . . . . . . . . . . . . . . . . . . . . . . . . . . . . . . . . . . . . . . . . . . . . .1 pc.
AC Power Cord . . . . . . . . . . . . . . . . . . . . . . . . . . . . . . . . . . . . . . . . . . . . . . . . . .1 pc.
Extra Fuse . . . . . . . . . . . . . . . . . . . . . . . . . . . . . . . . . . . . . . . . . . . . . . . . . . . . .2 pc.
Instruction Manual . . . . . . . . . . . . . . . . . . . . . . . . . . . . . . . . . . . . . . . . . . . . . . .1 pc.
Warranty Card . . . . . . . . . . . . . . . . . . . . . . . . . . . . . . . . . . . . . . . . . . . . . . . . . .1 pc.
2.2. Unpacking
Carefully unpack the balance and remove it from its styrofoam supports. You may want to keep the original
box and packing materials for storing the balance when not in use.
If the balance is damaged contact the supplier immediately. Keep all packing materials as they were when
you received them.
2.3 Setting Up the Balance
1. Remove any tape used to hold the glass doors shut during shipping.
2. Set the metal draft shield into place around the platform mounting area.
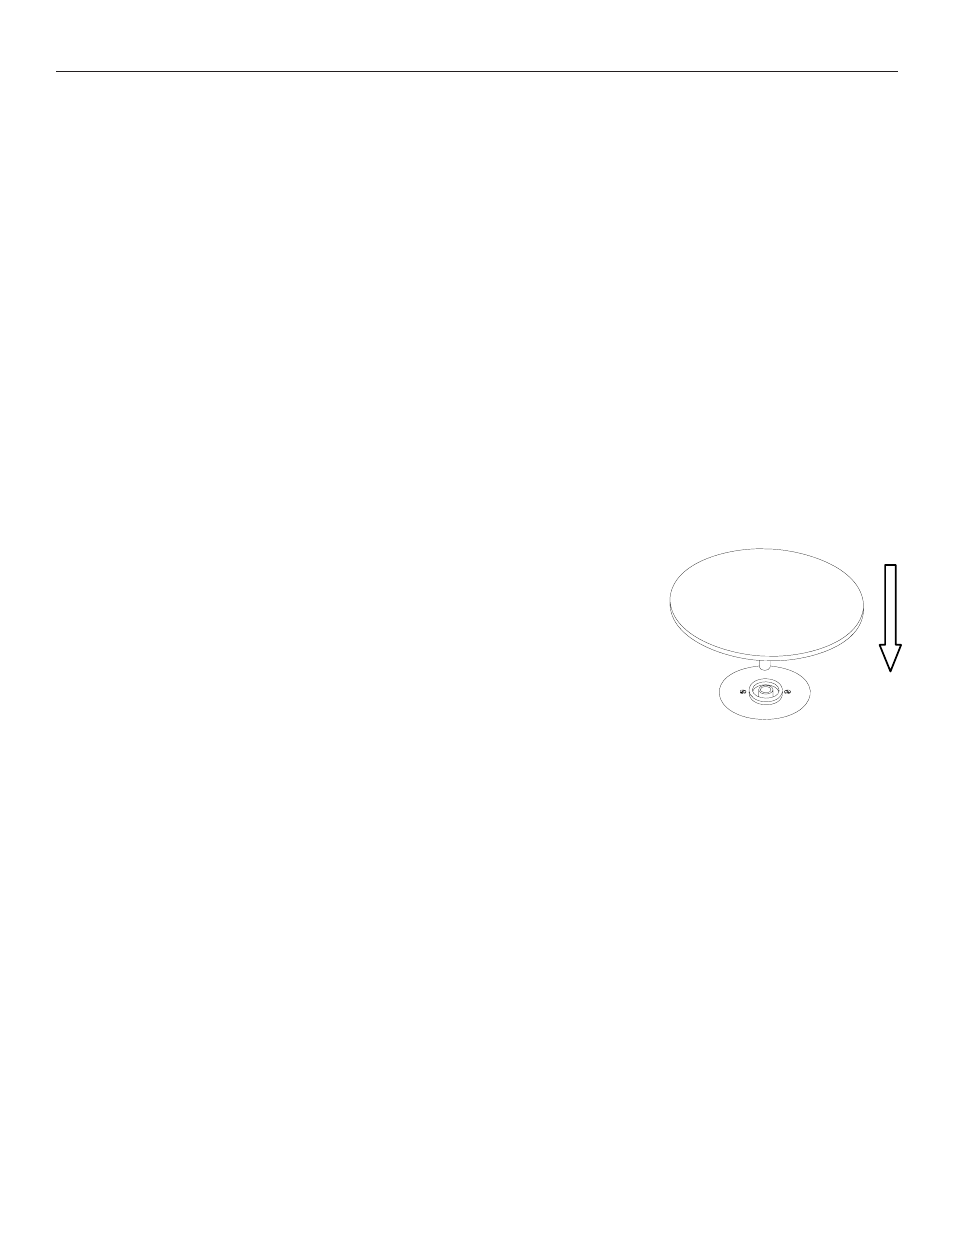
3. Now place the weighing pan onto its mount carefully.
4. Adjust the two leveling feet until the bubble on the bubble level is
centered.
5. Close all draft shield doors securely.
2.4 Turning on the Balance and Self-testing
1. Connect the power cord to an available wall socket and then into the balance
Note: For the AL-201S model there is just an AC mains plug, no external adapter.
2. Press the ON / OFF key to turn the display on. A self-test will be performed (30 seconds), including a
display test.
3. Once the display shows “0.000g” or “0.0000g” the balance is ready to use.
4. To turn the display off, press the ON / OFF key. The balance will continue to use a low current to keep the
electronics warmed up for quicker start-up times.
2.5. Underweighing
This balance is equipped with an underweighing feature that allows you to suspend items from an
attachment below the balance. To use this feature, the balance should be supported in a way that allows the
items to hang below the scale. This feature is useful for procedures such as specific gravity calculations.
IMPORTANT NOTE: The balance should be warmed up (ie. plugged in) for at least 3 hours before use for
accurate results.
Installation and calibrating of the balance
5
Section two --Installation and calibrating of the balance
1
ˊ
Unpacking the Balance and Checking up the accessories
Unclose the package; take out the balance and its accessories. Check
up whether there is any damage. If yes, please contact the supplier at once,
and keep the packaging material for necessary.
2
ˊ
Setting up the balance
Check the state of the glass door;
Put the weighing pan onto its seat carefully;
Adjust the two leveling feet in the front
of the balance until the bubble is in the center; (picture 2)
Properly shut down the three glass doors.
3
ˊ
Turning on the balance and self-test
Connect the cable to the balance; verify that the voltage printed on it
corresponds to the local mains voltage, then plug AC adapter into the
socket and press “ON/OFF” to turn on the balance. A self-test will be
performed (30 seconds), including a display test, when 0.000g appeared in
the display, it can be used.
The balance should be warmed-up more than 3 hours for accurate
measurement.