2 installing an optional qsfp transceiver – Agema AG8032 User Manual
Page 13
10
• Installation
Chapter 3
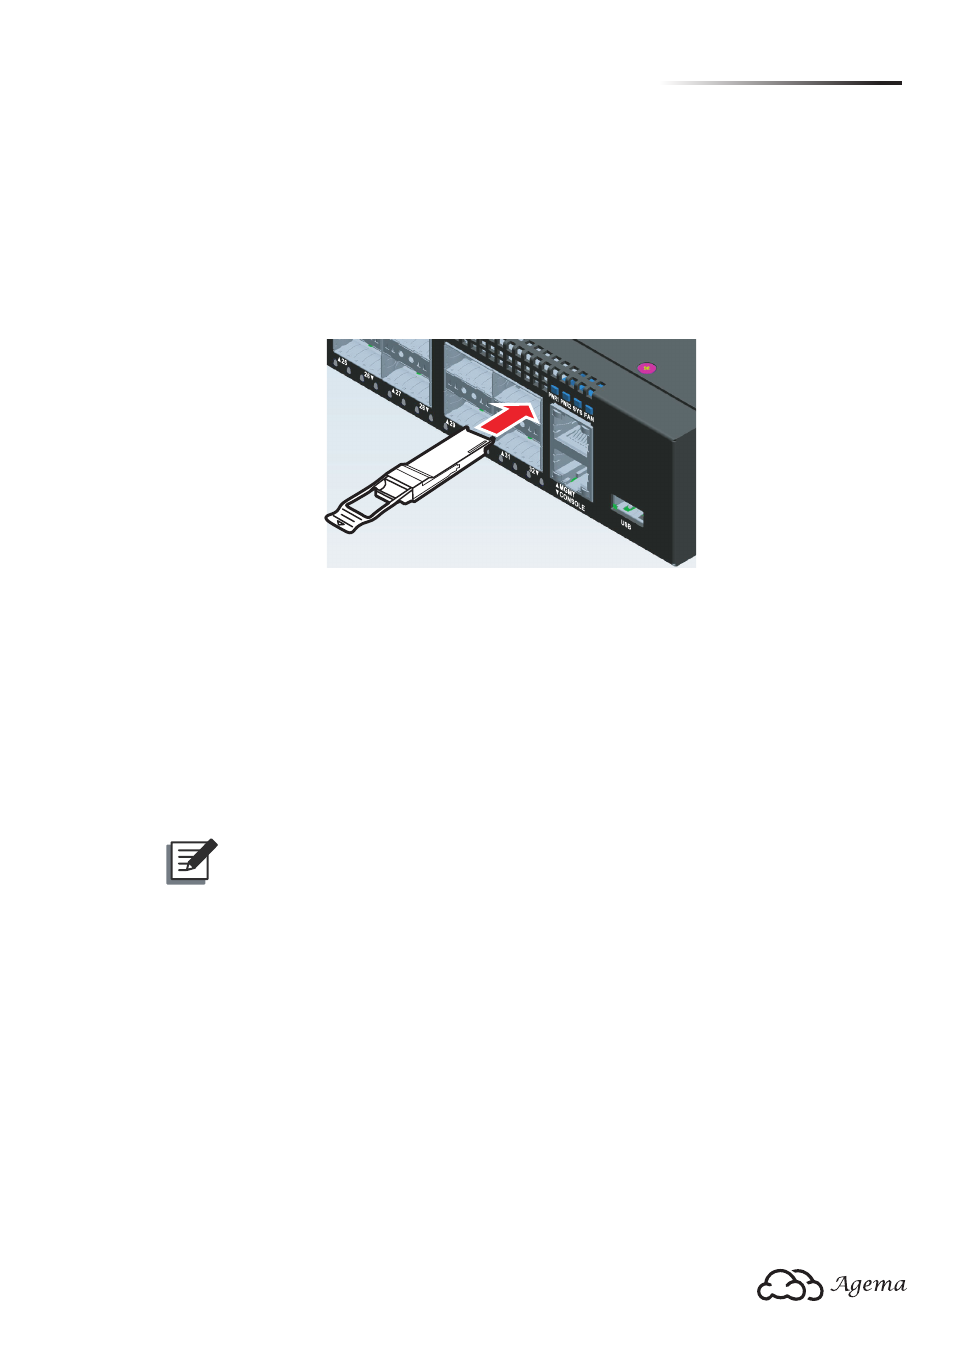
3.2 Installing an Optional QSFP Transceiver
The QSFP slots support the following optional QSFP transceivers:
•
40GBASE-CR4 DAC
•
40GBASE-SR4 DAC to 4 x SFP+ 10GBASE-CR DAC
•
40GBASE-LR4
•
40GBASE-SR4 to 4 x 10GBASE-SR
(Figure 3-4: Inserting a QSFP Transceiver into a Slot)
To install a QSFP transceiver, follow these steps:
1. Consider network and cabling requirements to select an appropriate QSFP transceiver
type.
2. Insert the transceiver with the optical connector facing outward and the slot connector
facing down. Note that QSFP transceivers are keyed so they can only be installed in one
orientation.
3. Slide the QSFP transceiver into the slot until it clicks into place.
NOTE:
•
QSFP transceivers are hot-swappable. The switch does not need to be
powered off before installing or removing a transceiver. However, always
first disconnect the network cable before removing a transceiver.
•
QSFP transceivers are not provided in the switch package.
• Split QSFP+ Ports to SFP+ Ports
: The AG8032 also supports splitting a
single 40G QSFP+ port into four 10G SFP+ ports (up to 104 10G ports)
via the breakout cables. Do consult your software provider for port mode
change and configuration.