Attaching to the grinder, Warning – Weston Cuber/Tenderizer Grinder Attachment User Manual
Page 6
-7-
-6-
ATTACHING TO THE GRINDER
BE SURE TO FOLLOW ALL SAFETY WARNINGS AND PRECAUTIONS
THAT ARE CONTAINED IN YOUR GRINDER INSTRUCTION MANUAL
BEFORE USING THE CUBER/TENDERIZER ATTACHMENT WITH THE
ELECTRIC GRINDER! NEVER LEAVE MACHINE UNATTENDED!
1. ALWAYS disconnect the grinder from the power source before attaching the
Cuber/Tenderizer.
2. Unscrew the head locking knob (turn counter-clockwise) on the electric grinder
until the end of the threads are no longer protruding into the grinder output housing.
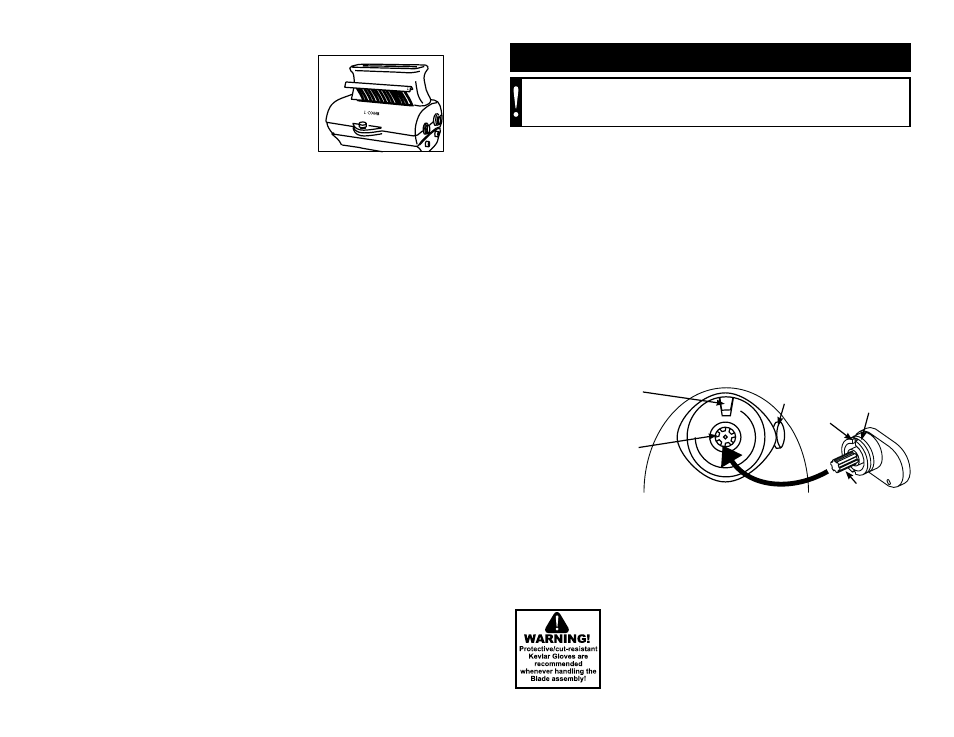
3. Line up the grinder pin with the
Grinder Adapter notch on the Cuber/Tenderizer.
Line up the
Shaft Adapter splines with the grinder output housing. Figure 4
NOTE: You may have to reposition the Cuber/Tenderizer Shaft splines so that
they match up with the grinder output shaft. Make sure the grinder head locking knob
lines up with the groove on the electric grinder adapter.
4. Once the
Cuber/Tenderizer Attachment is properly positioned on to the electric
grinder, tighten the grinder head locking knob.
Figure 4
Shaft Adapter
Notch
Cuber/Tenderizer
Attachment
Grinder
Head Locking
Knob of Grinder
Grinder Pin
Output Shaft
Splines
Shaft Adapter
Splines
Groove
7. Insert the
Left Comb and Right Comb into
the
Top Housing. Figure 3 NOTE: The Left
Comb is marked with an “L” on the upper portion
of the
Comb. The Top Housing is marked with
an “L Comb” and “R Comb” to aid in
Comb
installation.
Figure 3
WARNING!
Before cleaning, assembling or disassembling the Cuber/
Tenderizer Attachment make sure the PLUG of the GRINDER IS REMOVED
FROM THE OUTLET/POWER SOURCE! ALWAYS unplug the grinder when
not in use.