TrakPower VR-1 Dual Racing Charger User Manual
Page 12
12
Step 1:
Getting Started
Set to 33-50% of pack’s
rated capacity
Set a conservative current – not too high! Set to
slightly lower than the pack’s 1C rating, to help
stabilize the early stages of the charge process.
Step 2:
Delivering Punch
Set to 50-75% of pack’s
rated capacity
Battery voltage should now be stable. A higher
current can be set (up to the pack’s 2C rating), to
help deliver “punch” for racing.
Step 3:
Beware of Heat
Set to 75-100% of pack’s
rated capacity
Reduce current to below the value in Step 2 (to
approximately 1.2-1.5C) to try and prevent the
battery from generating excess heat.
Step 4:
Stabilize for Good
Peak Detection
Set to 120% of pack’s
rated capacity
Reduce current to below the value in Step 3 to
stabilize battery voltage and allow the peak
detection circuit to work more accurately.
STEP CHARGE
SETTINGS
MAXIMUM CHARGE
CAPACITY SETTING
CHARGE CURRENT
SETTING
The Step Charge mode will automatically calculate the appropriate charge capacity and currents
for each step based on the selected model memory. If you wish to manually change the values
for each step, follow these directions.
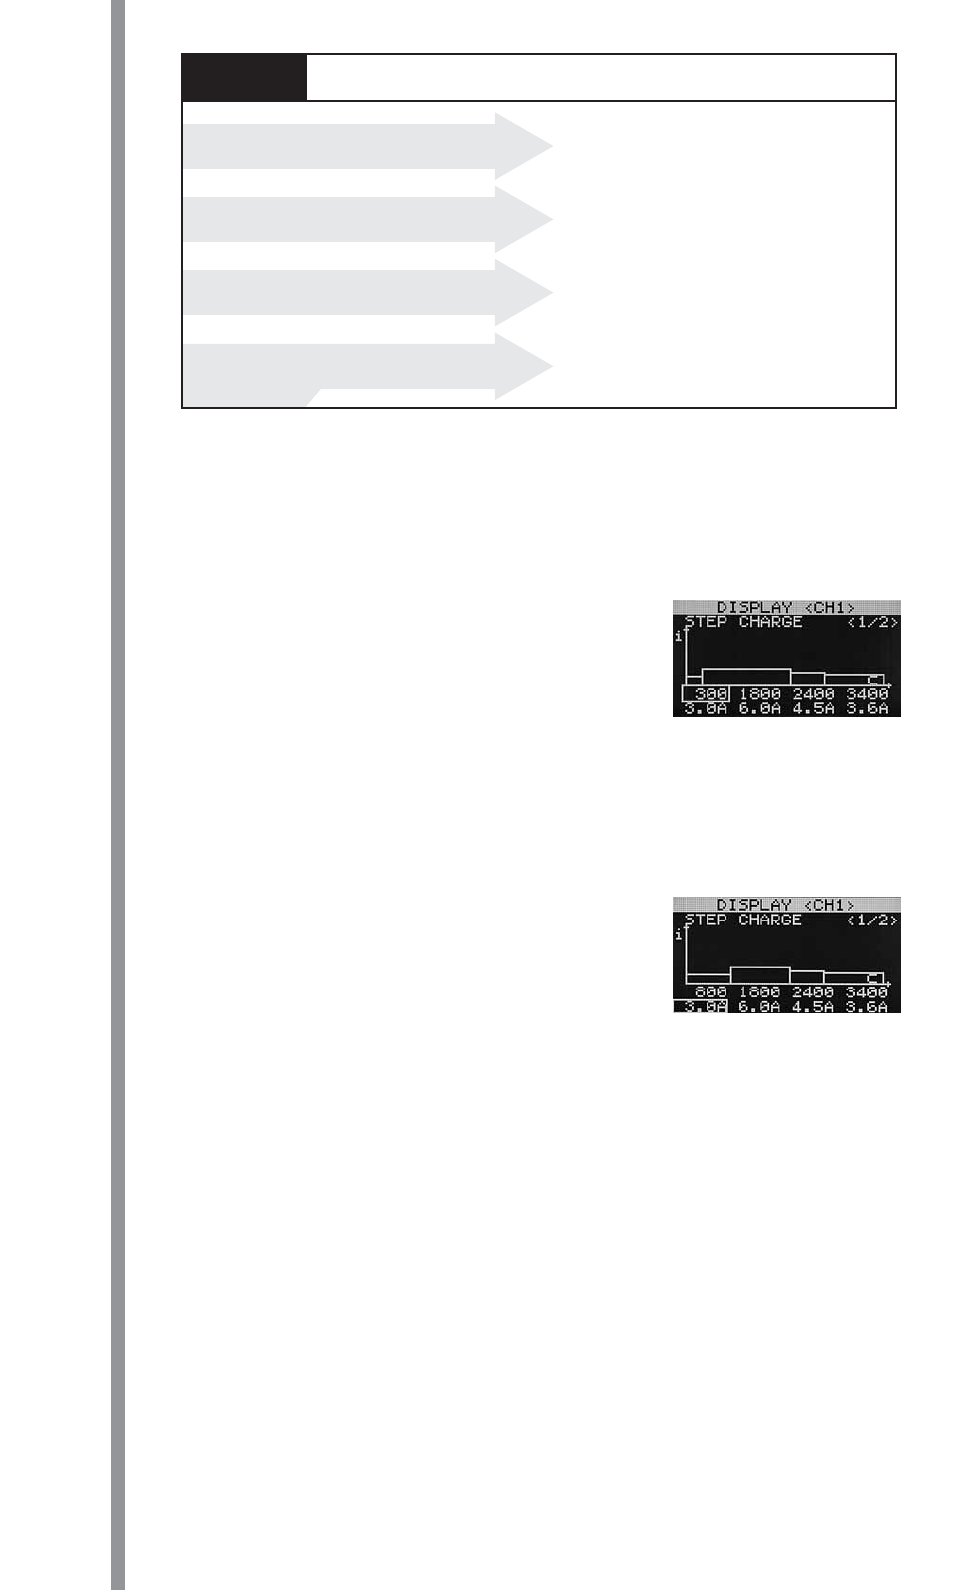
A. Rotate the dial to move the cursor down to the capacity line (just under the graph). This line
shows four different capacity values, each being the maximum capacity that will be delivered
to the battery during each of the four steps. The range for each step is:
i. Press the dial to highlight the capacity value on the
left which is for step #1. Rotate the dial to adjust this
capacity value.
ii. Rotate dial to highlight the next capacity value to the
right which is for step #2. Rotate dial to adjust this
capacity value. Repeat this step 2 more times to adjust
the capacity for steps 3 and 4.
iii. Press dial to confi rm all capacity settings.
B. Rotate the dial to move the cursor down one line to the charge current line. This line shows
four different charge current values that will be delivered to the battery during each of the four
steps. The range for each of the four steps is 0.1 to 20.0 amps.
i. Press the dial to highlight the charge current value on
the left which is for step #1. Rotate the dial to adjust this
current value.
ii. Rotate dial to select the next current value to the right,
which is for step #2. Rotate dial to adjust this current
value. Repeat this step 2 more times to adjust the
current for steps 3 and 4.
iii. Press dial to confi rm all charge current settings.
iv. Rotate the dial to move cursor down as there are 6 additional lines of features in this menu.
C. PEAK SENSITIVITY: Peak sensitivity is the same as in charge mode. Refer to the Charge Menu
section on page 7 for a description.
D. CUT-OFF TEMPERATURE: Refer to page 8.
E. TRICKLE CHARGE: Rotate the dial to place the cursor in front of this line. This sets the trickle
charge current that will be applied to the battery after fast charge ends. Press dial to highlight
the value, and rotate to select the value which ranges from 0-500mA.
F. DISCHARGE: Rotate the dial to place the cursor in front of this line. This simply instructs VR-1
to automatically discharge the battery before starting the charge process. Press the dial, then
rotate to either turn this feature “on” or “off”. The discharge current here is automatically set
to the maximum battery capacity entered in step G on page 9, multiplied by 4. For simplicity, it
is best to set this to “on” to empty the battery before starting the Step Charge process.