Super decathlon bl pnp, Introduction – ParkZone PKZ4875 User Manual
Page 2
3
4
Congratulations on your purchase of the ParkZone
®
Super Decathlon BL PNP. You will need to attach the
wing and landing gear to complete the airplane
assembly in addition to supplying your own radio system
and battery. We at ParkZone are committed to giving you
the most enjoyable flight experience possible. In order to
have a safe and successful flight, we ask that you do not
fly until you have read these instructions thoroughly.
Your Super Decathlon BL PNP already has the 3-wire
servos, a ParkZone 370 outrunner brushless motor, and
an E-flite
®
Pro 10A brushless ESC installed. The decals
have been applied as well. You will only need to add your
own battery (a 2S 800mAh Li-Po is recommended), as
well as a receiver and transmitter.
In as little as an hour, you can be ready for your first flight
with the Super Decathlon BL PNP. This means you can
spend your time refining your flying skills, not your
building skills.
Warning: Although your ParkZone Super Decathlon
BL PNP comes almost ready to fly, this aircraft is for
experienced RC pilots only and is not a toy! Misuse of
the plane can cause serious bodily harm and damage
to property. Therefore, only an experienced RC pilot
should fly it.
Introduction
Step 1 – Charging the Aircraft Battery
Step 2 – Installing the Landing Gear
Step 4 – Attaching the Wing
Step 3 – Installing the Receiver
Super Decathlon BL PNP
®
We recommend that you choose the 800mAh 2S
Li-Po (PKZ1032) to power your Super Decathlon BL PNP.
The Li-Po battery must be charged with a charger that
is specifically designed to handle Li-Po batteries, such
as the ParkZone 2- to 3-cell Li-Po Charger (PKZ1040).
Regardless of the battery you choose, always follow the
charger and battery instructions to avoid any damage to
the battery, charger, property or yourself.
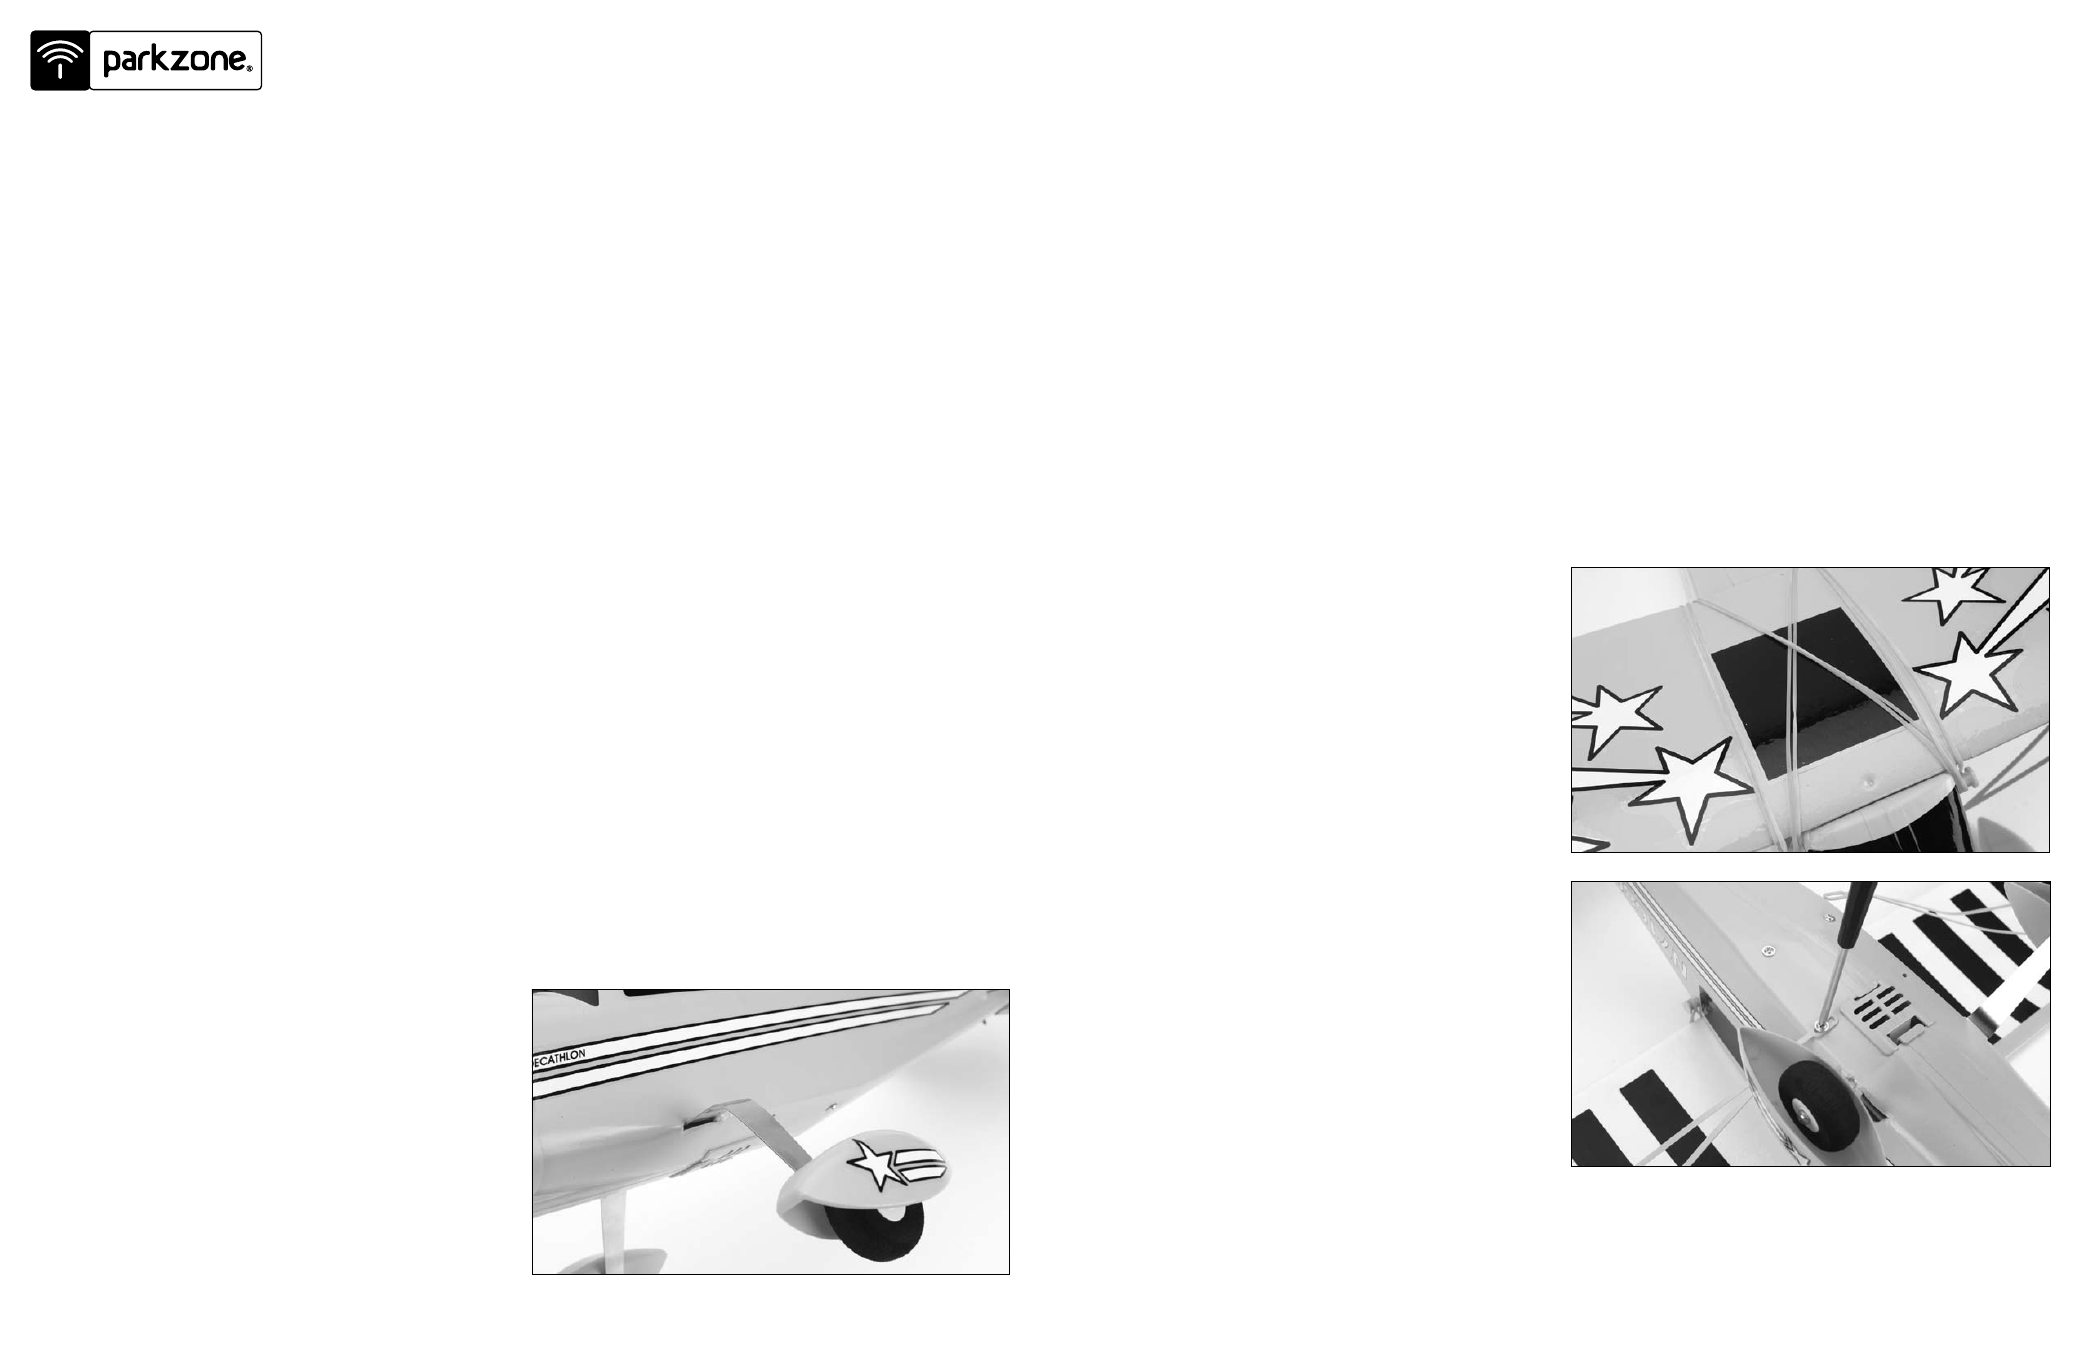
1. Locate the landing gear within the packaging.
2. Slide one half of the landing gear into the
allotted slot in the fuselage until it locks into
place. Slide the other half of the landing gear into
the fuselage as you have done with the previous
one. Look into the fuselage to make sure the two
gear halves are pressed in snug against the
center of the landing gear support.
3. Make sure both parts of the landing gear are
secure and properly in place. They should feel
snug inside the fuselage when attached properly.
1. Locate the wing and wing strut screws.
2. Place the wing on the top of the fuselage, making
certain it is centered properly. Attach the wing
with four rubber bands that are included. Stretch
two of the rubber bands from the front to the rear
attach points. Stretch the last two diagonally
across the middle to the attach points.
3. Attach the wing struts to the fuselage. Locate the
two small Phillips screws and attach the strut to
the fuselage as shown. Once the screw is
tightened into the fuselage, you can loosen it
slightly to allow the slack of the strut to be
adjusted as needed.
4. Make sure that prior to each flight the wing is
properly centered on the fuselage. If the wing
is not centered properly, it is impossible to have
correct flight.
You should place your receiver in the compartment that
is directly aft of the battery holder box. This is right at
the point of the center of gravity. Carefully plug the servo
leads into the corresponding channels of the receiver you
have chosen.
The servo plugs may have to be trimmed carefully with a
hobby knife (if you are using a Spektrum
™
, JR
®
or HiTec
radio system) in order to fit correctly into the receiver.
Confirm that the servo leads/plugs are in the correct
channel of the receiver. Do this by:
1. Turning on the transmitter, confirming that the
throttle is in the “off” position.
2. Installing a charged flight battery.
3. Plug flight battery into ESC.