Step 1, Micro citabria rtf instruction manual – ParkZone PKZ3110 User Manual
Page 2
2
3
Micro Citabria RTF
Instruction Manual
Congratulations on your purchase of the ParkZone
®
Micro Citabria
RTF airplane. Your Micro Citabria comes pre-assembled with every-
thing needed to get you in the air – all in one box! You only need
to charge the flight battery prior to your first flight. In as little as 30
minutes, you can be ready to fly. This means you can spend your time
refining your flying and not your building skills. Your ParkZone Micro
Citabria will allow you to perform many aerobatic maneuvers, all in an
area the size of half a basketball court!
We at ParkZone are committed to giving you the most enjoyable
flight experience possible. In order to have a safe and successful
flight, we ask that you do not fly until you have read these instructions
thoroughly.
Your Micro Citabria features the latest in ultra sub-micro technology,
including a 2.4GHz fully proportional 3–channel radio system with
full control of throttle, rudder and elevator. Your Micro Citabria also
comes complete with the latest in lightweight electronic speed control
technology, two linear servos, a 3.7V 70mAh Li-Po flight battery and a
convenient charger.
Warning
Though your ParkZone Micro Citabria comes ready to fly, this aircraft
is for experienced RC pilots only and is not a toy. It can cause serious
bodily harm and damage to property!
FCC Statement
This device complies with part 5 of the FCC rules. Operation is subject to the following two
conditions: () This device may not cause harmful interference, and (2) this device must accept
any interference received, including interference that may cause undesired operation.
Caution!
Changes or modifications not expressly approved by the party responsible for compliance could
void the user’s authority to operate the equipment.
Step 1
Transmitter
Your ParkZone Micro Citabra airplane comes with a fully proportional
(Mode 2) 3-channel radio system that includes digital trims. In this
configuration, the left stick controls throttle, while the right stick
controls elevator and rudder.
. Insert the 4 AA batteries that are included with the package into
the transmitter.
2. Turn the switch on to ensure the batteries have been installed
correctly. When the batteries are installed correctly, the LED on
the transmitter should glow brightly. When the transmitter makes
a repeated “beep” sound, it is time to replace the transmitter
batteries.
Binding Process
Your ParkZone 2.4GHz radio system uses a unique binding operation
to link your transmitter with your receiver. Please note that your radio
system has been bound for you already. Should you need to replace
a transmitter or your aircraft, you will need to perform the binding
process as detailed below:
. Make sure your transmitter is powered
off and the battery has been removed
from your Micro Citabria.
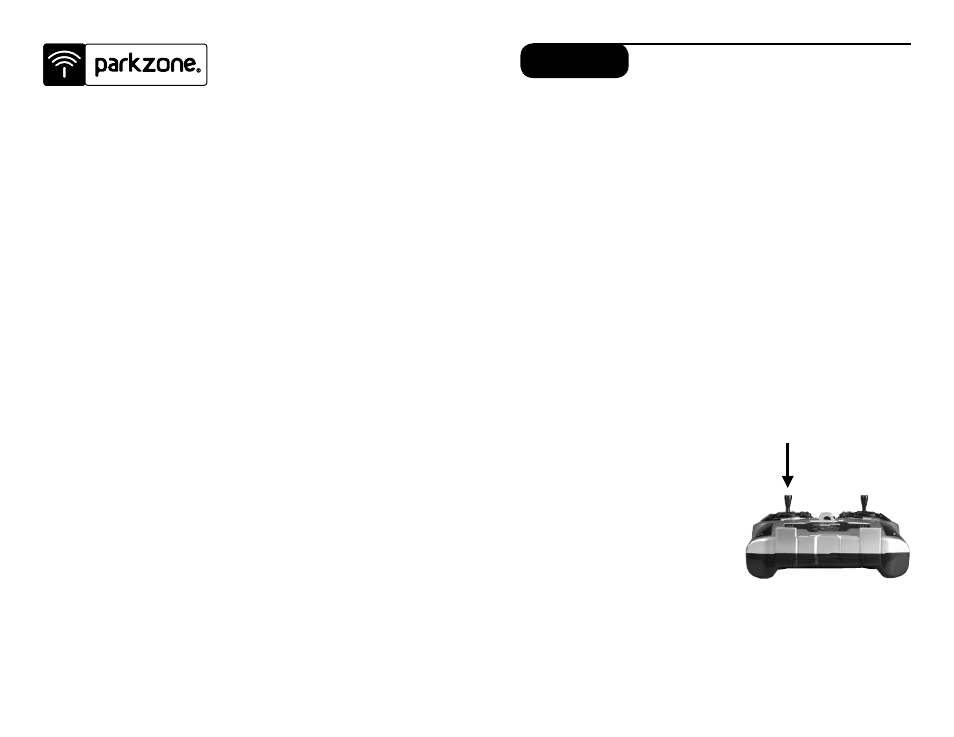
2. With the transmitter powered off, push
down on the throttle stick (left stick)
and then turn the transmitter power
on. Release the throttle stick.
3. You will hear a series of beeps
from the transmitter. Plug the
battery into the airplane at this time.
4. A series of 3 beeps will be heard
while the radio is attempting to bind.
Move the right stick in any direction at this
time to complete the binding process.
You are then ready to fly.