Lingenfelter L380xx1410 Lingenfelter Camaro Cast 241 MM Aluminum Differential 2010-12 v1.9 User Manual
Page 4
Page 3.
1. Bushing installation
The Lingenfelter 9.5” Camaro differential is designed to accept the OEM production type differential
bushings. These bushings are fairly difficult to remove without damaging so we have included them
as part of the differential assembly kit. The OEM bushings are LOCATION SPECIFIC. They must be
put in the correct location and at the correct angle of rotation (clocking). Failure to put the bushings
in the correct locations could increase the chances of axle hop or in vehicle noise and vibration. See
diagram 1 on page 23 for bushing position information.
The LPE 9.5” differential can also accept aftermarket differential bushings designed to fit the stock
differential. Most of these aftermarket bushings are not location specific but we recommend following
the manufacturer’s installation instructions.
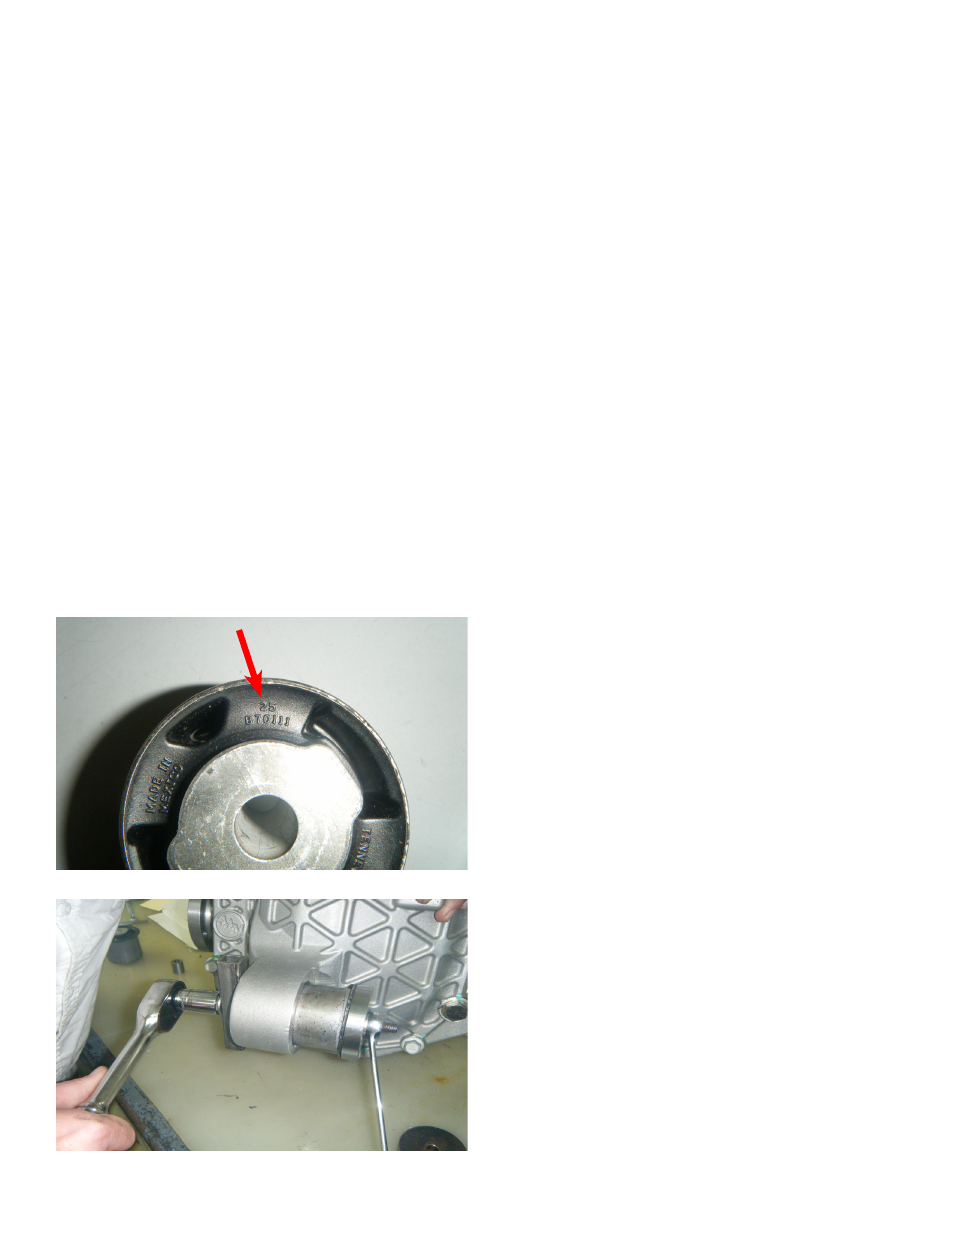
2. The part number can be found on the
underside of each bushing in the location shown.
These part numbers indicate where it should be
installed on the differential.
3. The following three (3) steps will install
the differential bushings into their respective
mounting locations. LPE uses a bushing
installation tool, wrench, and socket wrench
to safely install the bushings, such as the one
shown in the adjacent illustration. Make sure to
apply lubricant, such as Sunnen B-200, to the
bearing and the inside of the bearing housing.
The installation of the LPE 9.5” differential requires removal of the fuel tank, exhaust
and numerous other vehicle components. This installation should only be performed by
someone experienced in working on vehicles. It is highly recommended that you have
access to the GM service information. Service manuals are available from Helm Inc
(www.helminc.com).
When referencing the side of the vehicle, the driver side of the vehicle is considered the
left side and the passenger side of the vehicle is considered the right side of the vehicle.
We recommend that you read the entire instructions before beginning the process. We
also recommend that you allow the vehicle to cool before beginning the installation
process.