Pulse oximetry (spo, Cables, tubing, and compressed co, Setup/configuration – Laerdal VitalsBridge User Manual
Page 15: Vitalsbridge directions for use
VitalsBridge Directions for Use
14
rev. B.7
PN 10229
Cables, Tubing, and Compressed CO
2
Setup/Configuration
This section will describe how to connect the cables and tubing between the VitalsBridge, the SimMan
3G, and the patient monitor. Please note that invasive blood pressure and temperature patient
monitoring cables, specific to the brand and model of patient monitor being used with the VitalsBridge
may be purchased from Laerdal. Note that your monitor will also require a type of non-invasive blood
pressure cuff, either a 1-tube or 2-tube design, depending on the brand and model of patient monitor
being used. In addition, the patient monitor’s SpO
2
sensor probe and cable is used with the VitalsBridge.
Please consult the patient monitor documentation for more information regarding temperature cables,
invasive/non-invasive blood pressure cables, and SpO
2
sensor probes and cables.
Pulse Oximetry (SpO
2
)
Pulse oximetry, or SpO
2
, is used to determine the oxygen saturation of a patient’s blood. It also will
provide a pulse measurement. SpO
2
simulation by the VitalsBridge uses special sensors in the SimMan
3G manikin’s index finger of the right hand, which provides expected light levels of light to the monitor’s
SpO
2
probe according to the SpO
2
value set in the SimMan 3G’s Instructor Application.
Note: The SpO
2
sensors in the SimMan 3G’s hand must be located at the tip of the index finger. If there
is empty space between the manikin’s fingertip skin and the sensors, the skin will need to be adjusted
for a tight fit. Gently, but firmly, push the manikin skin further down so that it is.
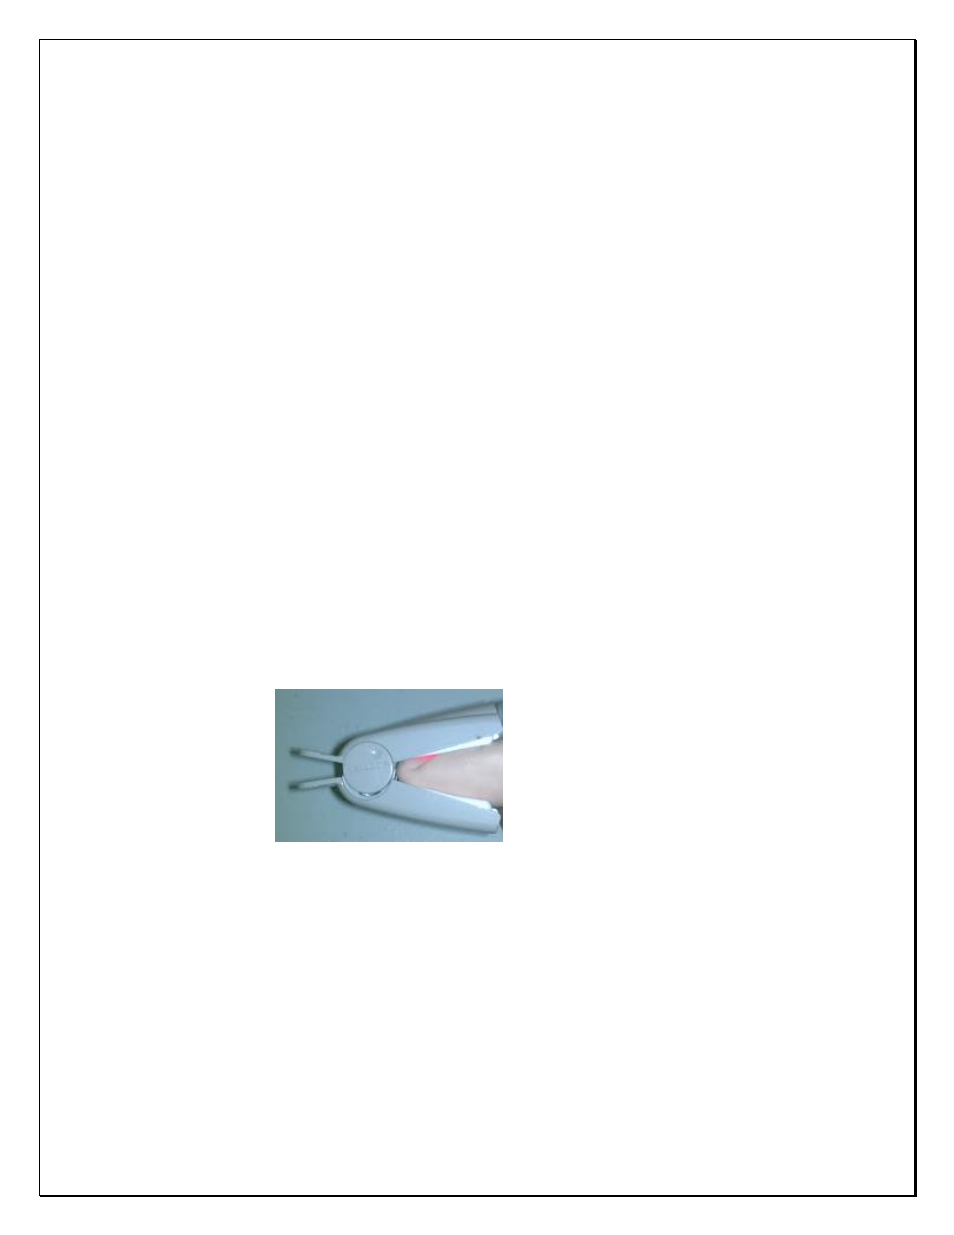
When placing the patient monitor’s SpO
2
sensor probe, ensure its orientation is correct. The probe’s
source light should be placed over the manikin’s fingernail. Note: SpO
2
will not function properly in
other orientations of probe placement. Below is an example depicting proper placement of a Nellcor
non-disposable probe on the manikin’s right index finger.
Top of probe
(source light)
Bottom of probe
(source detector)