Connections – Denon S81 User Manual
Page 11
Getting Started
7
ENGLISH
ENGLISH
OPEN/CLOSE button
·········································(13)
Play button
(
1
) ···································(22)
CD player operating
buttons
PAUSE button
(
3
) ····································(22)
iPod REMOTE button
·········································(27)
iPod controls
MENU/SET button
Menu call
Cursor buttons (
D
D
,
H
H
)
Cursor movement (up/down)
[Front]
[Rear]
Stop button
(
2
) ····································(22)
Skip buttons
(
8, 9
) ······················(22)
SEARCH buttons
(
6, 7
) ·······················(22)
FOLDER MODE button
·········································(25)
TIME/DISPLAY button
·········································(22)
Cursor buttons
(
D
D
,
H
H
) ································(25)
iPod PLAY/PAUSE button
(iPod
1
/
3
)
Play / Pause
ENTER/MEMO button
Enter
RANDOM button
Random playback
iPod controls
ENTER/MEMO button
Enter
TIME/DISPLAY button
Time/Display switching
REP 1/ALL button
Repeat playback
iPod PLAY/PAUSE button
(iPod
1
/
3
)
Play / Pause
iPod P.LIST buttons
Playlist selection
iPod Skip button
(
8, 9
)
Search / Fast-Rewind / Fast-
forward
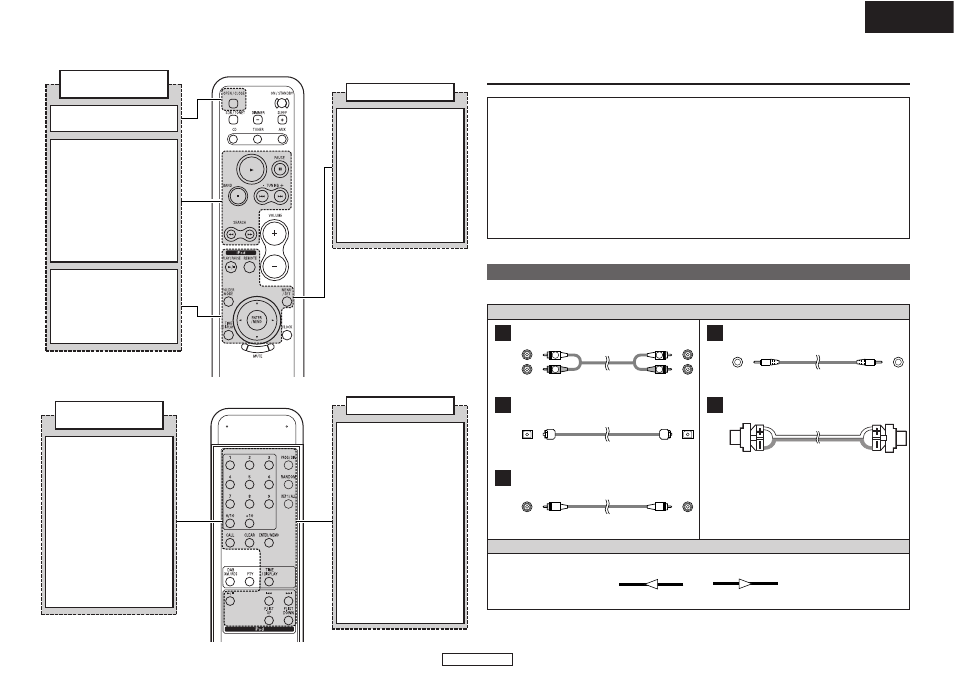
Cable indications
Connect using the connection cables shown below.
Connections
NOTE:
• Do not plug in the power supply cord until all connections have been completed.
• When making connections, also refer to the operating instructions of the other components.
• Be sure to connect the left and right channels properly (left with left, right with right).
• Do not bundle power supply cords together with speaker cables. Doing so could result in humming
or noise.
• Making connections with the power turned on could result in noise or damage the speakers.
• Bunching the power supply cords and connection cables together could result in humming or noise.
• Connect all the connection cables between the different components firmly. The system may not
operate properly if the connections are incomplete.
• Be sure to disconnect the power supply cords when changing the connections. Changing the
connections while the system is operating could result in malfunction.
PROG/DIR. button
·········································(23)
RANDOM button
·········································(23)
CD player operating
buttons
Number buttons
(0 ~ 10, +10) ····················(23)
REP 1/ALL button
·········································(23)
CALL button
·········································(23)
CLEAR button
·········································(23)
TIME/DISPLAY button
·········································(26)
Analog connections (Stereo)
A
R
L
R
L
Pin-plug cable
(White)
(Red)
Audio signal
Analog connections (Stereo)
B
Stereo mini-plug cable
Audio cable
Signal direction
Digital connections (Optical)
C
Optical fiber cable
Speaker connections
D
Speaker cable
Analog connections (Monaural, for subwoofer)
E
Pin-plug cable
OUT
IN
IN
OUT