Т³гж 3 – Grandview LS-M(Large-Stage Motorized Screen with Wood Casing) User Manual
Page 3
2
5
Installation
This projection screen should be installed at the best possible viewing position for the audience. Take out all
the parts from the packaging and follow the accessories guideline to ensure you have all parts. The parts
needed will vary depending on which installation you choose to use.
1. Choose wall mount or celling mount as per you need, and choose the dilatant spigot (not spare parts), or the
spigot with hanger, or other setscrew, or setscrew with hanger (not spare parts) as per the install wall or
celling material.
2. Before installing the product, we would like to introduce three methods of bracket be installed in the scree
case as below:
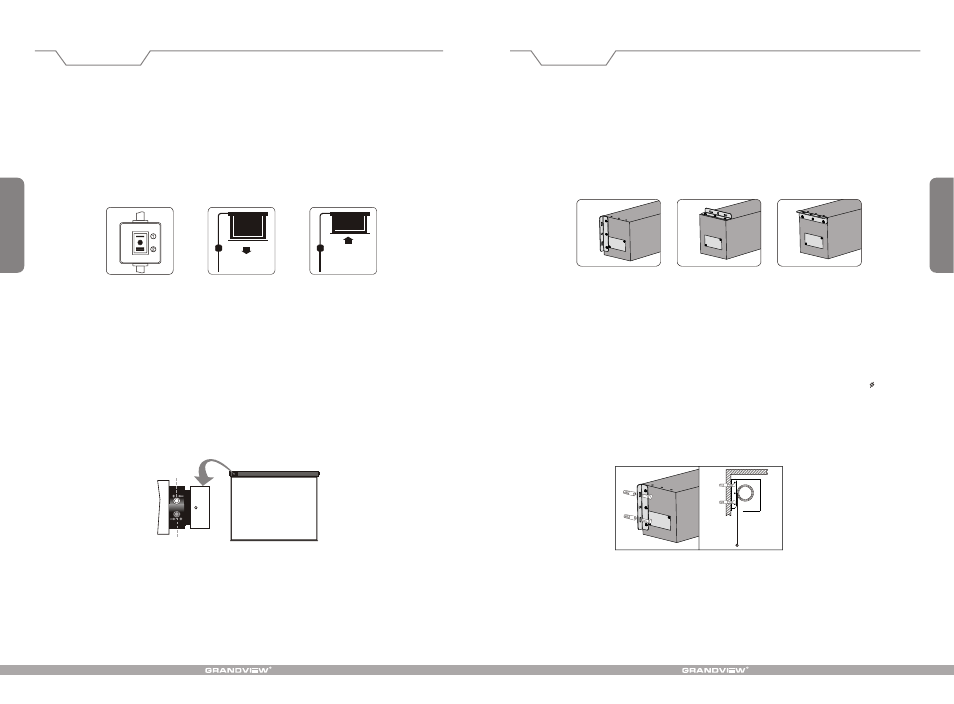
Wall Mount
Celling Mount
Celling Fixup Mount
3. Before installing the product, please make sure that there is at least 1 metre distance between leftside and
flant side, which is helpful for replacing motor.
Wall Mount
Fixup the install bracket on both sides of casing and tighten the screens. Then choosing four 10 dilatant
screws, digging four suitable holes in the wall by electric drill, driving them into the holes. Then tighten the
screws again by the corresponding holes through brackets making screen fixup in the wall. ( Note: the wall
must be made by armoured concrete structure ) ( Figure 1 )
Figure 1
Wall Mount Installation
Grandview projection screens are controlled by a manual switch or an automatic remote control.
Picture 1
Picture 2
Picture 3
1.Manual switch control
a.T
b.Connect to a power source (Please make sure it is the right voltage)
c.
; it will come down slowly. When it is all the way down, it will
stop automatically.
d.
1
; it will g o up into t he metal casing. When it is all the way up , it
will stop automatically.
e.To stop any time while the screen is in motion, turn the switch to 0.
ear off the glue cloth fixed on the bottom rod,ensure the bottom rod is not stuck by the casing.
Turn the switch to position 2 to lower the screen
Turn the switch to position to lower the screen
2. Automatic remote control (Please see section on Remote Control)
Instructions
Drop Limit
Retraction Limit
Attention:
> Please make sure there is no dust or dirt on the fabric surface before rolling it back to the casing
> The recommened working time is less than 50 seconds. The motor will enter overheating protection
status and stop working for every continuous 4 minuters operation, user would need to wait for a while
until the motor cool down before operating again.
> There is no lube needed for the motor. Please be noticed that the appropriate setting is optimized which
requires no further adjustment, please consult the after sales team before adjusting the limits.