Finishing the fan installation, Installing the bulb, Adjusting the tilt angle – Aero Mist 67014 User Manual
Page 9: Swivel the fan
Attention! The text in this document has been recognized automatically. To view the original document, you can use the "Original mode".
Finishing the Fan
Installation
STANDARD CEILING MOUNTING
WARNING
WHEN
USING
THE
STANDARD
BALL/DOWNROD MOUNTING, THE TAB IN
THE
RING
AT
THE
BOTTOM
OF
THE
MOUNTING
PLATE
MUST
REST
IN
THE
GROOVE OF THE HANGER BALL. FAILURE
TO
PROPERLY
SEAT
THE
TAB
IN
THE
GROOVE
COULD
CAUSE
DAMAGE
TO
WIRING.
1.
Align the locking slots of the ceiling
canopy with the two screws in the
mounting plate. Push up to engage the
slots and turn clockwise to lock in place.
Immediately tighten llic two mounting
screws firmly.
2.
Install the remaining two mounting
screws into tlic holes in die canopy and
tighten firmly.
3.
Install the decorative canopy ring by
aligning the ring’s slots with tlic screws in
the canopy. Rotate the ring clockw'ise to
lock in place.
Installing the Bulb
1.
Remove the decorative nut on the
light kit by turning it.
2.
Remove the grille and the glass.
3.
Install die bulbs to the bulb sockets.
4.
Replace die glass, grille and
decorative nut removed in step 2&1.
5.
Tighten the decorative nut.
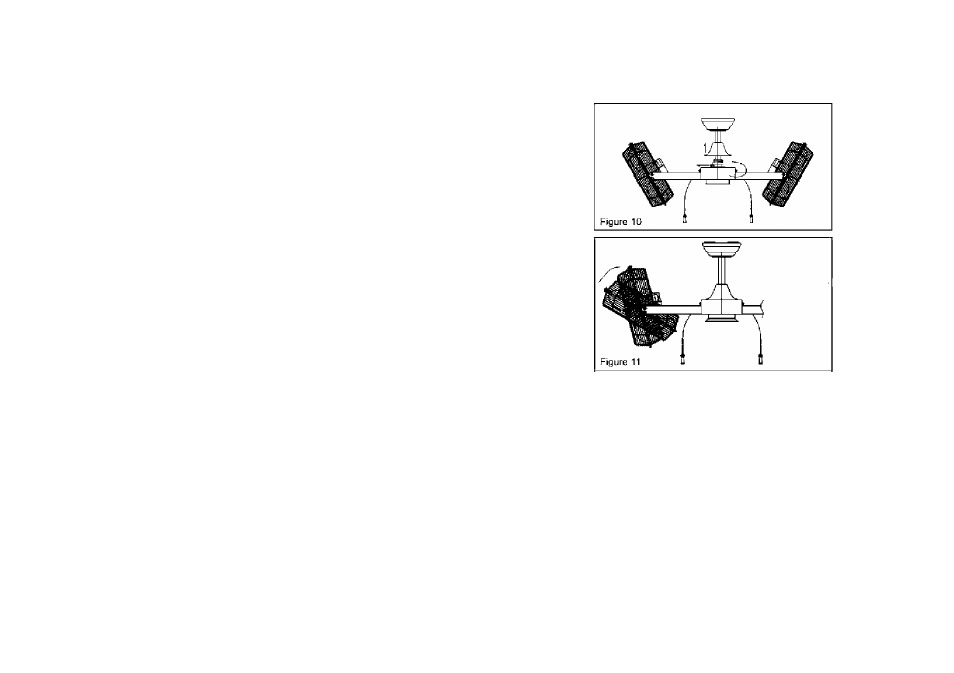
Adjusting The Tilt
Angle
1 To change die tilt -angle of die Fan
Head, loosen the Tilt Adjustment Knobs
on both sides of the Grille, tilt the Fan
Head to the desired angle and tighten the
knobs (Fig 10).
Swivel The Fan
1. To swivel die fan, loosen the the bolt
in the coupler and make die fan lo the
desired angle and lighten the bolt back.
(Fig 11)
7
.