Avanti FF8WR User Manual
Page 8
Attention! The text in this document has been recognized automatically. To view the original document, you can use the "Original mode".
о ,
i
"t '
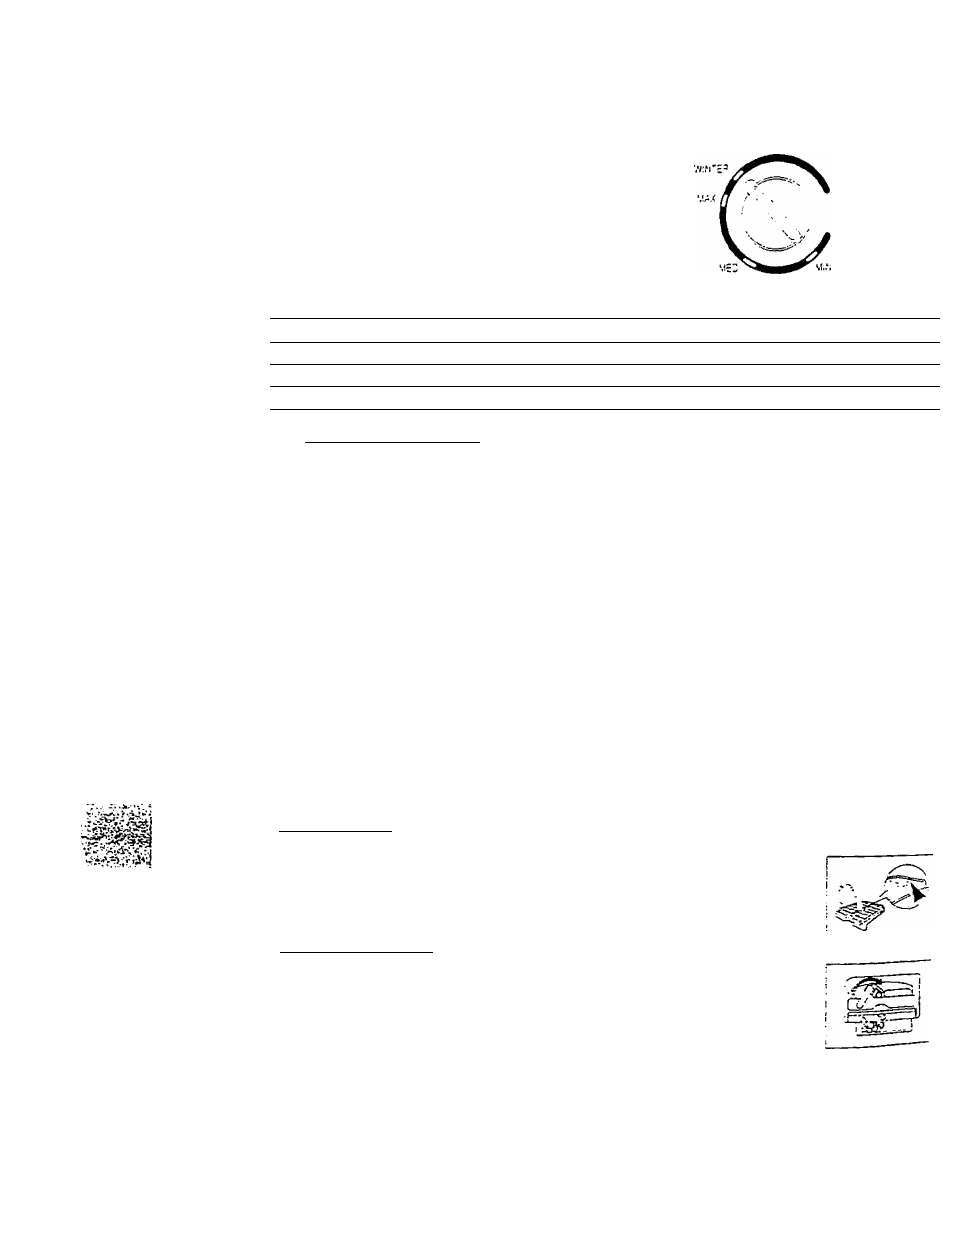
Freezer Temperature Control
I
Refrigerator Temperature Control
OPERATING YOUR REFRIGERATOR
■^',1? :cN"Cv
'.!A< Л'.'.'Е-
'HMP :c.*r=CL
MIN
j When ambient Temp, is below 15'C cr 59 'F
MED
i When ambient Temp, is between 15-25’C cr 59-77‘F
MAX
1 When ambient Temp, is above 25'C or 77'F
WINTER
1 If ambient temperature is below lO’C or 50'F
' Setting the Temperature Controi
• To control the internal temperature, adjust the control dial according to the ambient temperature or
purpose of use.
• The first time you turn the unit on. set the temperature control to “MAX".
• The range of the temperature control is from position “MIN” the warmest to “WINTER" the coldest. After
24 to 48 hours, adjust the temperature control to the setting that best suits your needs. The setting of
“MED" should be correct for home or office refrigerator use.
“Winter” Position: Select the “'WINTER” Position when the temperature in the area where the
appliance is located is colder than 10‘C orSO’F. This enables the freezer section to operate property.
NOTE:
• If the unit is unplugged, power lost, or turned off; you must wait 3 to 5 minutes before restarting the unit.
If you attempt to restart before this time delay, the refrigerator will not start.
MAKING ICE CUBES
The freezer contains an ice cube tray with a special device enabling you to get the cubes out the tray
more easily.
'* Making Ice Cubes
• Remove the ice cube tray.
• Rli the tray with water up to the maximum water level marked on the rear of the tray.
• Slide the tray back into the holder, taking care not to spill the water.
• Wait until the ice cubes are formed.
Removing the Ice Cubes
• Make sure that the ice cube storage bin is in place under the ice cube tray.
If not, slide it into place.
• Twist on of the levers firmly in the clockwise direction until the tray twists slightly.
• The ice cubes fall into the storage bin.
• Repeat for the other half of the tray, if necessary.