Oven light, Electrical connection, How to remove wall oven for servicing or cleaning – Maytag CWG3600 User Manual
Page 19
Attention! The text in this document has been recognized automatically. To view the original document, you can use the "Original mode".
Oven Light
Oven light bulb is located on the back oven
wall. Before replacing U^t bulb, disconnect
power to oven. Be sure bulb Is cool. Do not
touch a hot bulb with a damp cloth as the bulb
may break. Use a dry pot holder to prevent
piosslble harm to hands. If bulb should break,
use a pot holder to protect hands and very
carefuUy remove bulb. If bulb breaks at base,
have a service technician remove bulb.
Replace with a 40 watt appliance bulb. Restore
power to oven. Reset clock.
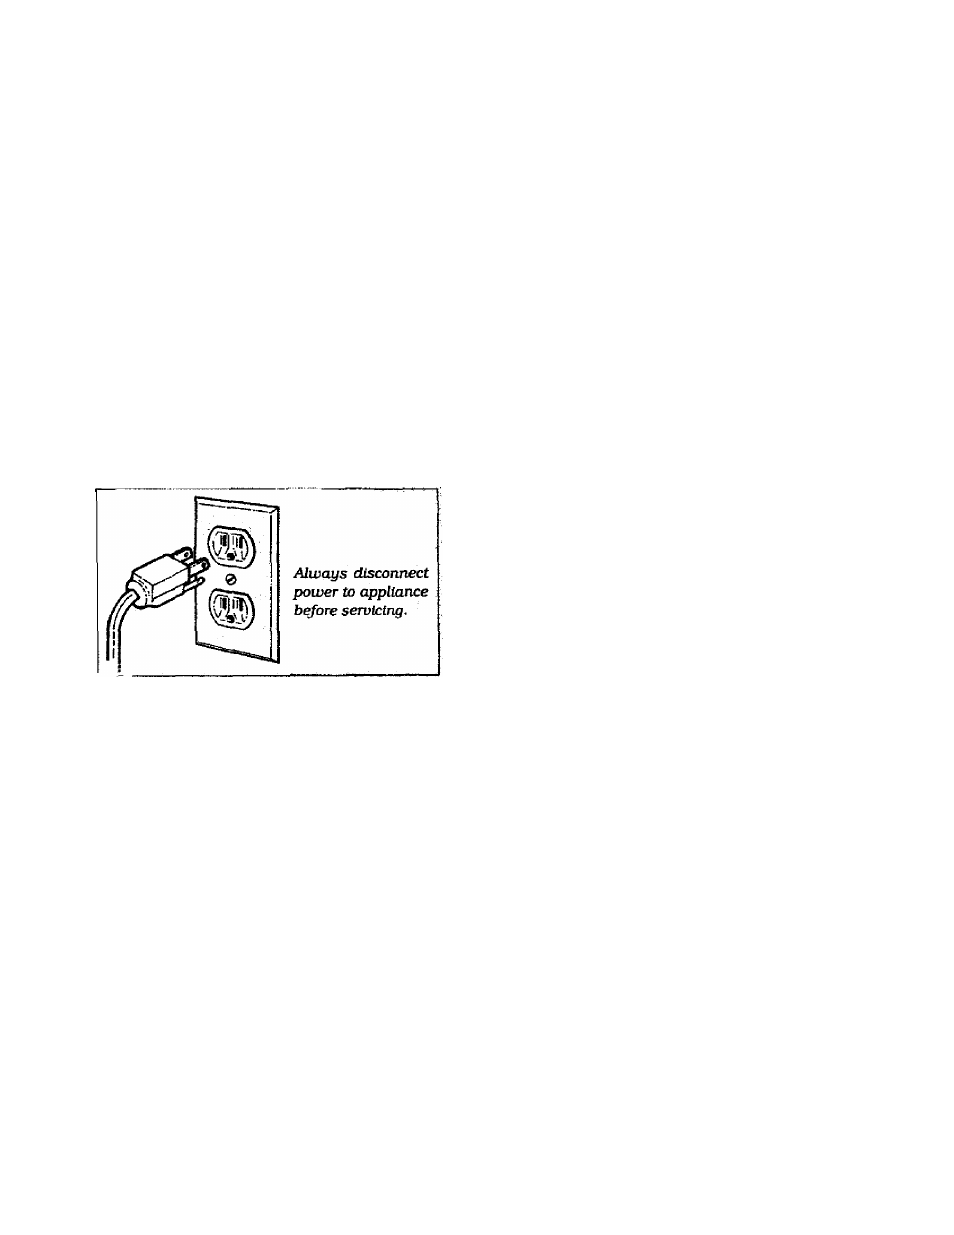
Electrical Connection
Appliances which require electrical power are
equipped with a three-prong grotmdlng plug
which must be plugged directly into a properly
grounded three-hole 120 volt electnced outlet.
If an ungrounded, two-hole or other type
electrical outlet is encountered, it is the
personal responsibility of the appliance
owner to have the receptacle replaced with a
properly grounded three-hole electrical
outlet. The three-prong grounding plug is
provided for protection against shock hazards.
Do not cut or remove the third grotmding
prong from the power cord plug.
How To Remove Wall Oven For
Servicing Or Cleaning
Follow these procedures to remove appliance
for cleaning or servicing:
1. Shut-off gas supply to appliance.
2. Disconnect electrical supply to appliance.
3. Disconnect gas supply tubing to appliance.
4. Remove the screws that secure the wall oven
to the cabinet. Remove oven from cabinet.
5. Reverse procedure to reinstall. If g£is line has
been disconnected, check for gas leaks after
reconnection. See Installation Instructions
for gas leak test method.
NOTE: A qualified servicer should disconnect
and reconnect the gas supply.
WARNING; Possible risks may result from
abnormal usage, including excessive loading of
the oven door and of the risk of tip over, should
the appliance not be reinstalled according to
the installation Instructions.
PAGE 17