Multi-stitch zig-zag, Bar tacks, Mending a tear – SINGER 6106 User Manual
Page 32
Attention! The text in this document has been recognized automatically. To view the original document, you can use the "Original mode".
/
%
/ S
f
* \
/ N
d
/ \ ^
^
V
>
/
V
V
V
V
V
>
/
^
V
>
/
N
^
V
/
V
V
^
<'
MULTI-STITCH ZIG-ZAG
>
/
/ The multi-stitch zig-zag is an extremely versatile stitch. Use it to mend, join or re-
\
inforce without bulk. With this stitch you may attach elastic and stretch lace, con-
^ struct lingerie and swimsuits and finish seams. There are many other useful
\ applications for the multi-stitch zig-zag.
V
J
\
y \
J \
y \
4 \
y x
4 \
/ X
' v
X y ' V
\ y
X y X / X ^
X y X y X y X y
s 4
X
' v '
V
v '
V
X n f V X /
X
/
X
^
N
^
V
V
Bar Tacks
X
/
X
y
x
y
x
/
X
^
y
x
y
X
>
X
/
X
/
x
y
V
V
V
V
V'
V
T---------------
i_r
------------------
Bell Loop Finish Ur»
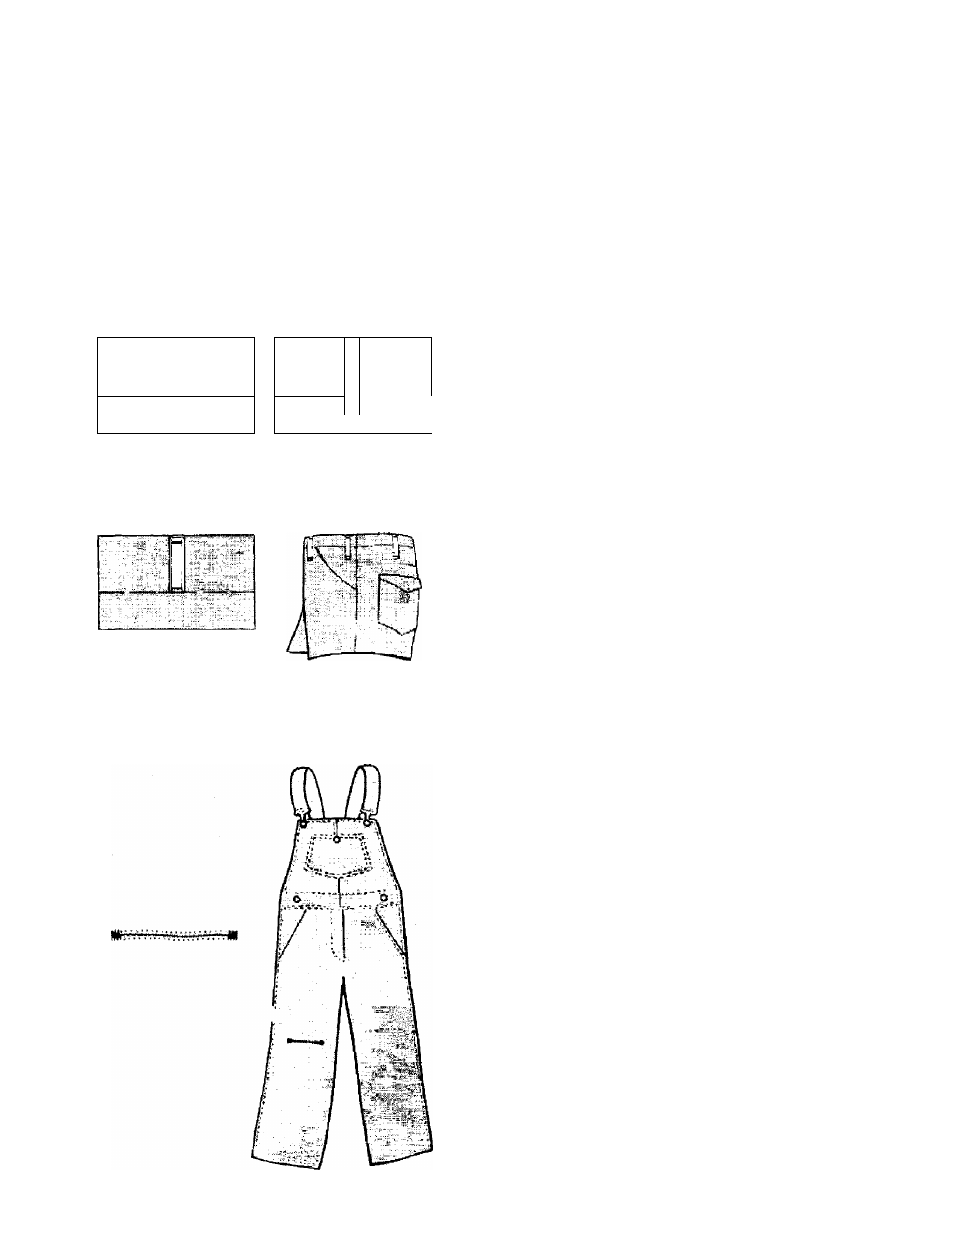
Pattern Group Selector:
3
• Needle Position:
i,
• Stitch Width: i |
• Stitch Length: 0
• General Purpose Needle Plate
• General Purpose Foot
Belt Loops on
Finished Garment
Make a test sample, using scraps of your ma
terial, and duplicating all garment thickness.
1. Mark position for the finished end of belt
loop on the fabric.
•
Place belt loop, wrong side up, straight
stitch with cut end 3 mm (1/8 inch) from
edge of garment; do not stitch beyond
edges of the belt loop. Trim the end close
to the stitching and press.
2. Fold belt loop back on the stitching line and
press.
•
Set your machine according to the code
above.
• Stitch 3 mm (1/8 inch) from the fold using
the multi-stitch zig-zag stitch.
3. Fold over second part and bar tack.
Mending a Tear
• Trim ragged edges.
•
Place* underlay on the wrong side of tear
for reinforcement. (Do not baste or pin the
underlay,
since
you
will
be
bringing
the
edges together in the next step).
•
Stitch on the right side, bringing the edges
of the tear together. Shorten stitch length at
ends and corners to give extra strength.
• Trim underlay.
30