Dimensional diagram – Toa BS-1120W User Manual
Page 3
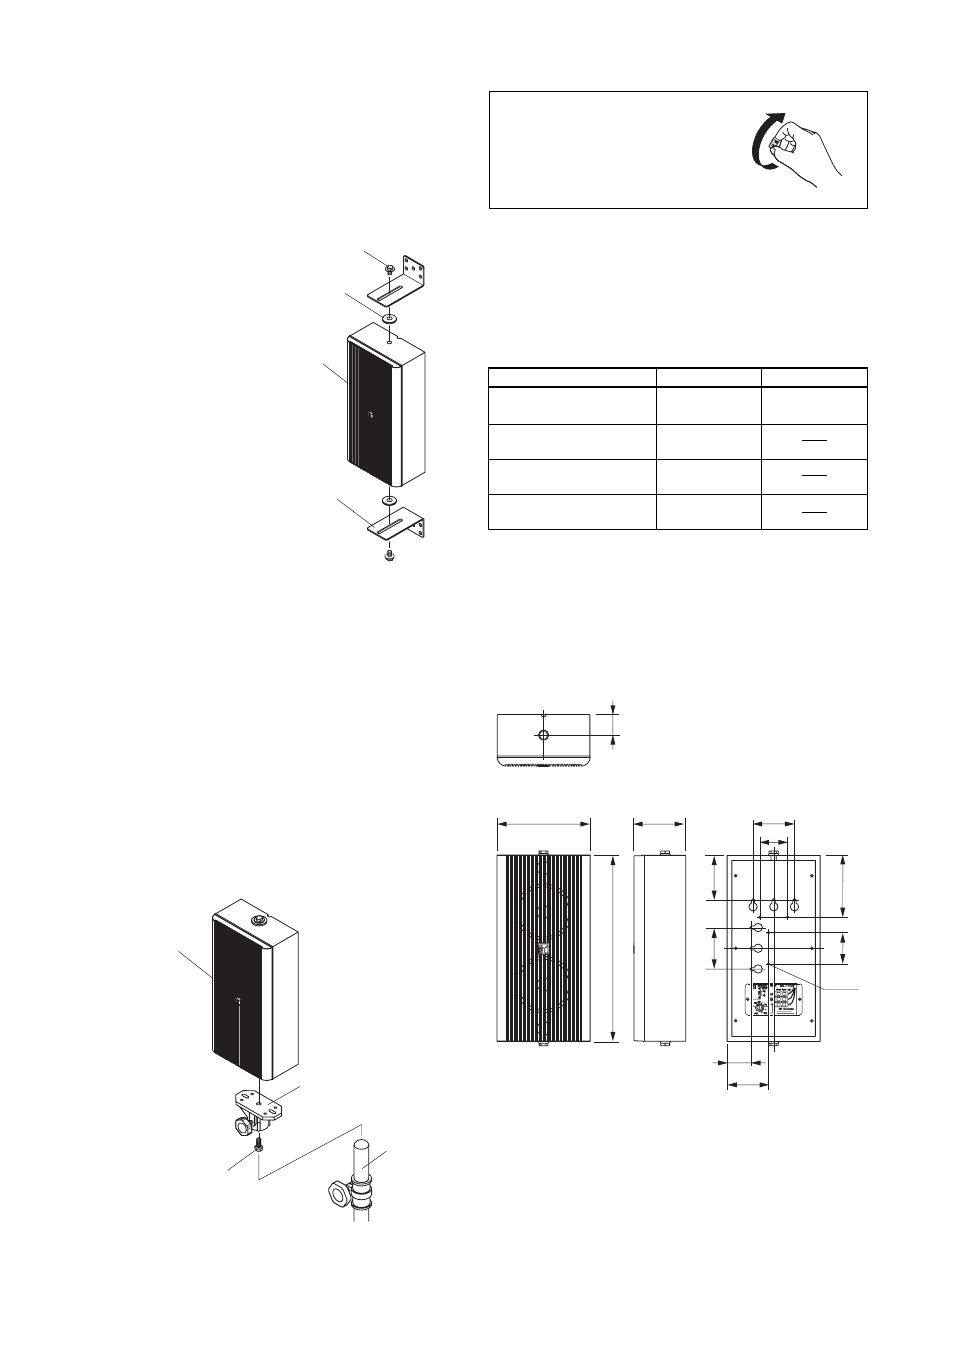
4.2. Wall Mounting – With Supplied Bracket
Step 1. Attach the bracket to the speaker using the
supplied bracket fixing bolt*.
* Pre-mounted to the speaker at the factory.
Remove it to use.
Step 2. Mount the speaker in the desired location using the
mounting holes made in the bracket.
Note
Bracket mounting hardware is not supplied with the unit.
Referring to the bracket's dimensional diagram, prepare
the screws or bolts appropriate to the wall material.
4.3. Mounting on the Optional ST-16 Speaker Stand
(applicable to the BS-1110W only)
Remove the pre-mounted bracket fixing bolt from the
bottom of the speaker, then mount the speaker stand as
illustrated below.
4.4. Mounting with Other Brackets
The following table shows the brackets that can be used for
the speakers. When using these brackets, refer to their
corresponding instruction manuals.
Bracket
(standard accessory)
Bracket fixing bolt
Speaker
Rubber gasket
(Separate from the bracket fixing bolt
assembly to use.)
Speaker
Bracket
(supplied with the ST-16)
Hexagonal-head bolt
(supplied with the ST-16)
ST-16
(optional)
Usable Brackets
Speaker Mounting
Bracket YS-301
Speaker Mounting
Bracket SP-410
Wall/Ceiling Mounting
Bracket WCB-12W
Table Mounting
Bracket TMB-1W
BS-1110W
BS-1120W
OK
OK
OK
OK
OK
5. DIMENSIONAL DIAGRAM
• BS-1110W
40
360
87
120
60
80
180
100
Unit: mm
60
80
4-M5
80
47
The logo mark can be changed
to correct its orientation.