Installation, Jumper configuration, Hardware installation – StarTech.com MPEX2S952 User Manual
Page 5
Instruction Manual
2
Installation
WARNING! Computer parts can be severely damaged by static electricity. Be sure that you are
properly grounded before opening your computer case. StarTech.com recommends that you
wear an anti-static strap when installing any computer component. If an anti-static strap is
unavailable, discharge yourself of any static electricity build-up by touching a large grounded
metal surface (such as the computer case) for several seconds.
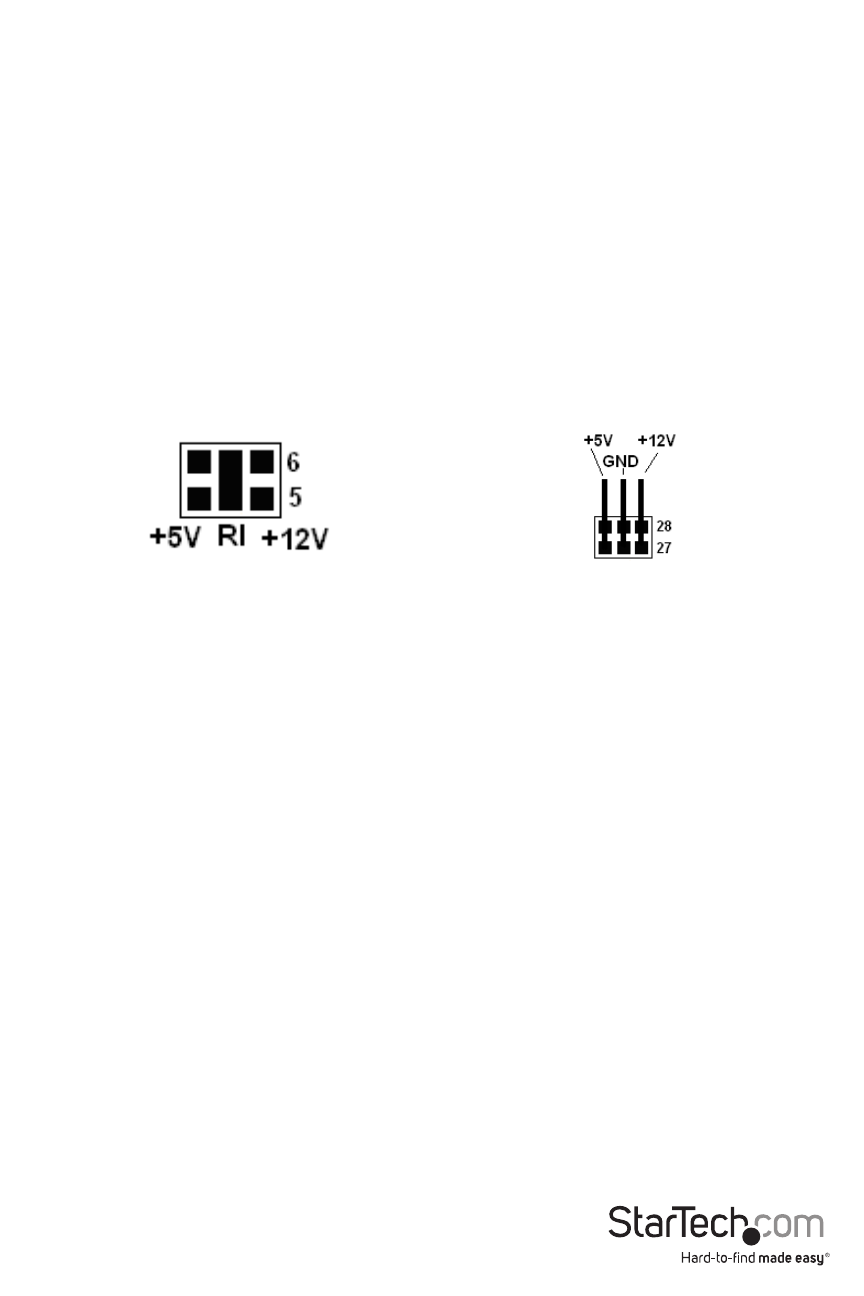
Jumper Configuration
This card is specially designed to allow for power output from the ninth pin of the DB9
connector(s) for devices that support power over serial. This card allows users to set each port
with 5V, 12V, or RI (no power) by setting the jumper appropriately. Use the provided adapter
cable to connect the power input header to the system power supply.
Hardware Installation
Connect both of the ribbon cables in the respective header connectors on the Mini PCI Express
adapter card. The connector on the ribbon cable should be keyed so will only fit one way.
Line up and insert the Mini PCI Express adapter card with the Mini PCI Express slot on the system
board. Match up the gap in the card connector, with the notch in the slot.
NOTE: Different systems may have different methods for installing mini cards, so please refer
to documentation for your system/board for full installation instructions for your particular
application.
Power Input header
Power Output jumper