Installation, Hardware installation – StarTech.com HSB3SATSASBA User Manual
Page 6
Instruction Manual
3
3. Hold the HSB3SATSASBA into place, and fix 8 of the included screws through
the installation holes on the 5.25” bays, into the side installation holes on the
HSB3SATSASBA.
4. Connect the 3x included 18in SATA cables from an available SATA host port on your
motherboard to the SATA data connector ports on the back of the HSB3SATSASBA.
5. Connect 2x SATA Power connectors from your power supply to the SATA power
connector ports on the back of the HSB3SATSASBA.
Note: For optimal performance, ensure each SATA power connector is on a different
power rail. Failure to do so may result in power disruption while swapping drives.
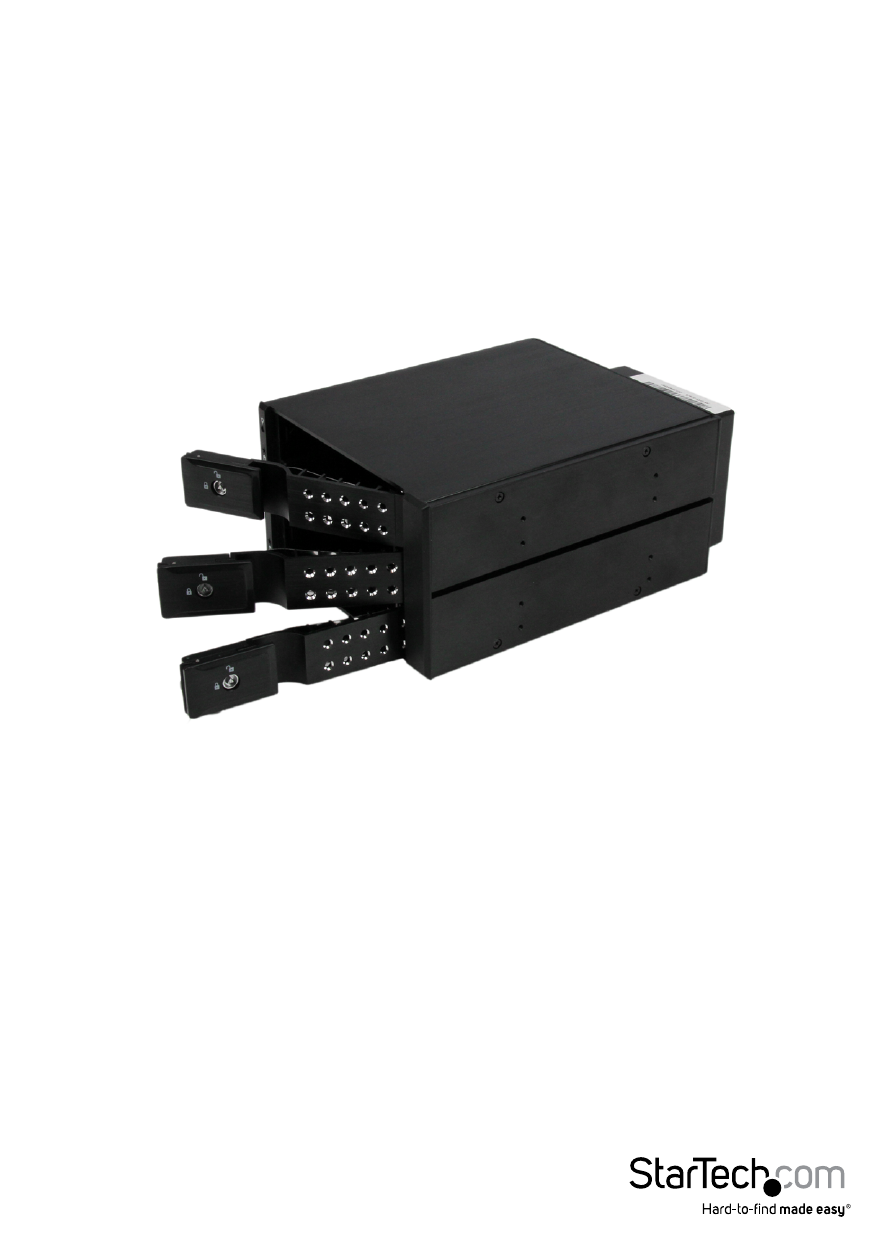
Installation
Hardware Installation
1. Ensure your computer system is powered down, and the power cable has been
disconnected from the Power Supply.
2. Open your computer case (refer to the computer user manual for details), and place
the 3.5in SATA/SAS HDD Backplane into two available 5.25” slots, lining up the side
installation holes on the HSB2535SATBK (pictured below), with installation holes on
the 5.25” slot inside the computer.