StarTech.com ADJDINKIT User Manual
Instruction manual, Rackmount din rail kit with top hat/mini/g rails, Packaging contents
Instruction Manual
DE: Bedienungsanleitung - de.startech.com
FR: Guide de l'utilisateur - fr.startech.com
ES: Guía del usuario - es.startech.com
IT: Guida per l'uso - it.startech.com
NL: Gebruiksaanwijzing - nl.startech.com
PT: Guia do usuário - pt.startech.com
Manual Revision: 10/14/2011
For the most up-to-date information, please visit: www.startech.com
ADJDINKIT
Rackmount DIN Rail Kit with Top Hat/Mini/G Rails
*actual product may vary from photos
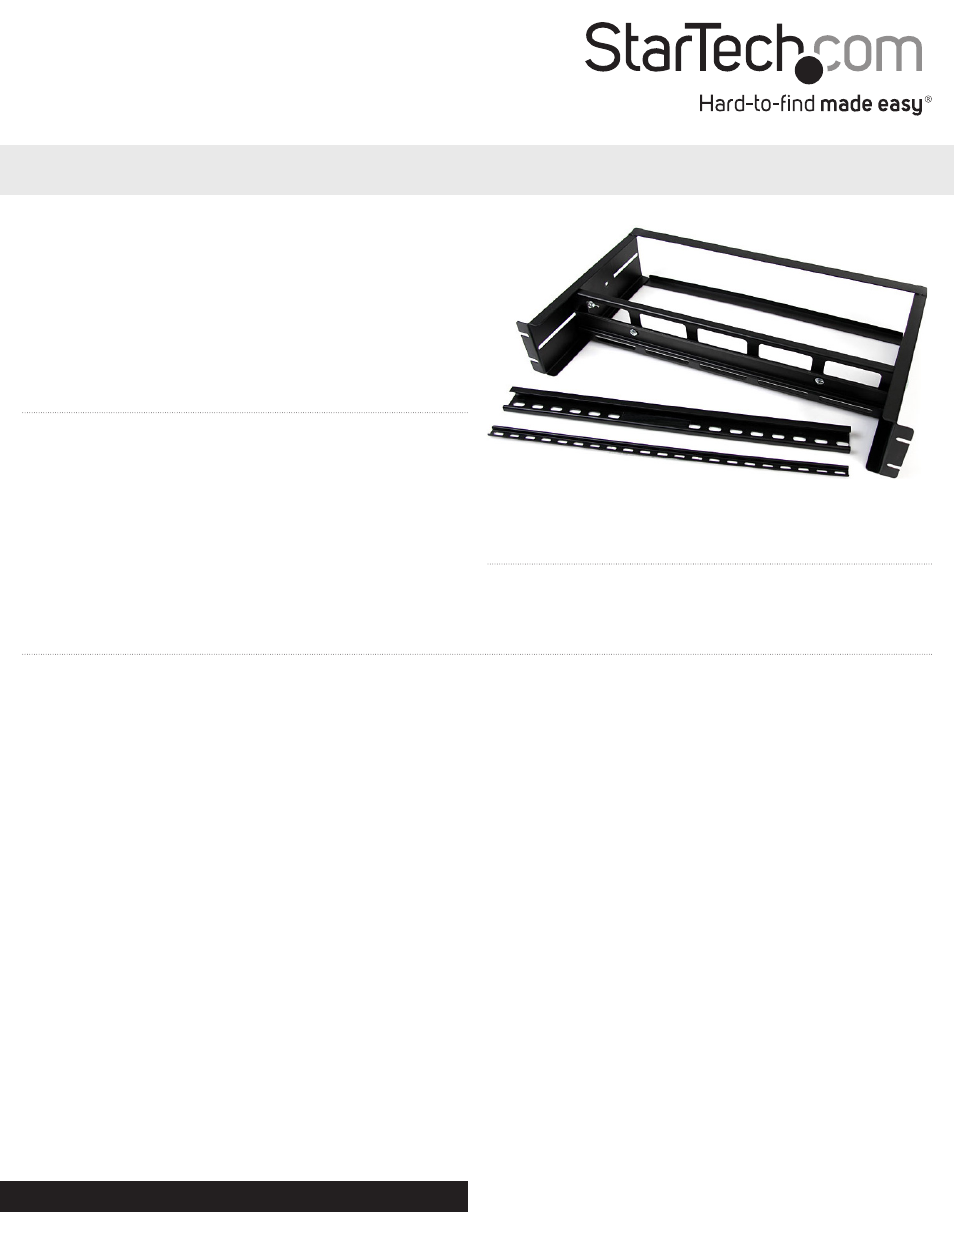
Packaging Contents
• 1 x Rack Mount DIN rail frame
• 1 x Adjustable DIN rail mount with Top Hat DIN rail
• 1 x Mini Top Hat DIN rail
• 1 x G-type DIN rail
• 2 x Carriage Bolt
• 2 x Nut
• 4 x Plastic Washer
• 2 x M5 Screw
• 2 x M5 Nut
• 1 x Installation Guide
System Requirements
• EIA-310D compliant rack/cabinet
• Top Hat, Mini, or G-type DIN mountable equipment
Installation
1. Determine the necessary depth for the DIN rails and slide the adjustable DIN rail mount into the rackmount frame from the front.
2. Insert the two bolts with washers into the sides of the frame and through the openings in the adjustable DIN mount.
3. Use the nuts with washers to fasten the bolts from the inside of the frame.
4. The adjustable DIN rail mount comes preinstalled with the Top Hat DIN rail. To switch to one of the other DIN rail styles, remove the two
screws that hold the DIN rail to the adjustable mount, replace the rail, and reattach the screws.
5. Mount the completed DIN rail kit into the rack/cabinet and secure to the mounting posts using the appropriate mounting hardware.
NOTE: M5 screws and nuts are provided for compatible racks/cabinets. Alternative mounting hardware should be obtained from the rack/
cabinet manufacturer.
6. Mount the DIN rail compatible devices.