StarTech.com NOTECONS02 Manual User Manual
Page 17
Instruction Manual
14
Browse - Open an existing image file (supports dynamic VHD files and ISO images).
New - Create a new disk image (you will be prompted to specify your desired size).
Insert - Connect disk image to target computer. If no disk image is loaded it will create
a temporary one. Temporary images will be deleted when the program closes.
Eject - Remove the disk image from the target computer.
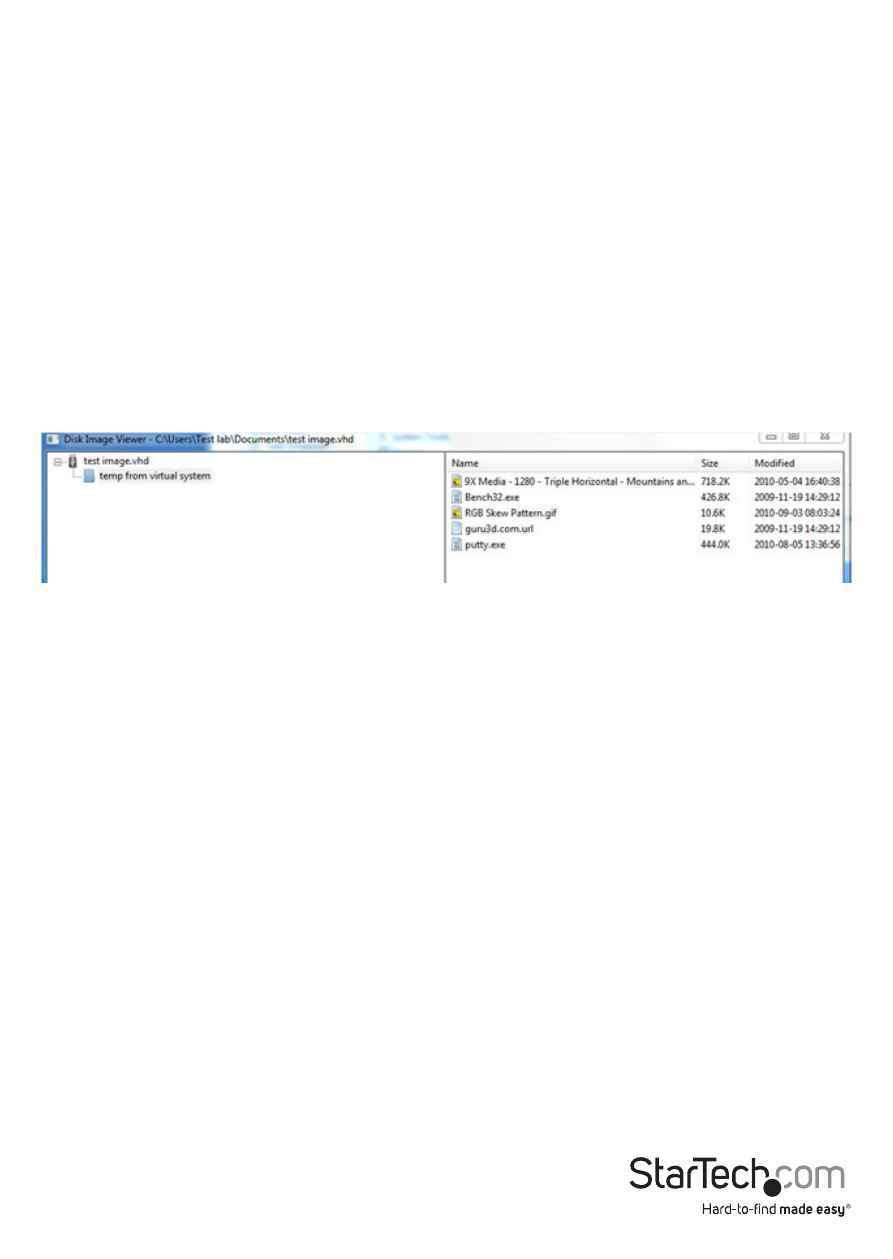
View Files – Opens the Disk Image Viewer window to show the directory tree view and
file list for the currently selected directory (pictured below). You can drag-and-drop
files onto the file list to copy.
• Right-clicking a directory from the left pane will give you the option of Extracting
the entire directory to a location on your connected host computer
• Right-clicking in the right pane gives you Extract, Delete and Add file operations, as
well as the ability to create a New Directory
Add Files - Open up a file dialog to quickly add files. If no disk image is loaded it will
create a temporary one.
Extract All - Open a file dialog to extract the entire contents of the image to the host PC.
Read and Write speed - Shows current data transfer rate. Will be slower for many small
files and faster for large files.
Disk Size - Size of currently inserted disk image.
Prevent Remove - Shows a “1” to indicate that removal may damage file contents. Be
sure to eject from operating system first.