Connecting to a kvm switch, Operation – StarTech.com RKCONS17HDGB User Manual
Page 17
Instruction Manual
14
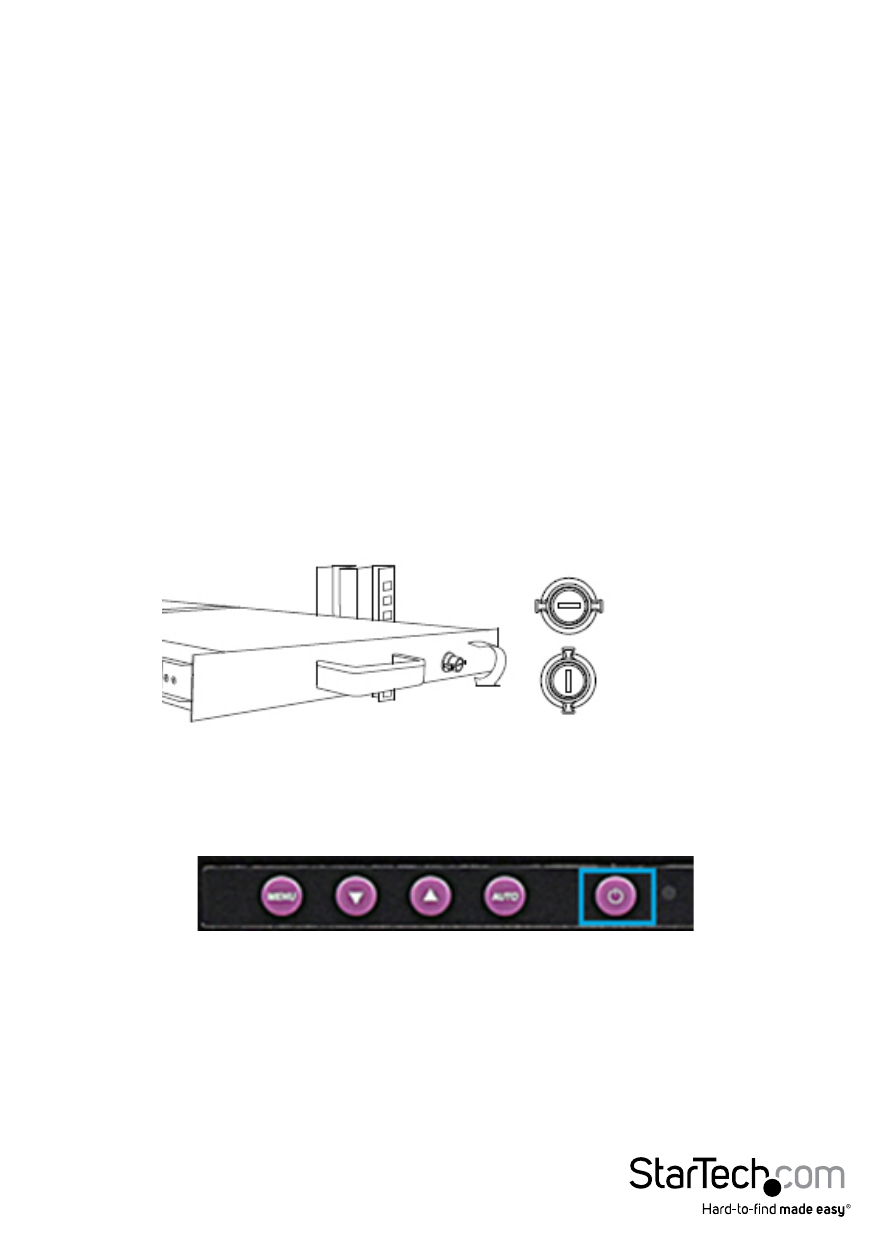
Lock
Unlock
4. Connect the USB Hub connector using one of the included USB A-A cables to the
USB connector on your server / KVM switch to enable the front USB hub ports and
fingerprint reader (optional).
5. Connect the AC to DC power adapter to the power inlet on the console and then to
a power outlet.
Connecting to a KVM Switch
When cascading with a KVM switch, KVM Module can be used to control additional
computers from the console. The connection is exactly the same as is shown above
(see PC / Server Connection section above). The only difference is the connection
would be made to the “CONSOLE PORT” of the KVM switch instead, of a computer.
Operation
1. Once all cables are securely connected and all mounting screws are properly
tightened, grasp the Top Handle and pull the console outward, ensure the lock is in
the Unlock position and then lift upward to open.
2. Press the Power Button on the front menu controls below the LCD panel, and power
on the connected Server or KVM switch.
3. Use the OSD controls to adjust the image as necessary – see the Front Panel
Controls section above for instruction.