Speeco S241003C0 User Manual
Page 5
NOTE: This manual covers the
SPEECO Two Man Hand Held Post Hole Digger model S241003D0 with a 196cc
engine.
NOTE: Refer to the illustrations and parts list should it become necessary to disassemble the unit for repair or
replacement of parts.
STEP 1: Remove the powerhead from the box. The powerhead and auger are purchased separately. Inspect each
piece for shipping damage. If any part is damaged contact your dealer or delivering carrier.
STEP 2: Attach the four handles(20) to handle frame(17) at corners using two bolts(19) and two nuts(18) (per handle).
See Illustration A.
STEP 3: The gear box has been filled with lubricant at the factory. Check the lubricant level after approximately one year
of use. Add a 10W-30 oil if the level is below the top of the gears.
Do not fill to the overflow point.
STEP 4: This engine uses unleaded gasoline with an octane number over 86. NEVER fill with used or polluted gasoline
or a mixture of gasoline and oil.
STEP 4: See Illustration B. Attach the auger (1, 2 or 15) to the output shaft on the bottom of the powerhead using the
3/8” bolt (3, 4 or 16) lock washer (5) and nut (6). Tighten.
3
IMPORTANT NOTE: The clutch requires a break-in period of approximately two hours. During this time some slippage
may occur. For best operation and long life keep the clutch free from oil and moisture.
1) Start the engine. Place the auger point in the desired hole location. Make sure that the unit is upright. Do not
dig at an angle.
3) Engage the throttle and start digging at a slow speed. Increase speed as the auger enters the soil.
4) Do not try to force the auger into the ground with your body weight.
5) For heavier soil, move the unit up and down for each foot of depth.
6) Do not use this machine in extremely rocky soils. If an object is encountered that is too large for the auger to
move, release the throttle control until the engine idles down. Then pull the auger from the hole and turn the
engine off. Remove the obstacle if possible and then resume digging.
WARNING: Read and thoroughly understand all safety information and operating instructions
before using this digger. Failure to do so may result in serious injury or death.
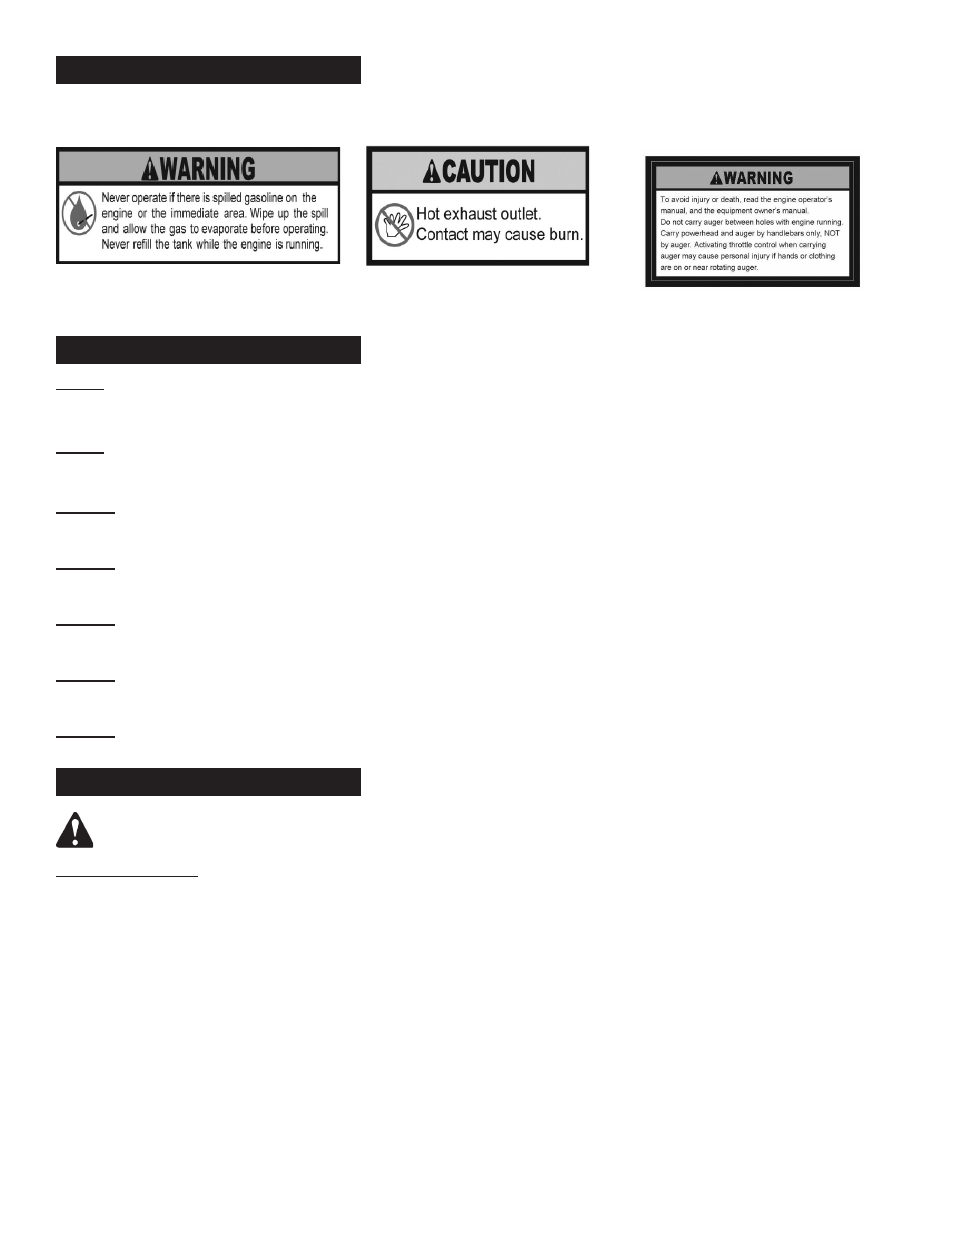
SAFETY DECALS
PART NUMBER: DL52-04-58
LOCATION: BACK OF GAS TANK
Make sure that all safety warning decals are in good condition and readable. Always replace missing or defaced decals.
Write or call us at 1-800-525-8322 and they will be sent to you at no charge.
ASSEMBLY INSTRUCTIONS
PART NUMBER: DL52-04-59
LOCATION: PLASTIC COVER
NEAR EXHAUST
OPERATING INSTRUCTIONS
PART NUMBER: DL52-04-60
LOCATION: TOP OF GAS
TANK