Pro Boat PRB2850 User Manual
Page 5
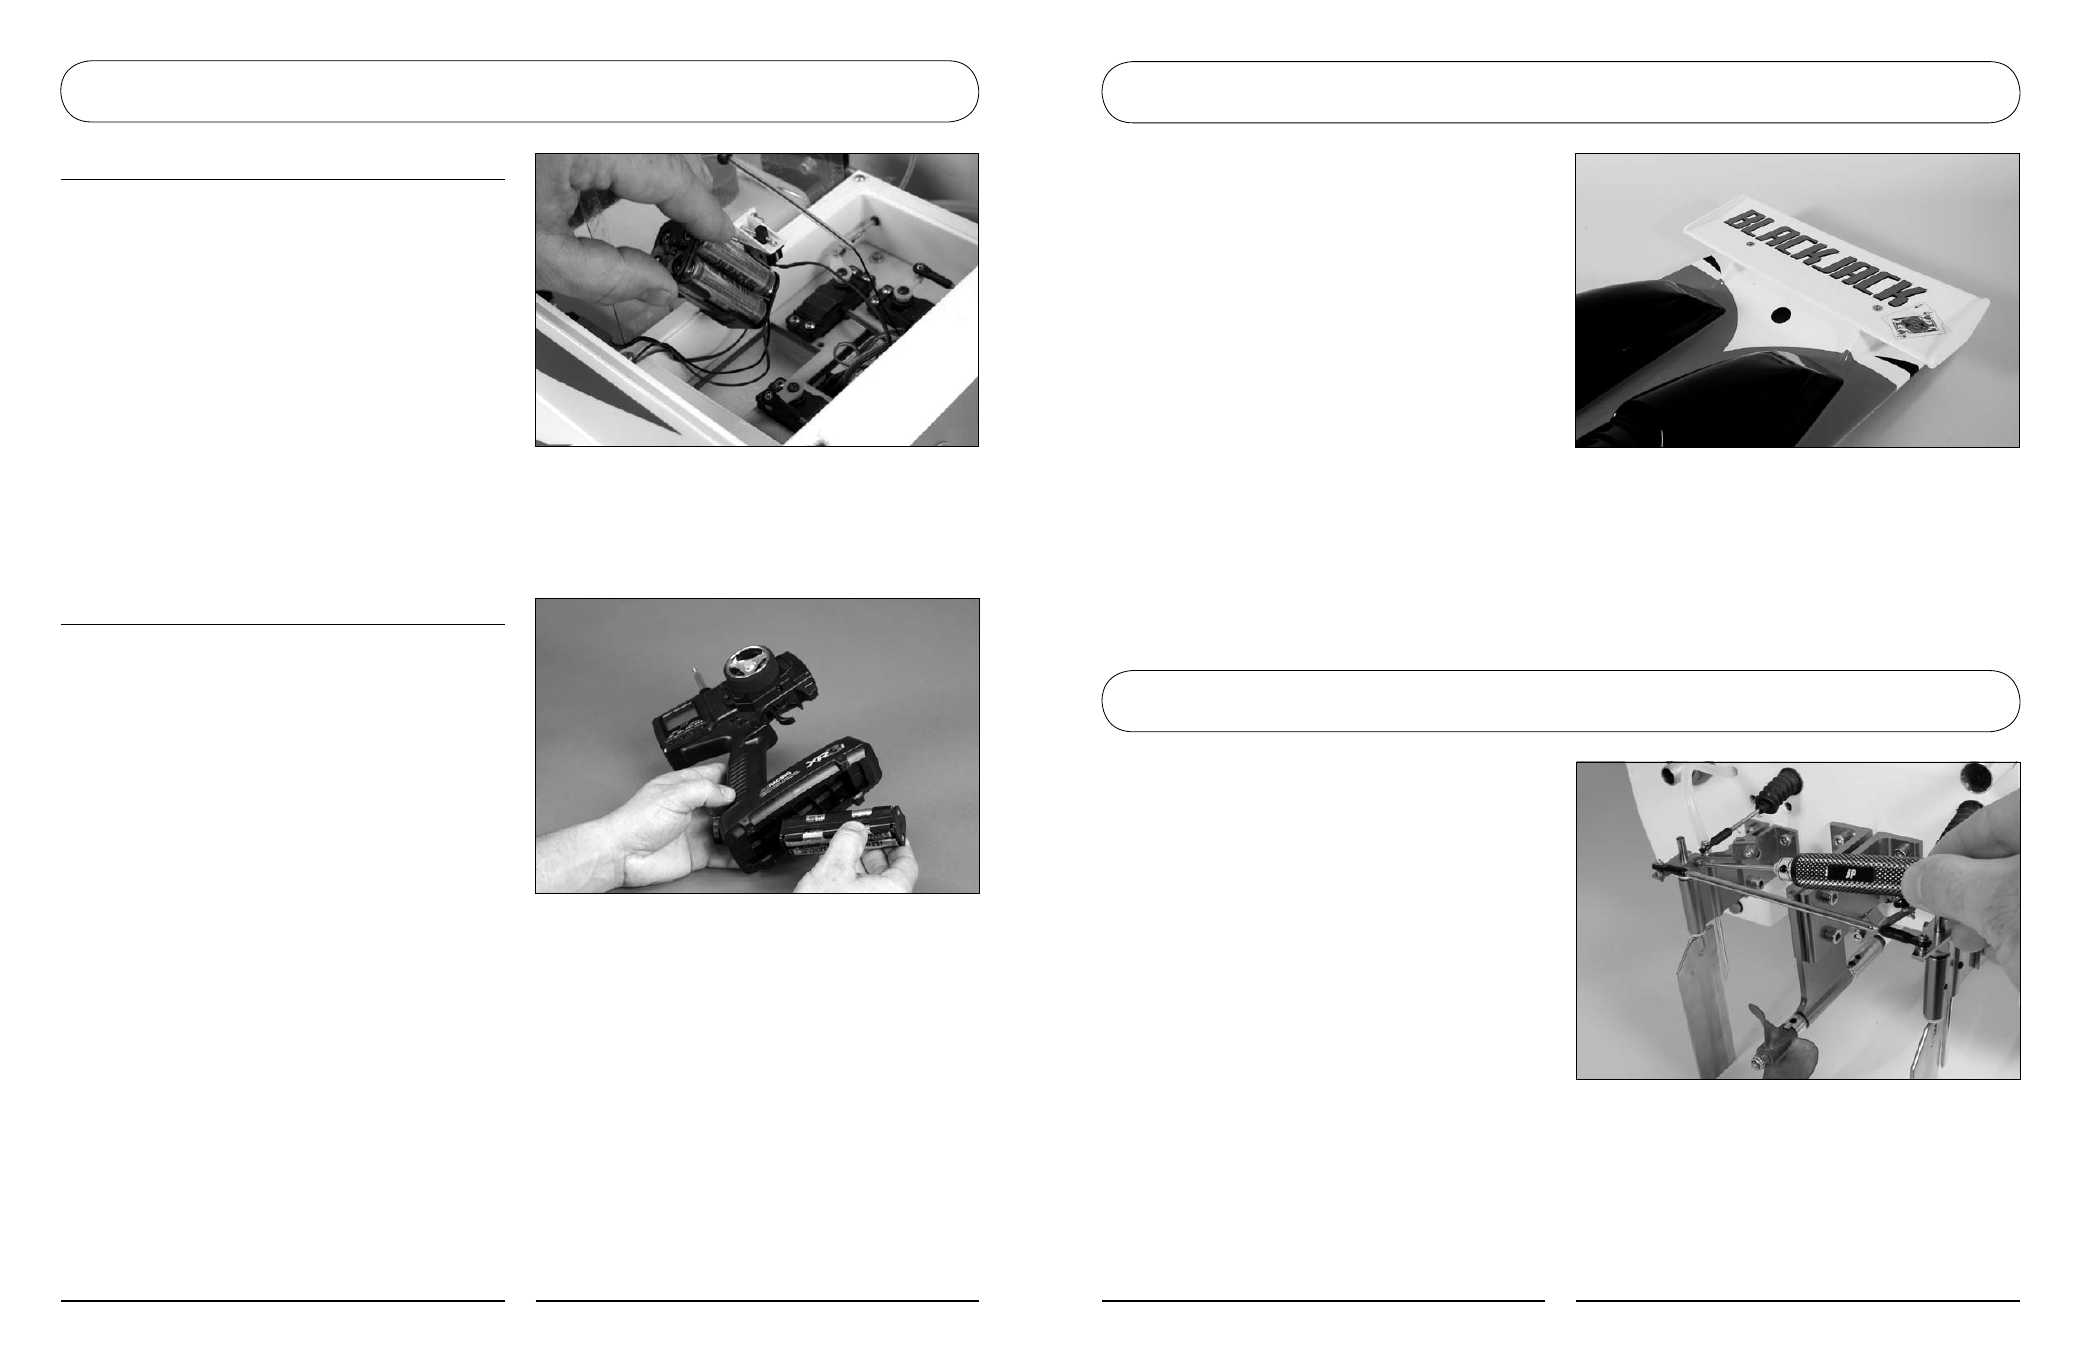
Receiver Batteries
m
1. Remove the ten 2.5mm hex head screws that
secure the radio box cover.
m
2. Remove the battery holder and install 4 AA
alkaline batteries in the polarity shown on the
battery box.
Note: You may consider upgrading
to a rechargeable battery pack. We
recommend the DYN1436. See
your local Pro Boat
™
dealer.
Transmitter Batteries
m
1. Remove the transmitter from the box.
m
2. Remove the battery cover on the bottom of
the transmitter.
m
3. Insert 8 AA alkaline batteries into the
battery holder.
Note proper polarity of the
batteries.
m
4. Turn on the transmitter and confirm that the
LCD illuminates, indicating proper installation of
fully charged batteries.
m
5. Turn on the receiver switch and move the
controls. Confirm that all controls operate in
the proper direction and are controlled by the
proper transmitter input.
m
6. Turn the transmitter and the receiver switch
off. To keep the boat from receiving stray
signals, the transmitter should be turned on first,
followed by the receiver. Likewise, the receiver
should be turned off first, then the transmitter.
m
1. Install the wing in the direction shown.
m
2. Use two 3mm x 12mm sheet metal screws
and two 3mm washers to secure the wing to
the hatch.
Note: The wing is not intended to
be a handle.
m
1. Carefully remove the tie wraps holding the
rudder control arms and the nylon rudder
bushings in place.
m
2. Slide the rudders into the rudder struts with a
bushing above and below the strut.
m
3. Position the rudder stabilizer arms as shown
with the control arms pointing away from the
transom.
m
4. Tighten the 3mm x 15mm hex screws,
securing them with 3mm nuts.
Note: Be sure the rudders are
parallel with one another and
centered before tightening the
screws.
Important: Always use screw-
locking compound on metal-to-
metal fasteners to prevent them
from vibrating loose.
Section 3: Installing the Radio System Batteries
Section 4: Installing the Wing
Section 5: Installing the Rudder Stabilizer