Celestron Advanced Series C5-S User Manual
Page 31
31
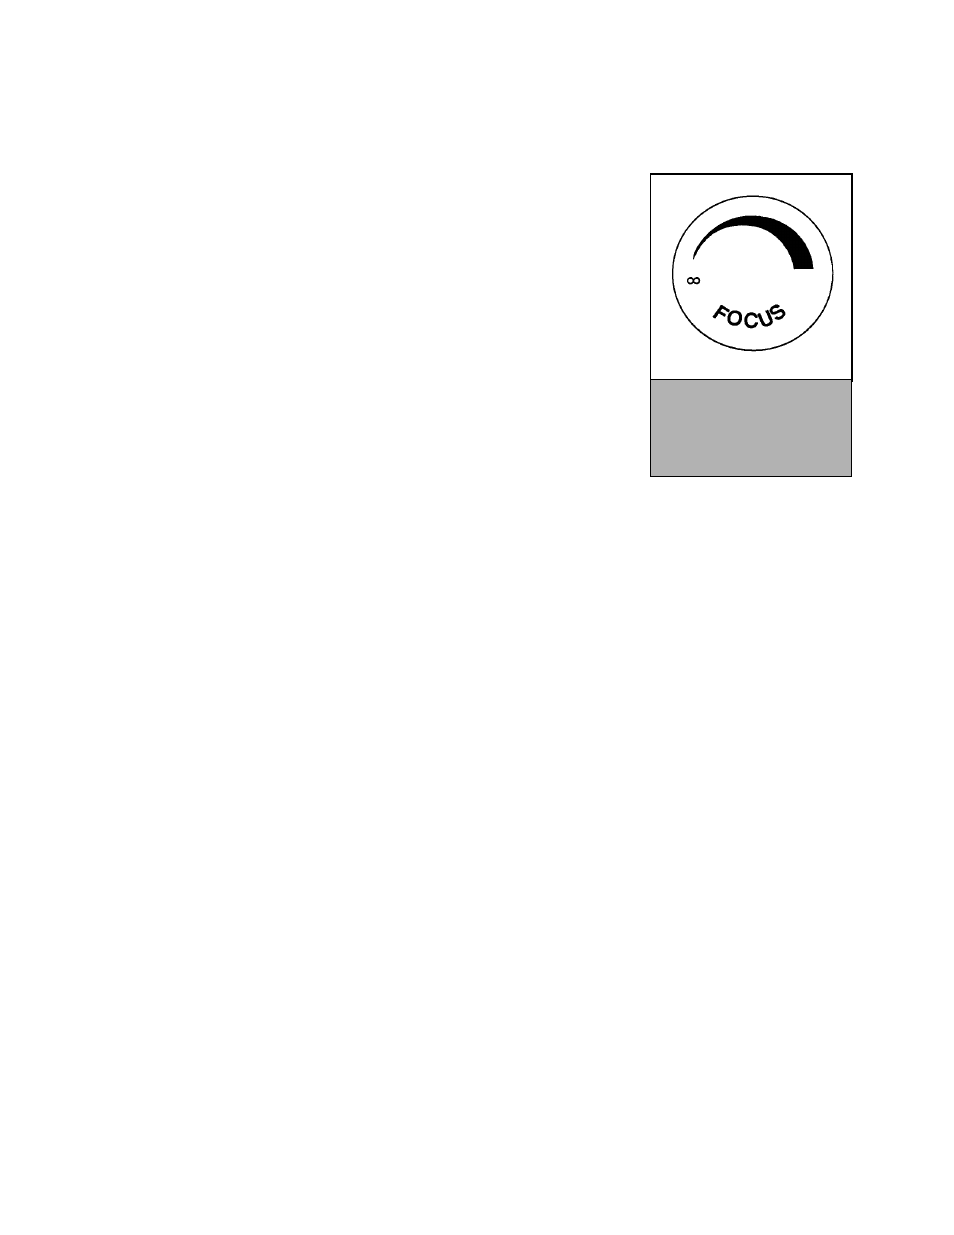
Figure 4-3
The emblem on the end of
the focus knob shows the
correct rotational direction
for focusing your telescope
.
Focusing
The Schmidt-Cassegrain focusing mechanism controls the primary mirror which is mounted
on a ring that slides back and forth on the primary baffle tube. The focusing knob, which
moves the primary mirror, is on the rear cell of the telescope just below the star diagonal and
eyepiece. Turn the focusing knob until the image is sharp. If the knob will not turn, it has
reached the end of its travel on the focusing mechanism. Turn the knob in the opposite
direction until the image is sharp. Once an image is in focus, turn the knob clockwise to
focus on a closer object and counterclockwise for a more distant object. A single turn of the
focusing knob moves the primary mirror only slightly. Therefore, it will take many turns
(about 30) to go from close focus (approximately 60 feet) to infinity.
For astronomical viewing, out of focus star images are very diffuse, making them difficult to
see. If you turn the focus knob too quickly, you can go right through focus without seeing
the image. To avoid this problem, your first astronomical target should be a bright object
(like the Moon or a planet) so that the image is visible even when out of focus. Critical
focusing is best accomplished when the focusing knob is turned in such a manner that the
mirror moves against the pull of gravity. In doing so, any mirror shift is minimized. For
astronomical observing, both visually and photographically, this is done by turning the focus
knob counterclockwise.
NOTE: Before turning the focus knob, remember to lossen to two mirror locking knobs located on the rear cell of the
telescope. These knobs connect a screw to the primary mirror mounting plate and prevent the mirror from moving when
locked down. These screws should be locked down when transporting the telescope.
Aligning the Finderscope
Accurate alignment of the finder makes it easy to find objects with the telescope, especially celestial objects. To
make aligning the finder as easy as possible, this procedure should be done in the daytime when it is easy to find
and identify objects. The finderscope has a spring-loaded adjustment screw that puts pressure on the finderscope
while the remaining screws are used to adjust the finder horizontally and vertically. To align the finder:
1 Choose a target that is in excess of one mile away. This eliminates any possible parallax effect between the
telescope and finder.
2 Release the altitude and azimuth clamps and point the telescope at your target.
3 Center your target in the main optics of the telescope. You may have to move the telescope slightly to center it.
4 Adjust the screw on the finder bracket that is on the right (when looking through the finder) until the crosshairs are
centered horizontally on the target seen through the telescope.
5 Adjust the screw on the top of the finder bracket until the crosshairs are centered vertically on the target seen
through the telescope.
Image orientation through the finder is inverted (i.e., upside down and backwards left-to-right). This is normal for
any finder that is used straight-through. Because of this, it may take a few minutes to familiarize yourself with the
directional change each screw makes on the finder.
Calculating Magnification
You can change the power of your telescope just by changing the eyepiece (ocular). To determine the magnification of your
telescope, simply divide the focal length of the telescope by the focal length of the eyepiece used. In equation format, the
formula looks like this:
Focal Length of Telescope
(mm)
Magnification
=
Focal Length of Eyepiece
(mm)