IC Realtime 2 Megapixel 1080P Weather-proof IR HD-AVS Camera User Manual
Page 11
6
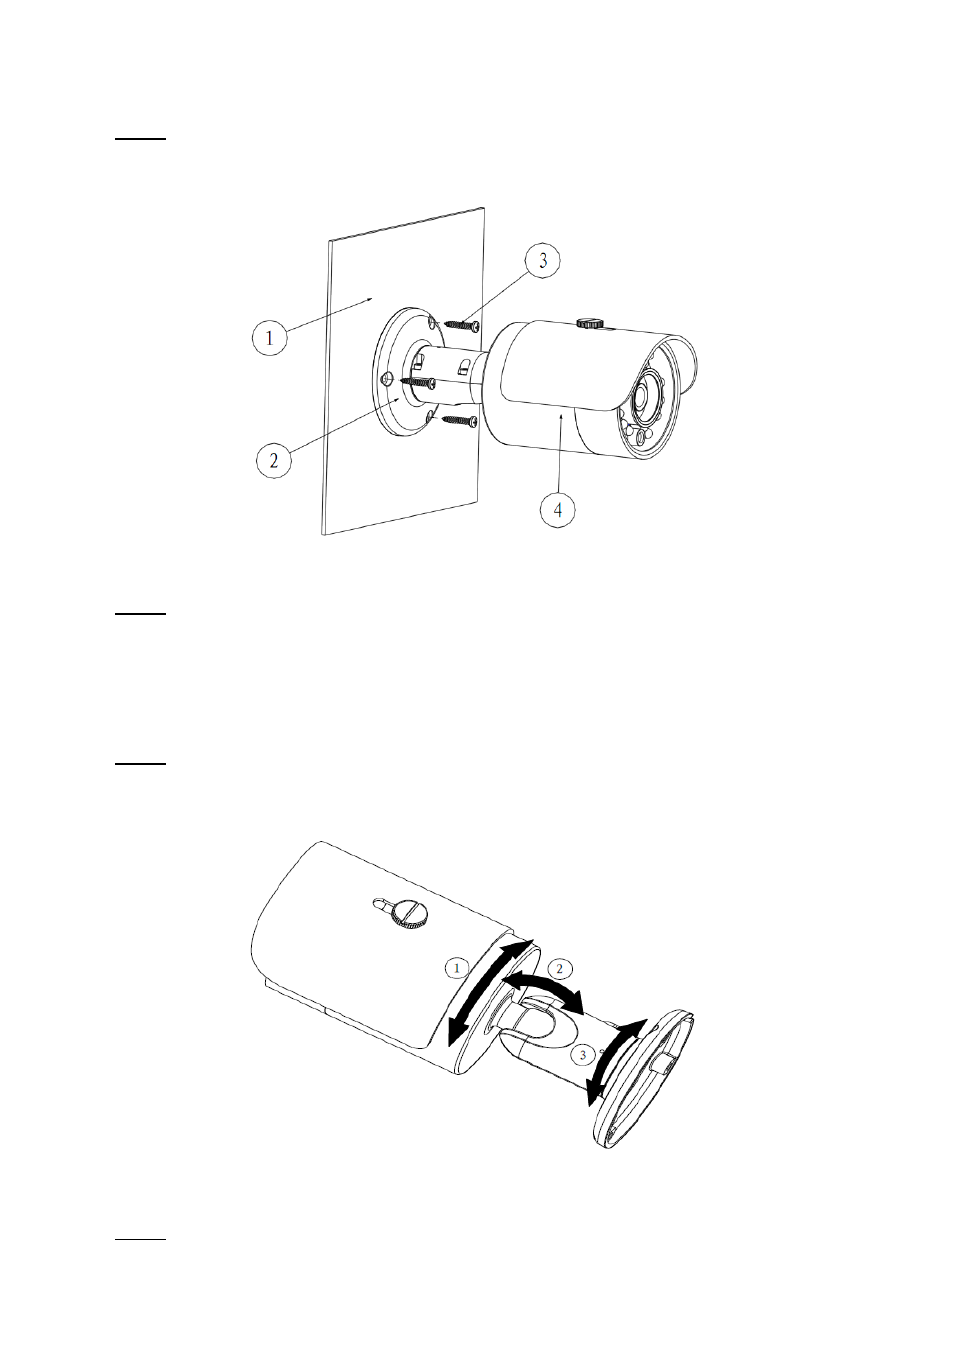
In Figure 3-2, ①Installation surface;②Bracket;③Screws;④Camera.
Step 1
Dig three holes in the installation surface of the wall or the ceiling. Insert three expansion bolts
to the three holes and then lock firmly.
Figure 3-2
Step 2
First prepare the cable according to the cable. Line up the three screw holes at the bottom of
the bracket to the three installation holes in the wall or the ceiling, and then insert three screws
to the three holes of the chassis of the bracket and fix them firmly. Now secure the bracket on
the installation surface of the wall or the ceiling.
Step 3
Adjust the camera to the proper monitor area via the three directions indicated in Figure 3-3
after you fixed the camera.
Figure 3-3
Step 4