User menu's, Print menu, 3 user – Carrier DATACOLD 500 T/R User Manual
Page 12: Menu's, 1 print menu
Page 12
62-61138-20 (02/03)
3 User
menu's
DataCold 500 T/R have four different user menu’s, which are directly accessible via the keyboard:
1. Print
menu
2. Alarm
menu
3. User settings menu
4. Status
menu
3.1 Print
menu
Press Blue button. The last selected print choice will be displayed. Printing
starts after 2 seconds. Repeatedly pressing the Blue button will scroll
between the available printouts, delivery ticket, graphical- and numerical
ticket.
Print delivery ticket
By pressing the Blue button for more than 2 seconds the following menu’s will be entered:
3.1.1 Select compartment to print.
After pressing [edit] you can toggle with [
↑], [↓] between the available
compartments and select with the green button [accept] the required one.
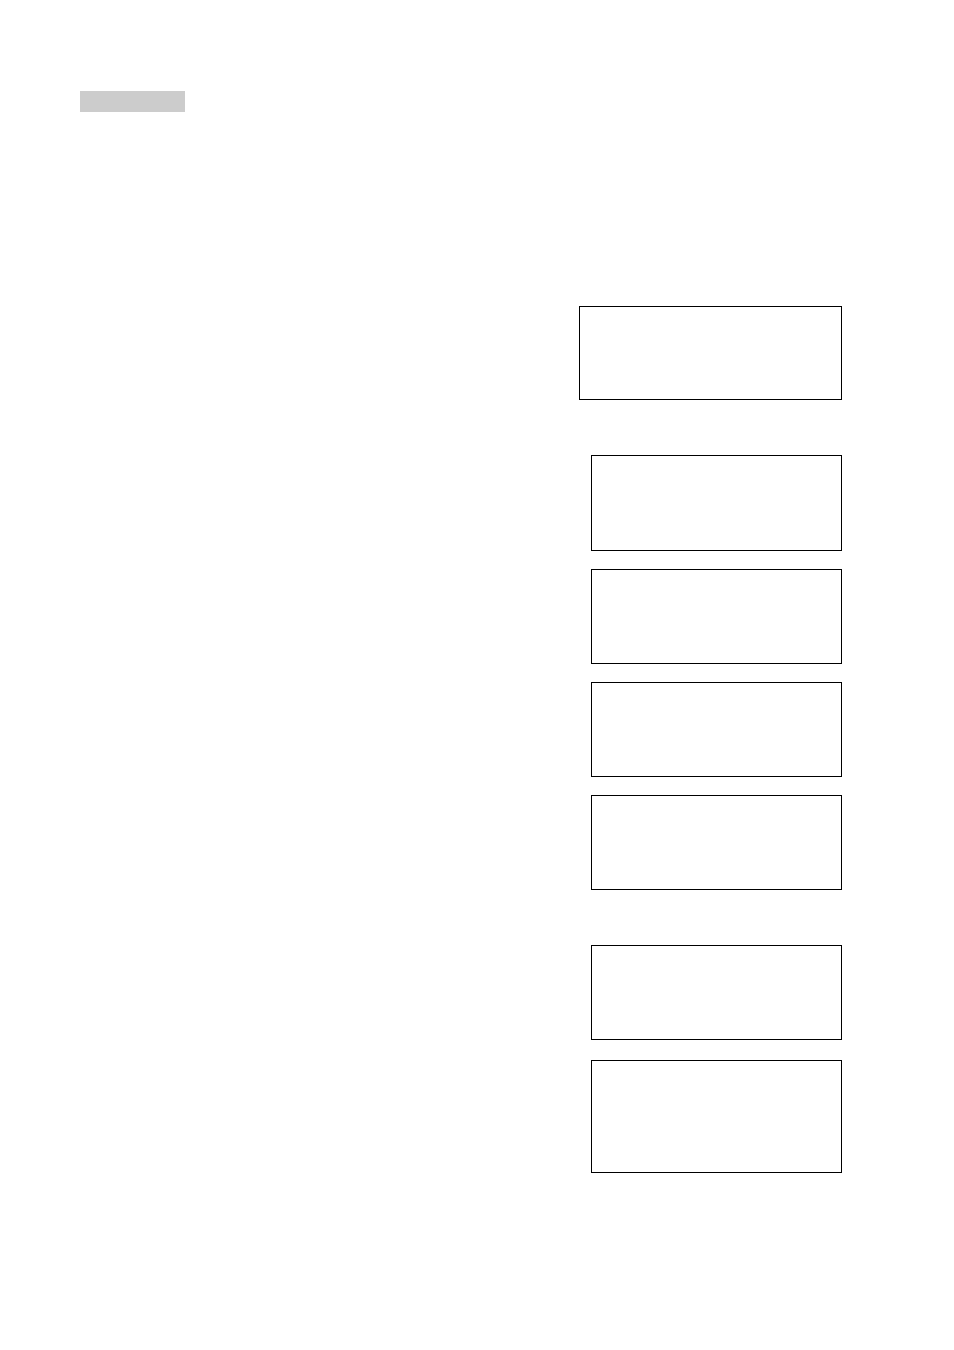
1.1 Select compartment
to print
COMP.1
↑ ↓ edit <-menu
3.1.2 Print event report
By pressing the Green button [accept] printing of the event report will start.
1.2 Print event
report
↑ ↓ accept <-menu
3.1.3 Print parameter report
By pressing the Green button [accept] the parameter report will be printed
after entering the correct PIN code.
1.3 Print parameter
report
↑ ↓ accept <-menu
3.1.4 Set print date
With [edit] you can select a historical date for printing. After confirmation of
the date with[accept] you can select the required report with the Blue
button. Printing starts with a delay of 2 seconds.
1.4 Set print date
(01-01-2000)
↑ ↓ edit <-menu
The next options from menu 1.5 until 1.8 can be switched on or off for the user by the supervisor.
3.1.5 Delivery ticket setting
With [edit] you can set the desired information printed on the delivery ticket.
You can select ‚actual value‘, ‚actual + average‘ or ‚actual, average and
min-max values.
1.5 Delivery ticket
setting actual value
↑ ↓ edit <-menu
3.1.6 Print time period
This option is used in combination with ‘Day start- and end time’ in order to
determine the time period of the various print reports. A print out starts from
the actual time and prints back for the number of hours set in this
parameter, but not further as the ‘Day start time’ set in the next menu. If the
1.6 Print time period
(10 hour)
↑ ↓ edit <-menu