Cuisinart DCC-2400STR User Manual
Page 8
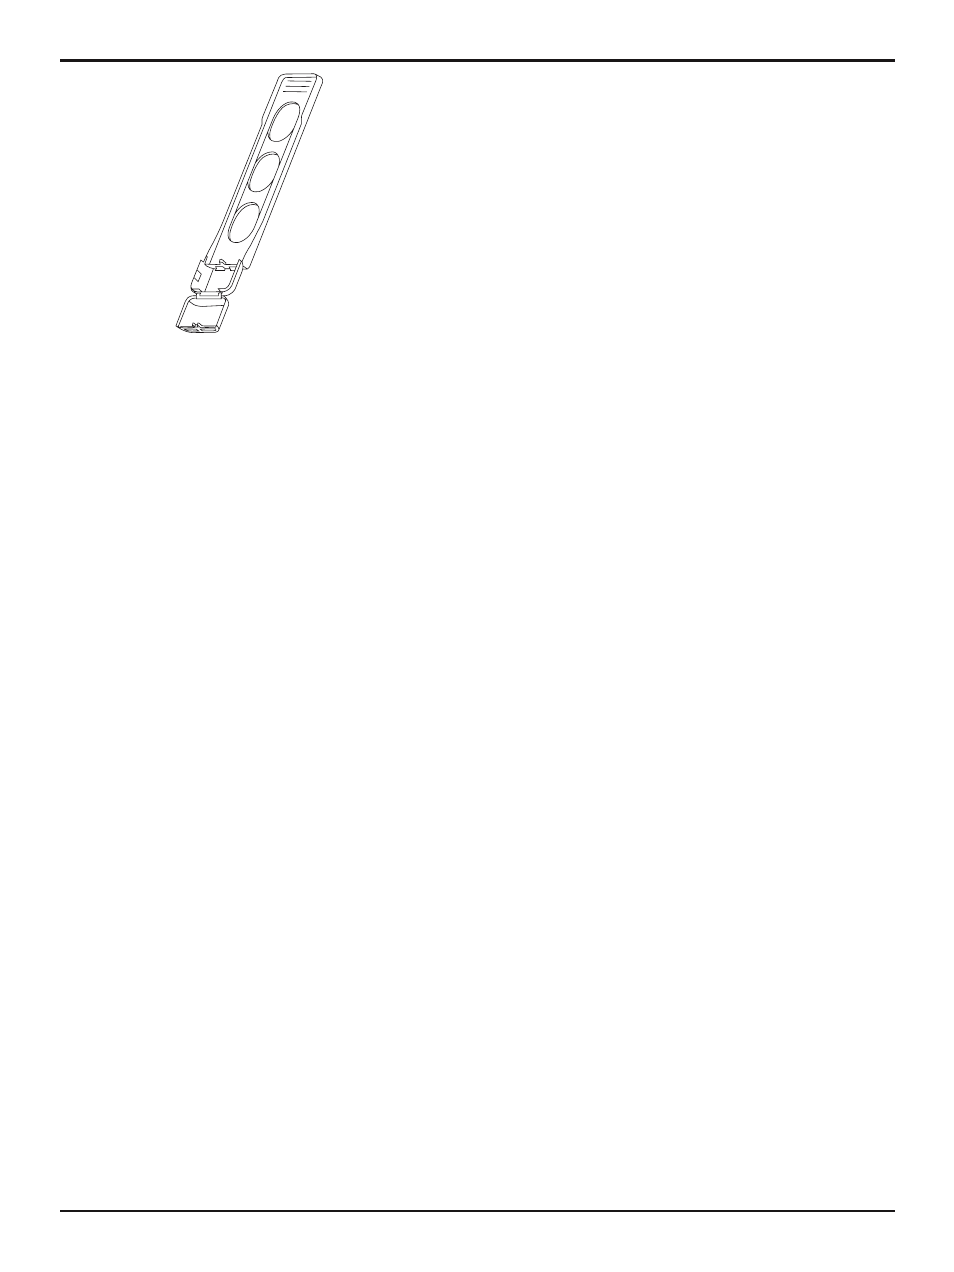
NOTE: Caution must be used when
inserting the charcoal filter. Improper
placement in the holder can cause tearing
of the filter skin.
f. Close the water filter holder; you will
hear a snap indicating it is in place.
g. Hold the filter under cold running tap
water for 10 seconds to flush. You
should place the hole openings in the
side of the unit directly under the
water stream.
h. Allow the filter to drain completely.
i. Replace the water filter holder in the
reservoir area of the coffeemaker,
pushing it all the way down to the
base of the unit.
NOTE: We recommend changing the water
filter every 60 days or 60 uses – more often
if you have hard water.
Replacement water filters can be
purchased in stores, by calling customer
service at 1-800-726-0190, or through the
Cuisinart website, www.cuisinart.com.
2. fill the water reservoir
Open the reservoir cover by lifting it up.
Pour the desired amount of water in the
reservoir using the step water level
indicator located at the rear of the reservoir.
3. Add the ground coffee
Remove the filter basket by grasping the
handle and lifting straight up, and then
place it on the countertop. Insert a #4
paper filter or permanent filter. Be sure that
the paper filter is completely open and fully
inserted in the basket. It may help to fold
and flatten the seams of a paper filter
beforehand. Add the desired amount of
ground coffee, corresponding to the
number of cups being brewed. Use 1 level
tablespoon per cup, but use more or less
to suit your taste. The Cuisinart
Coffeemaker makes 12-5 oz. cups.
NOTE: The maximum capacity for
ground coffee is 20 tablespoons for this
60 oz. coffeemaker. Exceeding this
amount may cause overflow.
Replace the filter basket in the filter basket
holder and flip the water reservoir cover
closed. Press firmly on top cover to be sure
that it closes securely.
Before brewing coffee
Remove thermal carafe lid by turning in the
direction of the “unlock” arrow. Prewarm
carafe by rinsing it out with hot water.
PREWARMING THE CARAFE WILL HELP
KEEP THE COFFEE HOTTER.
Return the carafe lid to the carafe. To lock
the lid, turn in the direction of the “lock”
arrow until it fits tightly on carafe and arrow
lines up in the center of the pour spout.
This ensures lid is closed and in the proper
position for brewing and pouring.
Make sure you have replaced the thermal
carafe in its position on the resting plate
and closed the top cover. Plug the cord into
an electrical outlet.
4. Power unit
Turn the function knob to brew, press the
on/off button, and the red indicator light will
turn on. Or, set the Auto On function and
the green indicator will light.
5. During and after brewing
The Brew Pause
™
feature allows you to
remove the carafe from the plate during
mid-brew. The brewing process does not
stop during this period – only the flow of
coffee from the basket stops. Do not
remove the carafe for longer than 30
seconds or the coffee may overflow the
basket. While we offer this feature, we do
not recommend that you pour the coffee
before the cycle has reached completion,
since the coffee brewed at the beginning of
7