Troubleshooting – Kenmore 580.513 User Manual
Page 10
Attention! The text in this document has been recognized automatically. To view the original document, you can use the "Original mode".
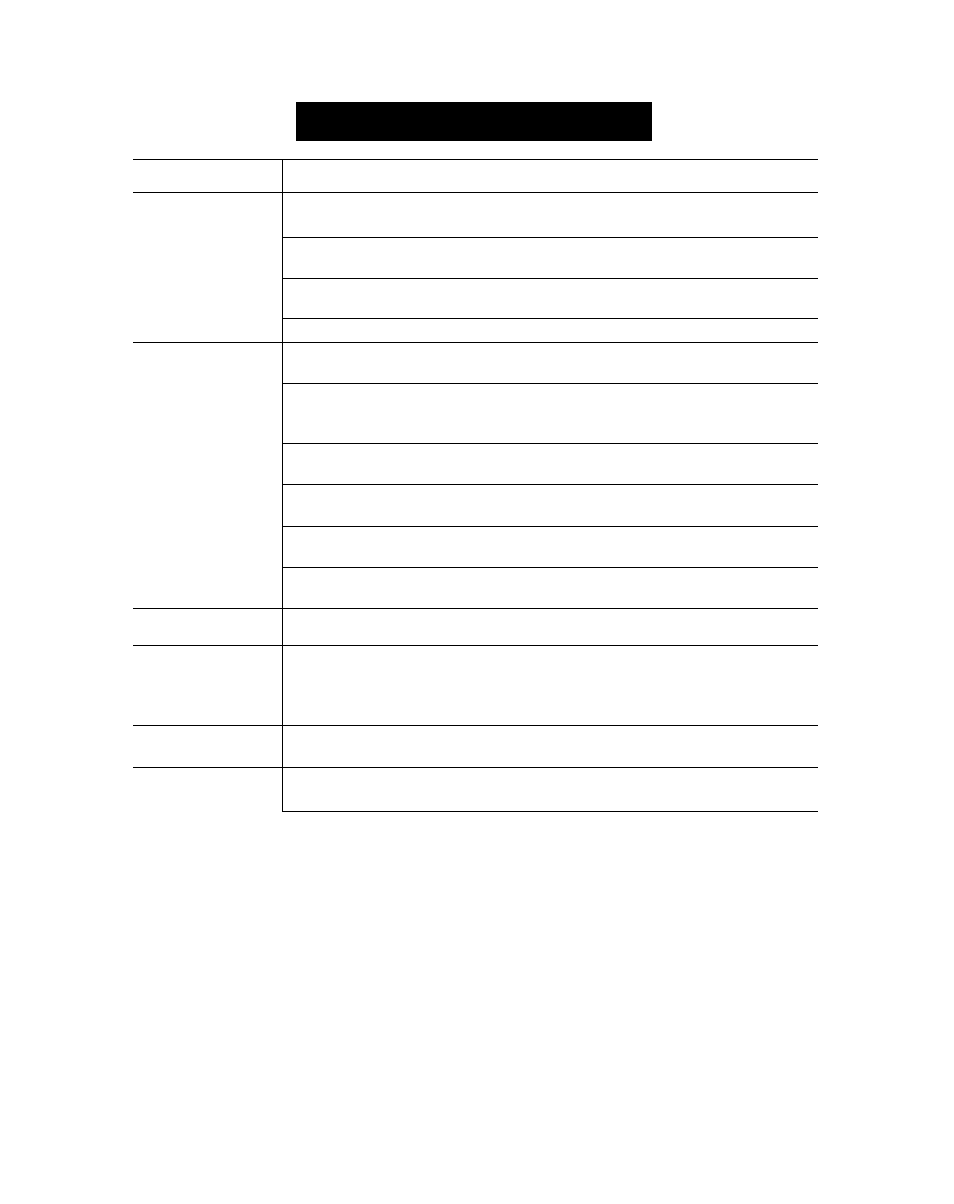
TROUBLESHOOTING
, Pjobfem' ^ ^ ‘
'V- r Possible Causes
Dehumidifier
does not start
The dehumidifier power
cord is unplugged
■ Make sure the dehumidifier plug is pushed
completely into the outlet
The fuse is blown or circuit
breaker is tripped.
• Check the house fuse or circuit breaker box
and replace the fuse or reset the breaker
Water bucket ts full
■ The dehumidifier automatically turns off
when this occurs Empty the bucket.
Bucket is not installed.
• Make sure a bucket in the right place.
Dehumidifier
does not dry the
Did not allow enough time
to remove the moisture.
• When first installed, allow at least 3 or 4
days to maintain the desired dryness.
air as it should
Airflow is restricted.
• Make sure there are no curtains, blinds or
furniture blocking the front or back of the
dehumidifier.
The Dryness Control may
not be set high enough.
• Turn the Dryness Control knob closer to the
Max position.
Doors and windows may
not be closed tightly.
• Check that ali doors, windows and other
openings are securely closed
Clothes dryer may be blowing
moisture-laden air into the room.
• Install the dehumidifier away from the dryer
The dryer should be vented to the outside.
Room temperature is too
low.
• The unit will not operate satisfactorily if the
room temperature is below 65“F. (IS^C.)
Dehumidifier runs
too much
Doors and windows are open.
• Close all doors and windows to the outside.
Frost appears on
the coils
Dehumidifier has been
recently turned on or room
temperature is below 65°F.
(18'C.).
• This is normal Frost will usually disappear
within 60 minutes
Fan noise
Air is moving through the
dehumidifier.
• This is normal.
Wafer
on floor
Bucket drain hose
connection may be loose.
• Check the hose if one is attached.
Water bucket is not ail the
way in.
See the Removing and Emptying The Water
Bucket,
- 1 0