Congratulations, Ice maker operation, Acaution – Whirlpool 759105-U User Manual
Page 4: How your ice maker works, Things to remember
Attention! The text in this document has been recognized automatically. To view the original document, you can use the "Original mode".
Ч
Ш
Таке а few minutes to
I
■ ■ read the "Ice maker
operation” section, Panel C, and the
Use and Care Guide
to fully
understand your new ice maker.
Ч
Open ice maker door.
I
Wash out the interior of
the bin with a solution of two
tablespoons of baking soda and one
quart of water. Rinse the bin
thoroughly with water.
Ч
If ice maker is installed
I
^7
b
above 2,000-feet
altitude, the bin and evaporator
thermostats will need adjusting,
Remove the thermostats and follow
the directions for turning the altitude
adjustment screws as shown on
each of the thermostat labels.
Reinstall the thermostats in the ice
maker,
20
.
Replace the access grille
T Turn on the water supply
I
B and check for leaks. Then
turn on the electrical supply,
Turn the ice maker control
^
h
^
h
B knob to the right to the
"CLEAN” position. Check that the
pump motor is operating correctly,
^3^2 Turn the control knob to
^^%2
b
the ’ON” position. Check
that the condenser fan is revolving.
Important:
Ice maker must run for three hours
before you may expect ice.
^2^3 Let the ice maker run for
B three hours. When water
flows over the freezing plate, check
that it is flowing evenly. If it is not, the
ice maker is not level and Step 15
should be repeated.
Important:
Do Not adjust the thickness setting
until ice maker has run for 24
hours.
Continue to let the ice
^Ê%^U
maker run for 24 hours.
Check to see if cubes are the
desired thickness and, if necessary,
adjust the thickness control.
If installing decorative
^
h
\^B wood panels on the
door and lower panel, follow the ’To
change the bin door and lower
panel' instructions.
You have just
finished Installing your
new Whirlpool Ice Maker.
^ Congratulations! |
Keep Installation Instructions
available for easy
reference.
Ice maker
operation
Before running your ice maker for the
first time, you should note the
following:
• Water enters only during the
defrost cycle, so the first harvest
cycle will be completed without
water in the system.
• Water will not enter the pump
pah until the freezing plate gets
cold and the ice maker begins a
harvest cycle.
• A normal harvest cycle takes
between 60 to 120 seconds to
complete. However, do not
expect ice until the ice maker
has been operating for at least
three hours,
• The evaporator thermostat opens
when the evaporator reaches
the preset temperature
(+10® to -3°F. depending on the
thickness of the ice). The hot gas
solenoid and the water valve
solenoid are energized at this
time, so the pump motor and fan
motor will shut down. The motors
will remain off and the solenoids
will remain charged until the
evaporator reaches 38°F (±2®F)
again.
• As the temperature of the room
and water varies, so will the
amount of ice produced. Higher
operating temperatures will result
in less ice made, To make the
most ice, set the thickness control
to produce 1/2' to 5/0“ cubes,
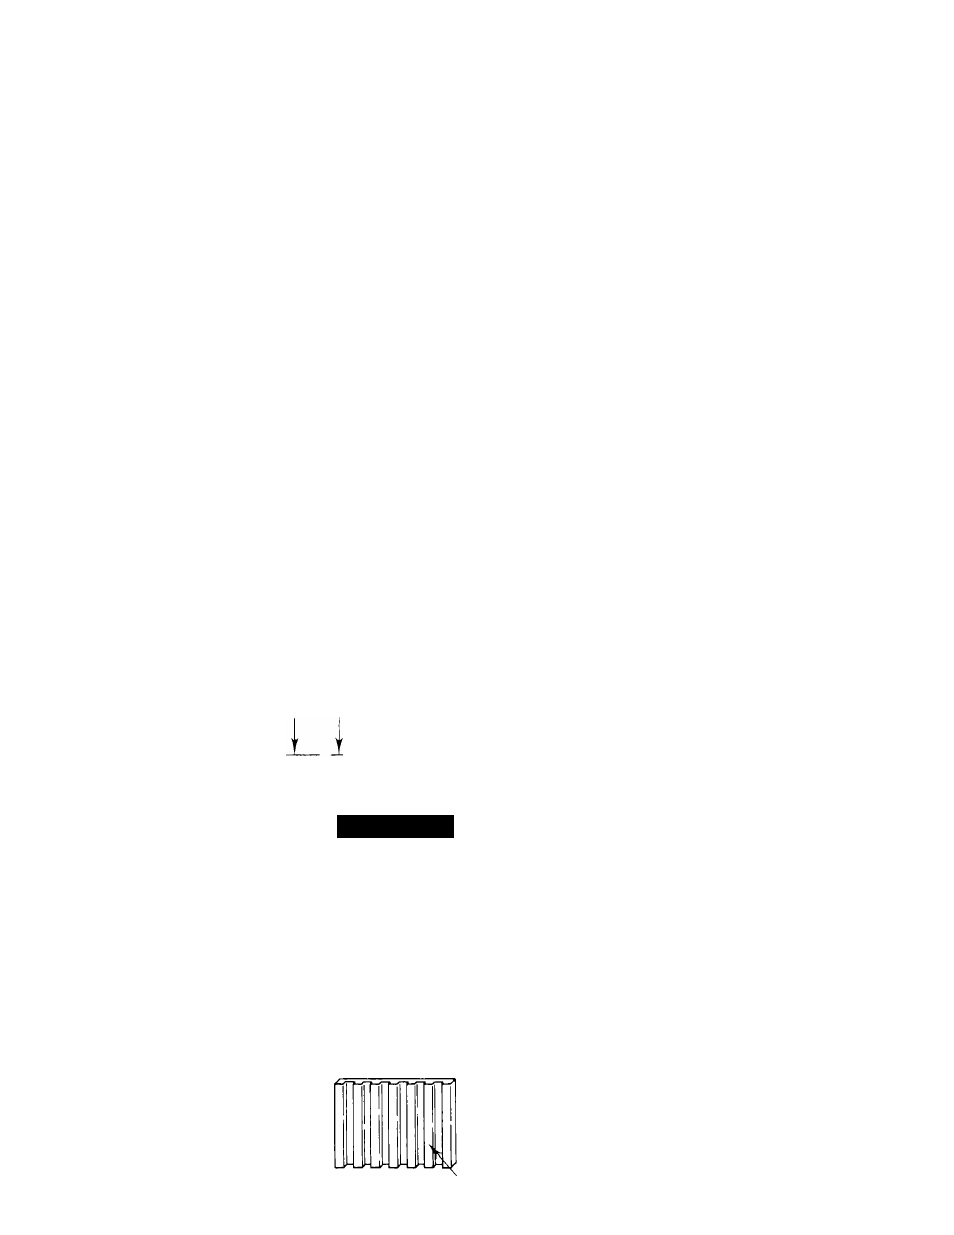
To change the
bin door and
lower panel
The bin door and lower panel can
be customized to match wood
cabinets.
Door bln Lower panel ___________________________
11
-
1
/
4
“
11
-
15
/
16
“
WOOD
PANEL
DIMENSIONS
^1/4“ г
ACAUTION
Personal Injury Hazard
Handle metal edges carefully.
Cut metal edges may cause
personal Injury or damage to
other materials.
1, Cut panels using the specified
dimensions. Make sure wood grain
matches the-direction of the cabinet
wood grain.
The Ice maker Is subject to some
humidity. Cover both sides and
edges of the v/ood panels with
molsture-reslstant sealer.
2, Open the bin door and remove
the two screws holding the handle to
the top of the door. Remove the
handle,
3, Slide the metal panel out of the
bin door.
4, Break off the ribs on the door
insulation.
5, Slide the wood door bin panel into
the door bin frame.
6, Reattach the handle with the two
screws,
7, Remove the two screws at the
bottom and the two screws at the
top of the lower panel. Remove the
top of the lower panel assembly.
8, Slide the metal panel and the
spacers out of the lower panel
assembly.
9, Slide the metal panel back into
the lower panel assembly. Slide
the wood panel in front of the metal
panel,
10, Reattach the top of the panel
with the two screws and replace the
two screws at the bottom of the
assembly.
How your ice
maker works:
When the ice maker is turned
to "ON”;
• Compressor and condenser fans
run,
• Water pump circulates water,
• Cutter grid becomes warm to
touch.
When the ice siab reaches the
desired thickness:
• Harvest cycle begins, (Normal
harvest cycle takes 60 to 120
seconds.)
• Evaporator thermostat is
satisfied,
• Compressor keeps running, but
the condenser fan will stop
turning or turn very slowly.
• Water pump stops,
• Hot gas solenoid and the water
inlet valve open.
• Excess water is flushed out of the
drain pan,
• Cutter grid remains warm to
touch.
After the siab is reieased:
• Cycle begins again,
• Cutting process begins.
When the storage bin is fiiied:
• Bin thermostat opens,
. Cutter grid remains on.
Things to
remember
• The ice maker will automatically
continue to harvest ice until the
storage bin is full. The ice maker
will shut down when the ice in the
storage bin touches the bin
thermostat well. It will begin
harvesting ice again when ice is
removed from the bin.
• The storage bin is not refrigerated
so there will be some melting. This
will vary with the temperature of
the room where the ice maker is
located,
• The ice maker must have good
ventilation to work properly. Do
Not block the front of the ice
maker. Keep the front air grille
and condenser clean.
• The water system, including the
filter screen in the water solenoid
valve, needs to be cleaned
periodically for good circulation.
Instructions for cleaning the water
system are located on the inner
door panel.
Panel C