Replacing headlights, Headlights, Replacing warning lights – Cub Cadet 430d User Manual
Page 14: Fuses, Tire pressure, Wheel replacement, Rear wheels, Front wheels
14
If the vehicle has not been put into use for an extended
period of time, charge the battery with an automotive
type 12-volt charger for a minimum of one hour at six
amps.
Replacing Headlights
Headlights
The headlights are held in place by a rubber seal
around the perimeter of the headlight which creates a
snug fit onto the fender. See Figure 16.
•
Remove the headlight by pulling it out of the fender.
•
Disconnect headlight from wire connector.
•
Reattach the wire connector to new headlight and
push the headlight into opening in fender.
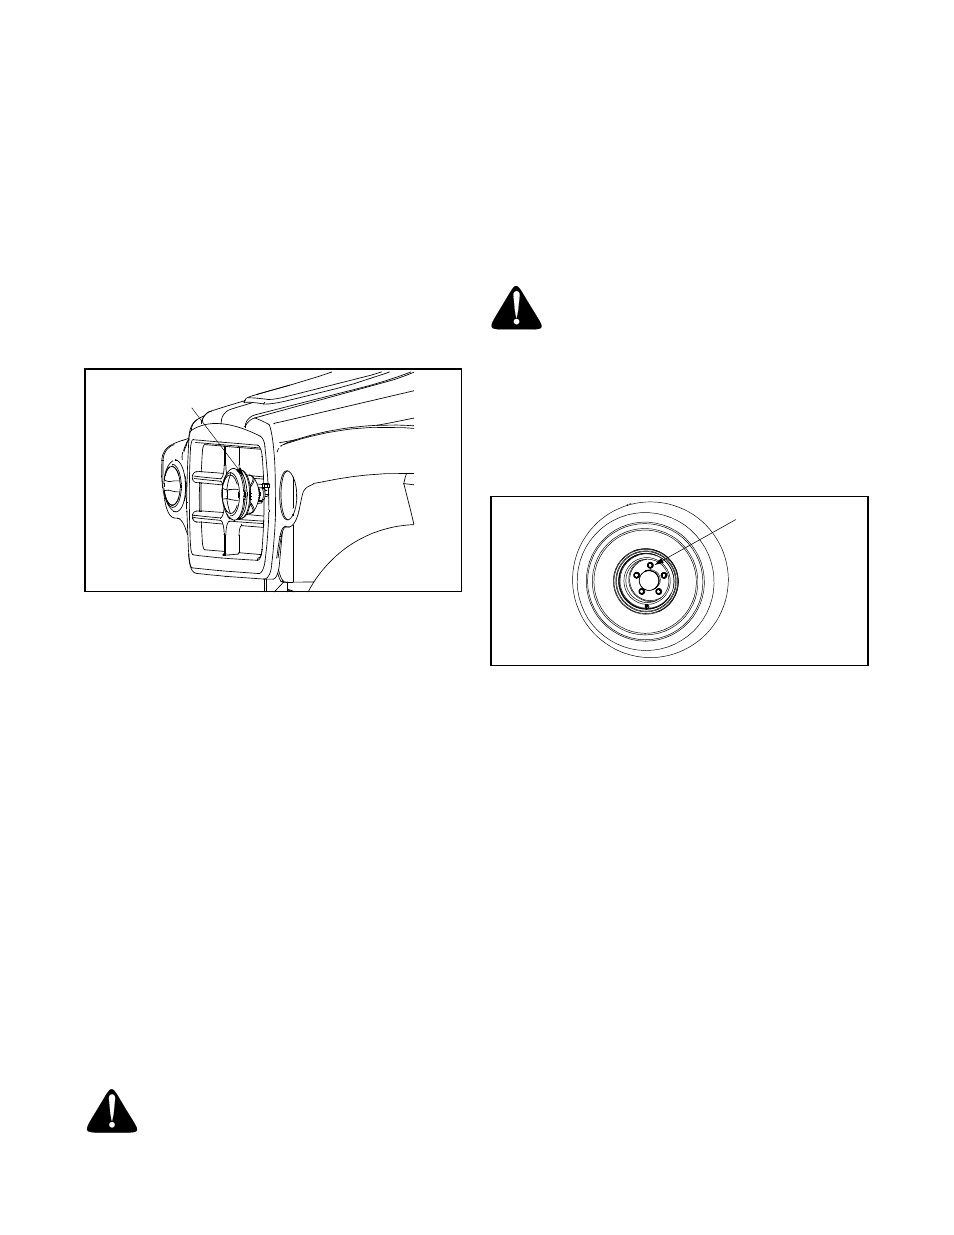
Figure 16
Replacing Warning Lights
•
Raise hood to get access to under the dash panel.
If brush guard is in place, open hood as far as you
can, reach in from the driver’s side and pull the
cotter pin to remove hood.
•
Remove the appropriate bulb socket and replace
bulb.
•
Reattach socket and lower hood. Secure hood to
fender.
Fuses
•
Unlatch and lift hood forward to get access to under
the dash panel. If brush guard is in place, open
hood as far as you can, reach in from the driver’s
side and pull the cotter pin to remove hood.
•
Remove the appropriate electrical fuse and replace
with proper amperage fuse. (See schematic under
hood)
•
Reattach socket and lower hood. Secure hood to
dash.
Tire Pressure
WARNING: Explosive separation of tire and
rim parts is possible when they are serviced
incorrectly. Do not stand in front or over tire
assembly when inflating.
The recommended operating tire pressure is approxi-
mately 5-7 psi for all tires. Overinflating above
recommended tire pressure can reduce the life of the
tire. Check tire pressure before driving the vehicle.
NOTE: For high loads 8-10 psi is recommended for all
tires. The recommended tire pressure while using the
snow plow option is 8-12 psi in the front tires.
Wheel Replacement
WARNING: Using an unstable lifting device
and vehicle support may result in bodily injury.
Use a safe lifting device and supports to work
on raised vehicle.
Rear Wheels
•
Stop the vehicle on a level surface and apply
parking brake.
•
Turn the ignition key to the STOP position and
remove the key.
•
Loosen but do not remove the five lug nuts from the
axle hub. See Figure 17.
Figure 17
•
Raise rear of vehicle with a safe lifting device and
place support stands under vehicle.
•
Remove the five lug nuts and rear wheel. Place
new wheel on the axle hub and secure with nuts.
•
Tighten nuts diagonally until snug.
•
Remove support stands and lower vehicle.
•
Finish tightening the nuts to 55-60 lb-ft using a
torque wrench.
Front Wheels
•
Stop the vehicle on a level surface and apply
parking brake.
•
Turn the ignition key to the STOP position and
remove the key.
•
Remove plastic dust cap.
•
Loosen 3/4” hex head screw.
•
Raise front of vehicle with a safe lifting device and
place support stands under vehicle.
•
Remove screw and front wheel. Place new wheel on
front axle hub and secure with screw and Loctite.
•
Remove support stands and lower vehicle.
•
Finish tightening the screw to 80-85 lb-ft using a
torque wrench.
IMPORTANT:
Overtightening front wheel can result in
bearing damage.
Rubber Seal
Wheel Nuts