Installation of the rack – Softride Elite 4 bike rack User Manual
Page 3
ELITE RACK INSTRUCTIONS pg.3
Installation of the rack
1
For 2” racks only. Check to make sure that the
nut inside the rack hitch bar is aligned with the
hole in the hitch bar. Adjust with a screw driver
if necessary.
2
Slide the rack into the receiver hitch of
the vehicle.
3
Line up the hole in the hitch bar with the hole
in the receiver hitch.
5
To lock the bike rack to the vehicle, press the
hitch lock over the bolt stud.
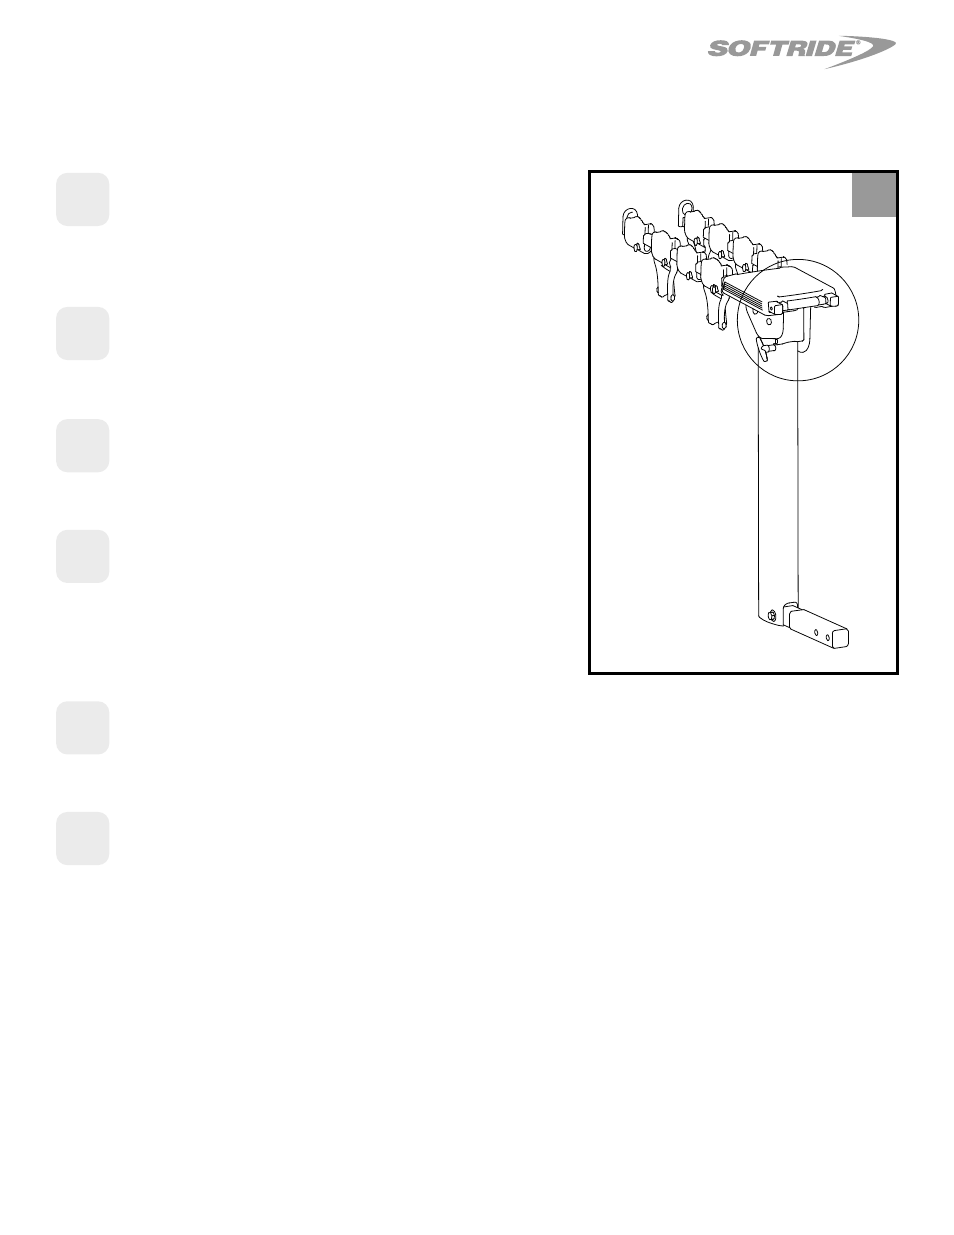
6
The bike arms must be oriented so that the
inside curved surface of the anti-sway bracket
is facing outward. Slide the arms into the top
plate until you hear a click which indicates they
have locked into the auto lock mechanism.
4
Place the lock washer on the hitch bolt and
thread it into the nut in the hitch bar. For 2”
racks tighten the hitch bolt to 60 foot pounds,
+/- 5 foot pounds. For the 1.25” rack, tighten
the hitch bolt to 40 foot pounds +/- 5 foot
pounds foot pounds.
6