Petsafe In-Ground Fence™ (Older Model) User Manual
Page 6
6
Crossing hard surfaces:
• Lay the wire in a convenient expansion joint or use a circular
saw with a masonry blade to create a groove.
• Place the wire in the groove and cover with an appropriate
patching compound. Your local hardware store can help you
choose the right compound for your surface. For best results,
brush away dirt or other debris before caulking.
Set the Boundary Width
The ABC Boundary Control Switch on the side of the transmitter
has 3 settings. The following table indicates setting suggested for
your length of wire.
Setting
Amount of Wire
A
Greater than 2400 feet
B
Up to 1300 feet
C
1300-2400 feet
Note: You may adjust the ABC Boundary Control Switch to
another setting to achieve your desired range, even if it is not the
setting suggested for your amount of wire.
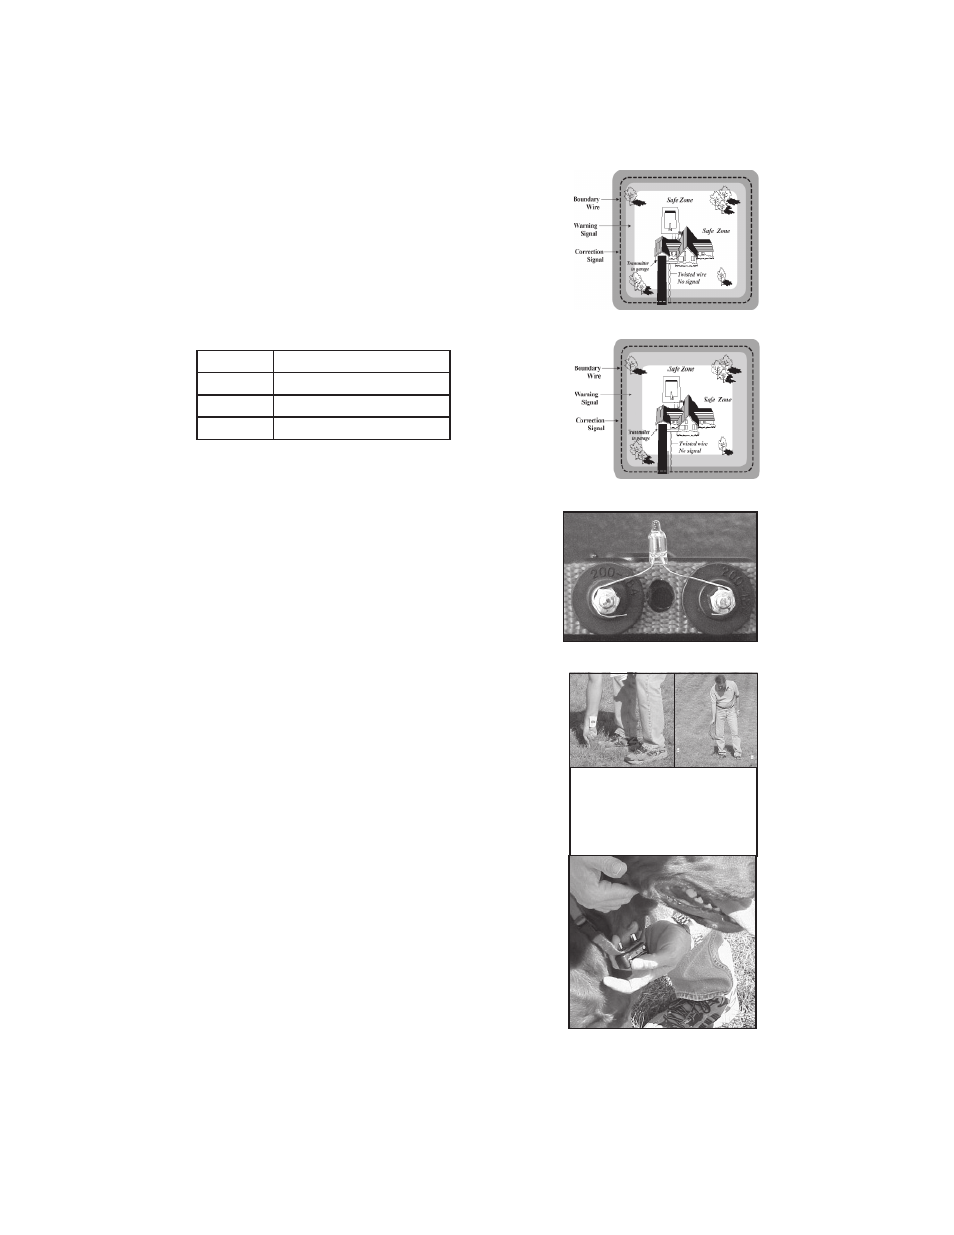
To set the boundary for your yard, turn the Boundary Width
Control to set the warning zone at a width that is best for you and
your pet. It is recommended that you set the warning zone width
at least five feet from the boundary wire. It is important to balance
the need for a large warning zone versus your pet’s need for a “safe
zone” that allows enough freedom of movement. Note that the
Boundary Width Control is NOT a correction strength control.
To establish where the warning zone begins, make sure the
batteries are in the receiver and walk toward the boundary wire.
Stop when the beeping begins, and place a boundary flag in the
ground.
Adjust boundary width to allow an adequate "safe zone" for your pet.
Larger Safe Zone
Smaller Warning Zone
Smaller Safe Zone
Larger Warning Zone
Test Light on Receiver Contact Points
Place the flags approximately ten
feet apart. The flags are a temporary
visual aid for you and your pet during
the training process. The flags can be
removed when your pet has become
familiar with the location of the
boundary.
One Fingertip Between
Contact Point and Pet's Neck