Assembly instructions 2/4, Step 1 – Home Styles 5543-07 User Manual
Page 2
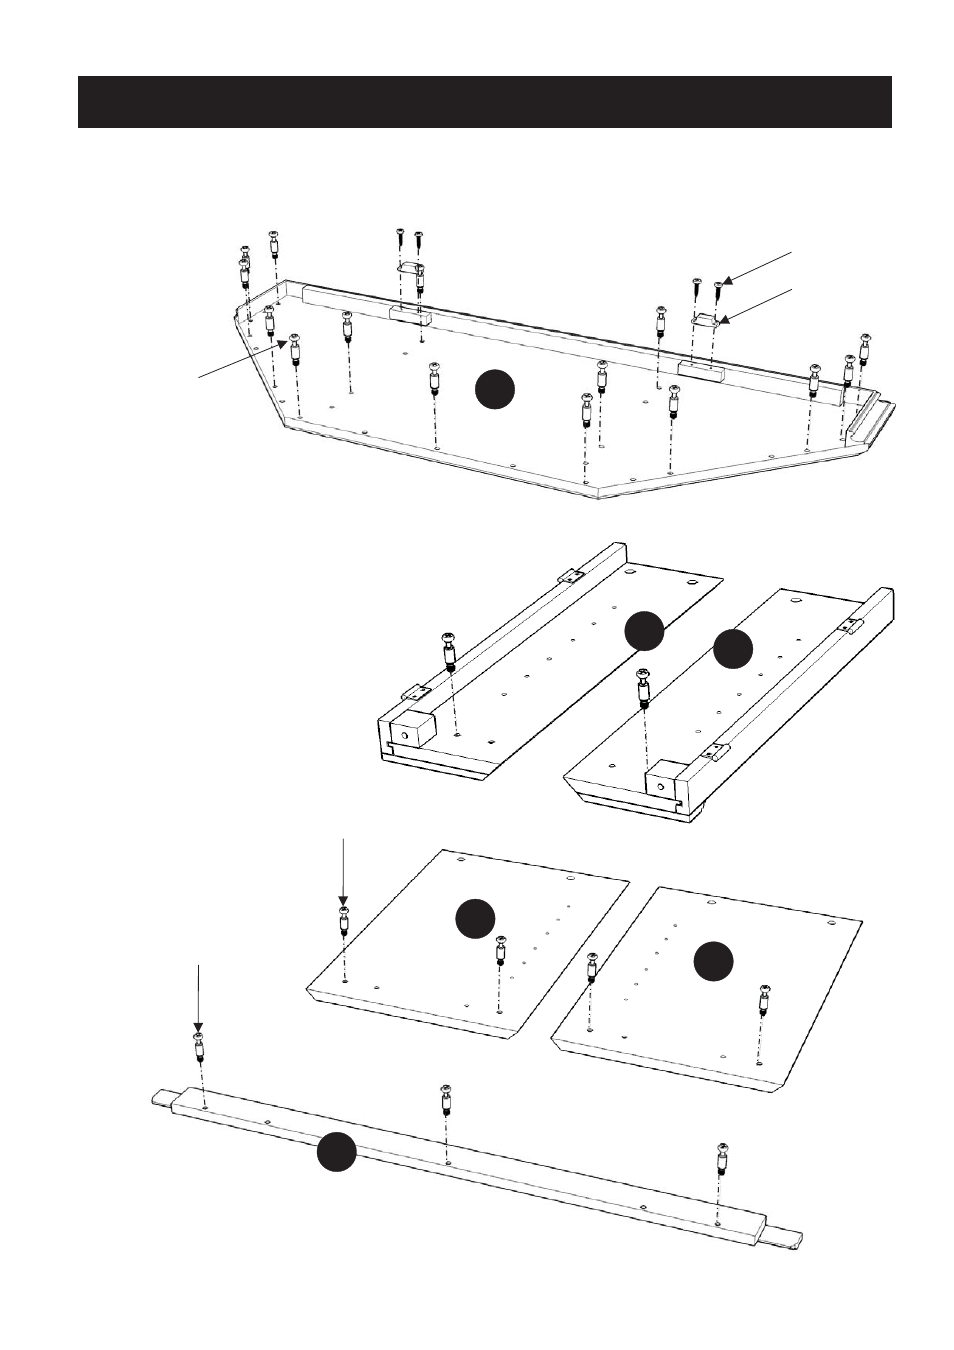
STEP 1
Assembly Instructions 2/4
A
Cam Lock Screw
B
C
Insert Cam Lock Screws into
the pre-drilled holes of Top (A),
Side Panel (B) and (C),
Back Panel (I) and (J),
Plinth (H), then tighten.
H
J
I
IMPORTANT
* Do not tighten up all the screws until each part is properly assembled.
* After assembly, item must be level to work properly. Use the included adjustable levelers to level.
Wood Screw
Magnet
Cam Lock Screw
Cam Lock Screw
Attach 2X Magnets to Top (A) by using Wood Screws
in the pre-drilled holes.