Installation of the cabinet attention, Fastening points, Warning – B&C Technologies FC-18 Fire Cabinet User Manual
Page 19: Step 2: fasten the cabinet to the wall, Step 1: put the cabinet in place, Step 5: control that the heating relay is working
19
©
PODAB 2009
Step 3: Connect the cabinet to the
ventilation channel
For further instructions, se page 20: Requirements for ventila-
tion.
Do not use ventilation channels made of plastic or foil.
•
Place the cabinet so that the ventilation channel is as short as
•
possible.
Make sure that the ventilation channel is cleaned when a new
•
cabinet is installed.
Use a 160 mm rigid or flexible metal duct to the evacuation
•
connection.
If you use rigid ducts, it is important that the male connector of
•
the ventilation tube on each section follows the air direction.
The construction shall be as straight as possible.
•
Always isolate ducts that go through non-isolated areas. The
•
condensation makes dust and dirt get stuck in the channel.
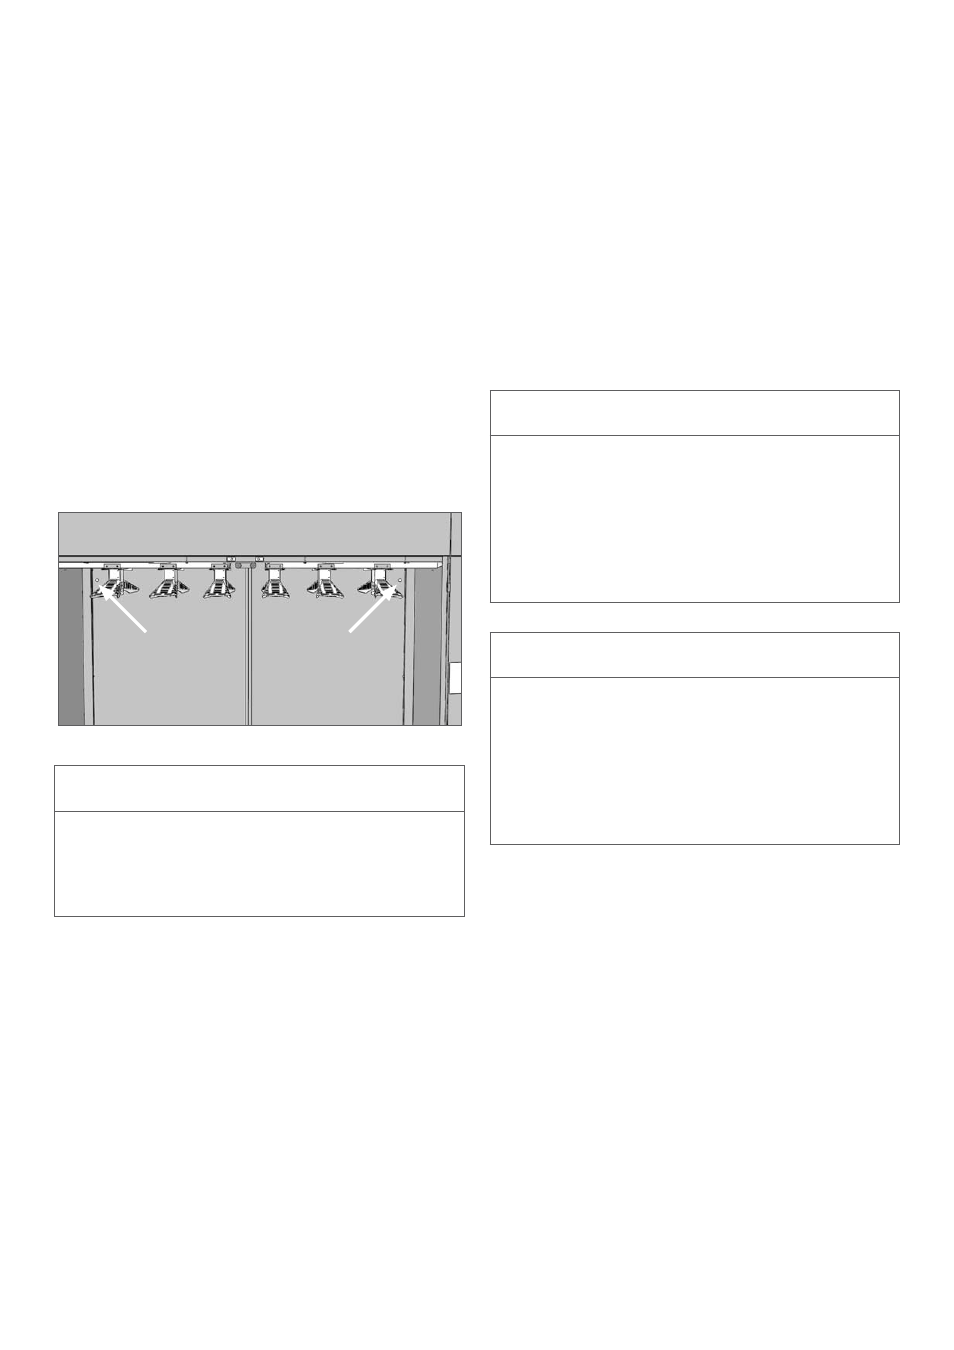
Step 2: Fasten the cabinet to the wall
Use the stoppers, screws and washers to secure the cabinet
through the back plates. (See picture.)
NOTE: Please control that the cabinet is leveled and cannot
be tilted.
Step 1: Put the cabinet in place
Place the cabinet with enough space in front of the cabinet and
on the sides to be able to open the doors.
The feet of the cabinet can be adjusted from the inside with
the help of a Hex key. The feet must stand free on the floor and
have an even weight distribution. Use a leveler and control that
the cabinet is leveled; horizontally and vertically.
NOTE: We recommend that the cabinet is installed on a firm
and leveled floor.
Step 4: Connect the drying cabinet to
the main switch
NOTE: Only an authorized electrician is allowed to install
the electrical connection.
The cabinet is prepared for electrical connections: 400 V,
3-N, 50 Hz.
Installation of the cabinet
ATTENTION
Never place the cabinet in direct contact with wooden mate-
rial. Always use the stoppers to prevent the cabinet from direct
contact to a wooden wall. Leave a security distance of at least
30 mm.
Fastening points
NOTE: If the cabinet is not connected according to these
recommendations, the warranty is no longer valid.
WARNING
To prevent that fire and electric shock appear, the cabinet MUST
be connected according to the color codes on the cables.
It is always the buyer that has the responsibility to check that
an authorized electrician makes the electrical connections of
the cabinet.
WARNING
To prevent personal injuries, the cabinet shall always be con-
nected permanently through an all pole main switch. Always
ground the cabinet!
Also check that the connecting cable has a strain relief bushing.
If not, there is a risk that the cabinet will be live.
Step 5: Control that the heating relay is
working
Shut the doors and start the cabinet, after about 3 seconds you
can hear when the heat relays hit. Wait a couple of minutes and
control that the outgoing air channel becomes warm.
If the outgoing air channel does not get warm, go back to step 4
and control that the electrical connection is installed correctly.