Maintenance, Accessory storage, Flat bed extension / free arm – SINGER ER-10 Felting Machine User Manual
Page 8: Changing the needle(s)
8
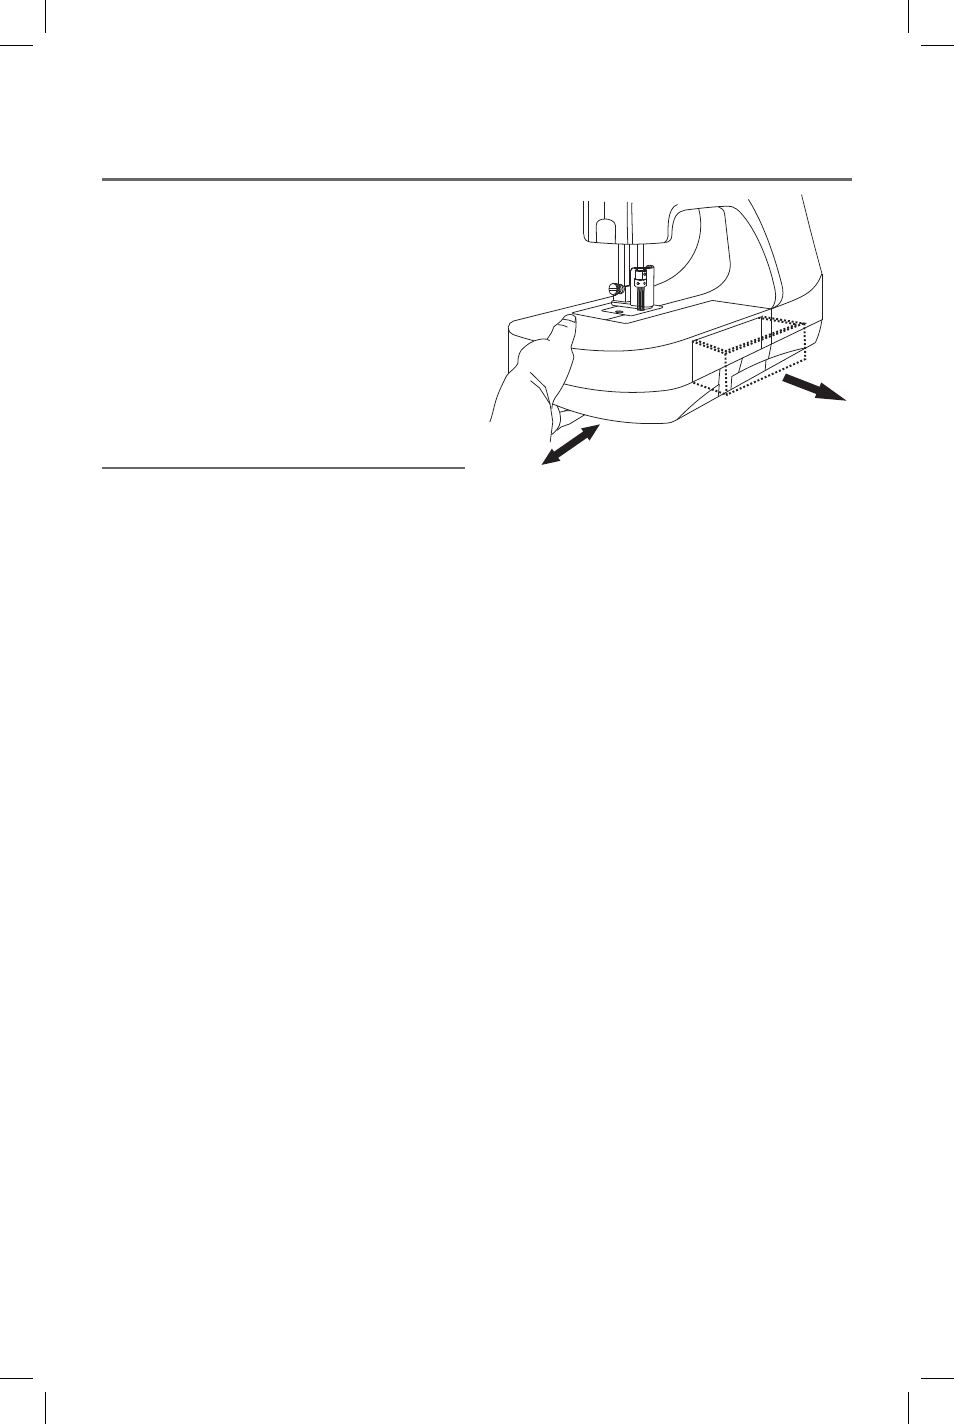
Remove the at bed extension by sliding it
to the left and the machine will convert to
a free arm. This will allow you to embellish
sleeves, pant legs, and small areas that are
sewn in the round. This will also give you
access to the free arm door to clean out the
lint that has accumulated from felting.
Accessory Storage
Open the accessory storage compartment by
pulling the drawer forward.
Flat Bed Extension / Free Arm
9
English
Changing the needle(s)
Use #S1037 needles for the needle felting
machine. Do not use any other type of
needles.
Note: #S1037 needle is a very special needle and
is exclusive for the needle felting machine. Purchase
these needles at the same authorized dealer where you
purchased your machine.
When you change needle(s), unplug the
power cord from the wall outlet.
1. Turn the handwheel until the needle bar
is at the highest position.
2. Remove the presser height adjusting
screw and carefully remove the clear
fabric cover with needle guard, from the
machine.
3. Loosen the front needle clamp holder
xing screw by turning the 1.5mm Allen
wrench counter-clockwise.
4. Hold the needle clamp, lower it slowly
and remove it from the needle bar.
5. To remove the individual outer needles,
loosen the needle xing screw on the
needle clamp by turning the 1.5mm Allen
wrench counter-clockwise and remove
the needle(s). Insert the new needle(s)
until the top of the needle touches the
top of the needle hole. Tighten the
needle xing screw with 1.5mm hexagon
wrench by turning the Allen wrench
clockwise.
Note: #S1037 needles do not have a front or back,
therefore, you can insert the needle in any direction.
Maintenance
34074 Singer ER10 Manual.indd 8
6/30/08 10:00:36 AM