Crate Amplifiers VC-120H User Manual
Page 4
4
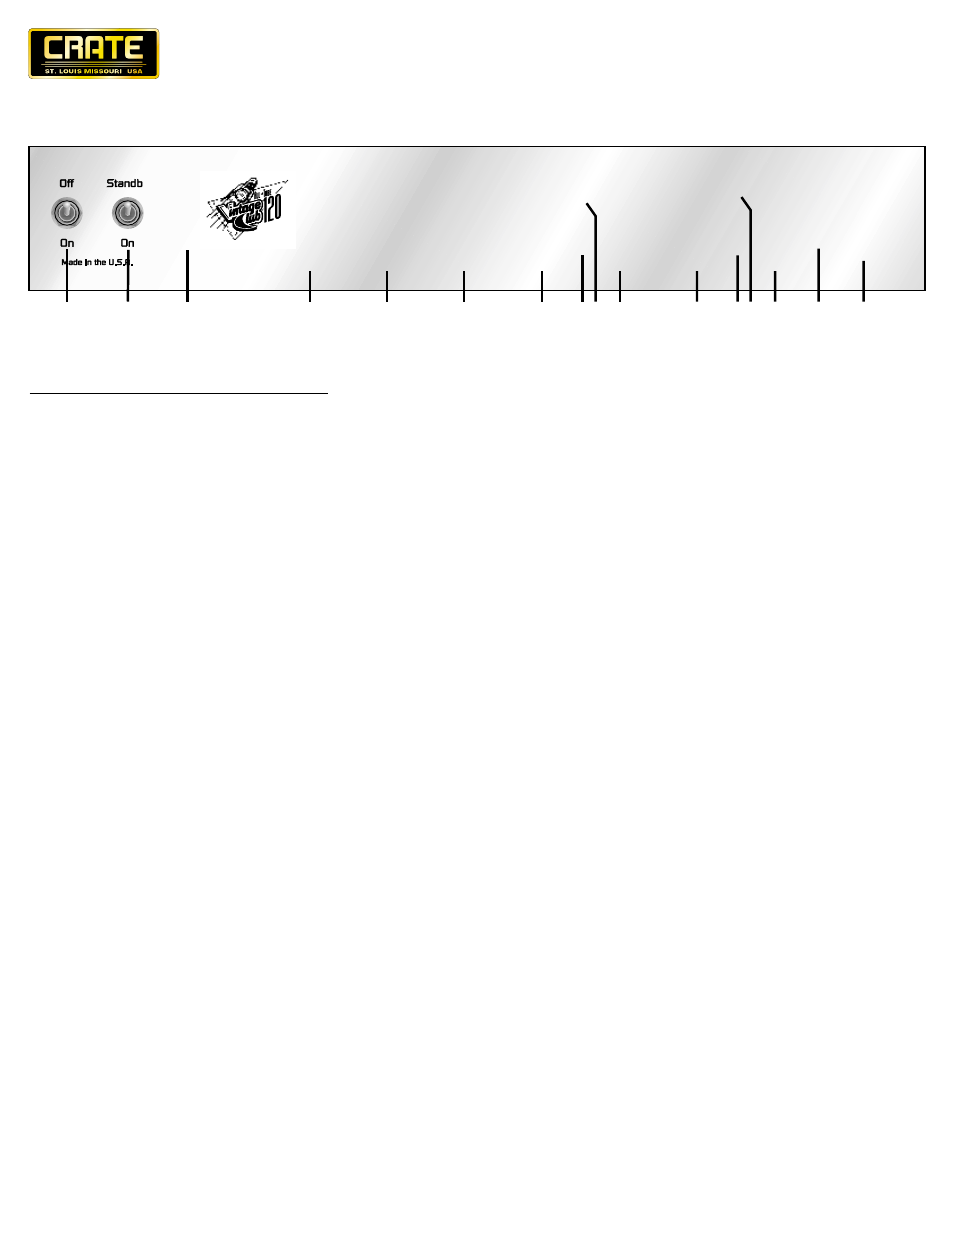
The Front Panel Controls and Their Use:
1. POWER SWITCH: Toggle this switch to the ON position to turn on
the amplifier.
NOTE: Always turn the power switch ON FIRST, OFF LAST. Use the
Standby switch (toggled to the Standby position) when first turning
the amp on as well as during breaks.
2. STANDBY SWITCH: Toggle this switch to the ON position to acti-
vate the amplifier – once the power switch (#1) has been on for at
least 30 seconds. (This allows the tubes to come up to a safe
operating temperature before use.) The amp should be set in the
Standby mode (switch down) during extended breaks to help pro-
mote longer tube life.
3. POWER LAMP: This dual color jewel lamp glows when the amp is
turned on – an amber color indicates Channel A, a red color indi-
cates Channel B.
4. PRESENCE CONTROLS: These controls govern the upper-high
frequencies for each channel, allowing an enhancement to the
sound beyond the Treble and Mid controls.
5. REVERB CONTROLS: These controls govern the amount of
reverb applied to each channel.
6. MASTER CONTROLS: These controls govern the output volume
levels of each channel.
7. BASS CONTROLS: These controls adjust the low end levels for
each channel.
8. LOW BOOST SWITCH: Toggle this switch to the ON position to
boost the low end response of Channel A.
9. MID BOOST SWITCH: Toggle this switch to the ON position to
boost the midrange response of Channel B.
10. MID CONTROLS: These controls adjust the midrange levels for
each channel.
11. TREBLE CONTROLS: These controls adjust the high frequency
levels for each channel.
12. MID BOOST SWITCH: Toggle this switch to the ON position to
boost the midrange response of Channel A.
13. BRIGHT SWITCH: Toggle this switch to the ON position to boost
the upper register of Channel B.
14. GAIN CONTROLS: These controls govern the amount of signal
going to the output stage of the amplifier. Channel A Gain offers a
range of sounds from clean to a bluesy crunch; Channel B from a
slight crunch to full tilt screaming distortion.
15. CHANNEL SWITCH: Toggle this switch to the desired channel: up
for Channel A, down for Channel B. A footswitch also may be used
to select channels, in which case this switch is bypassed – see
#17, rear panel.
16. INPUT JACKS: The High input is a direct connection for “stan-
dard” electric guitars. The Low input is padded 6dB and is best
suited for guitars with “hot” pickups or on-board active electronics.
(Use a high quality shielded instrument cable.)
1
2
3
6
4
5
7
10
14
13
11
12
15
16
8 9