Type c standard & night setback, Laboratory airflow monitors & controls – Plastec Variable Air C User Manual
Page 12
INSTALLATION
1) Drill a Ø 23mm / 0.91" hole either in the top or side of the fume cupboard to allow sensor
positioning. Make sure sensor is not in a turbulent zone where the pressure can fluctuate but
where it can monitor stable changes in pressure. Attention should be paid to dead zones near
the top of the fume cupboard.
2) Proceed with wiring as seen on page “Contacts & Features”.
3) Position and secure monitor to service panel of the fume cupboard with the two self-tapping
screws supplied. Do not forget to position “O” ring seal into the moulded groove in the back of
the face plate.
CONTROLLER SET UP PROCEDURE
All monitors unless indicated otherwise are factory pre-calibrated at 0.5 m/s or 100 FPM. If you need a
different sensor calibration and/or displayed speed reading:
1) Make sure that controller is properly linked to inverter and that the ventilation is working. You
need an anemometer to do this set up.
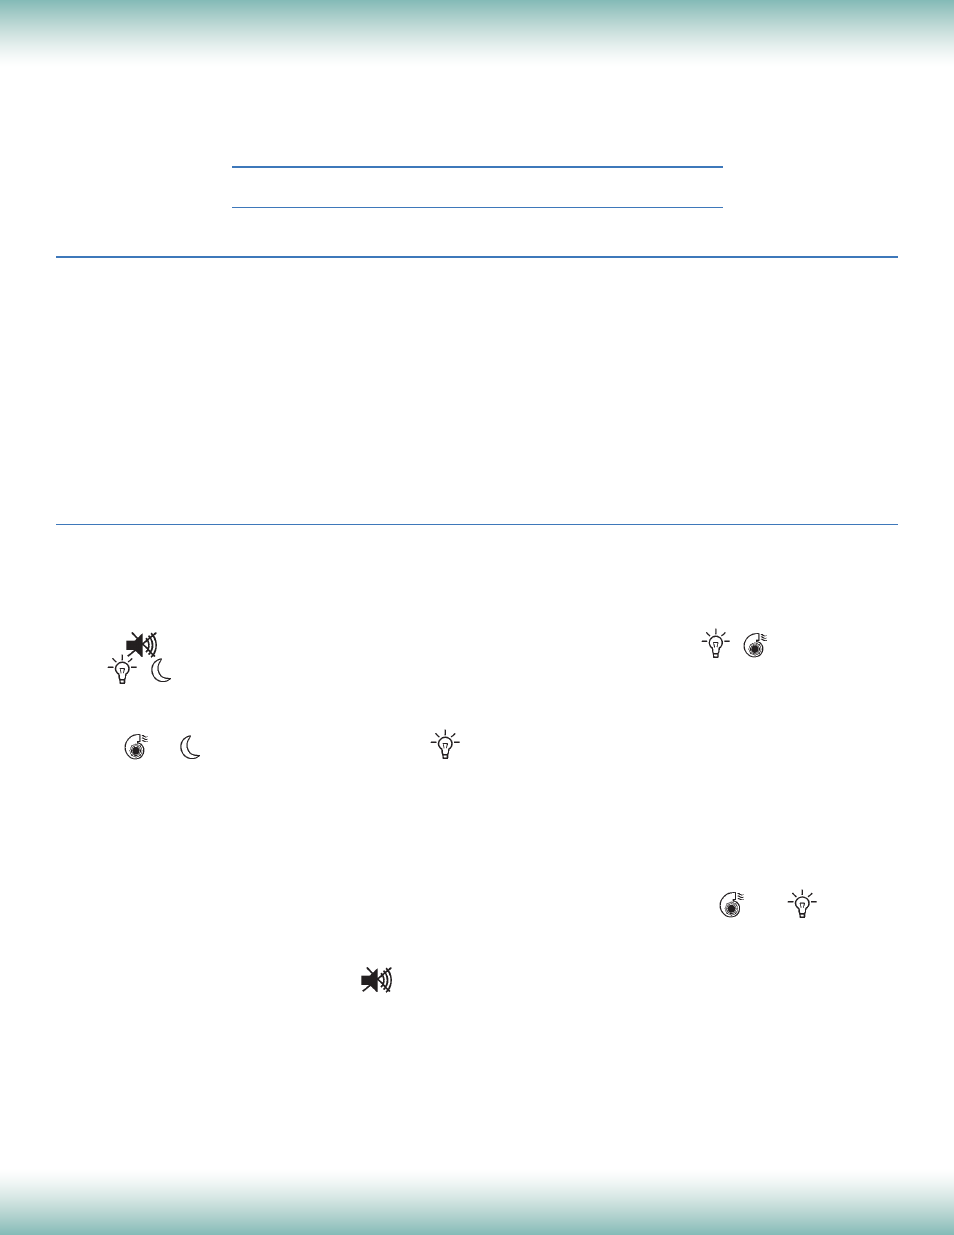
2) Push
for more than 5 seconds, then release and push simultaneously
for Standard
or
for Night Setback within the following 5 seconds. Buzzer sounds twice, the green
LED is on and the red LED is flashing indicating controller is in manual set up mode.
3) Raise the fume cupboard to its test height e.g. 500mm / 19.69".
4) Push
or
to increase or to decrease
the fan speed via the inverter until the anemometer
is reading required air speed. Every button press increases or decreases the speed of 0.5V
producing one beep.
The maximum value is 10V, the minimum is 0.3V.
For model without digital display (819703), please go directly to step 6.
5) For digital display model (819704), press “Reset” button at the back of the controller to change
the required speed display from 0.3 m/s / 59 FPM to 0.7 m/s /138 FPM, using and
. The
value will be memorized as the set point.
6) Wait for 15 seconds or so for air speed to stabilize.
7) To return to “AUTO” mode, push
again until the buzzer beeps 3 times (about 3 seconds) and
the green LED is illuminated: new calibration (above or equal at 0.2 m/s) is accepted.
This is automatically done after 7 minutes in manual mode.
The buzzer beeps 10 times in case of incorrect calibration.
All updated information is stored in an internal memory which saves and holds the data even in case of power cut.
5
12
2216 60th Drive East • Bradenton, Florida 34203
(941) 751-7596 • Fax (941) 751-7598 •
www.plastecvent.net
Laboratory Airflow Monitors & Controls
TYPE C STANDARD & NIGHT SETBACK
LED & DIGITAL - VAV SYSTEM
Installation, Calibration & Alarm Test