Mercedes-Benz E-class 1999 Control Switch User Manual
Page 31
131
the disabled vehicle in the usual
manner.
6.
After the engine has started,
remove jumper cables by exactly
reversing the above installation
sequence, starting with the last
connection made first. When removing
each clamp, make sure that it does not
touch any other metal while the other
end is still attached.
7.
Important!
A discharged battery can freeze at
approx. +14°F (-10°C). In that case, it
must be thawed out before jumper
cables are used. A frozen battery can
explode and cause personal injury.
Jumper cable specifications:
• Minimum cable cross-section of
25 mm
2
or approx. 2 AWG
• Maximum length of 11.5 ft.
(3.5 m).
Note:
If engine does not run after several
unsuccessful starting attempts, have it
checked at the nearest authorized
Mercedes-Benz dealer.
Excessive unburned fuel may damage
the catalytic converter.
Towing the Vehicle
Warning!
Prior to towing the vehicle with all
wheels on the ground, make certain
that the electronic key is in steering
lock position 2.
If the electronic key is left in the
steering lock position 0 for an
extended period of time, it can no
longer be turned in the lock. In this
case, the steering is locked. To
unlock, remove electronic key from
steering lock and reinsert.
Important!
When towing the vehicle, please, note
the following:
With the automatic central locking
activated and the electronic key in
steering lock position 2, the vehicle
doors lock if the left front wheel as
well as the right rear wheel are turning
at vehicle speeds of approx. 9 mph (15
km/h) or more.
To prevent the vehicle door locks from
locking, deactivate the automatic
central locking
All models (except E 55 AMG)
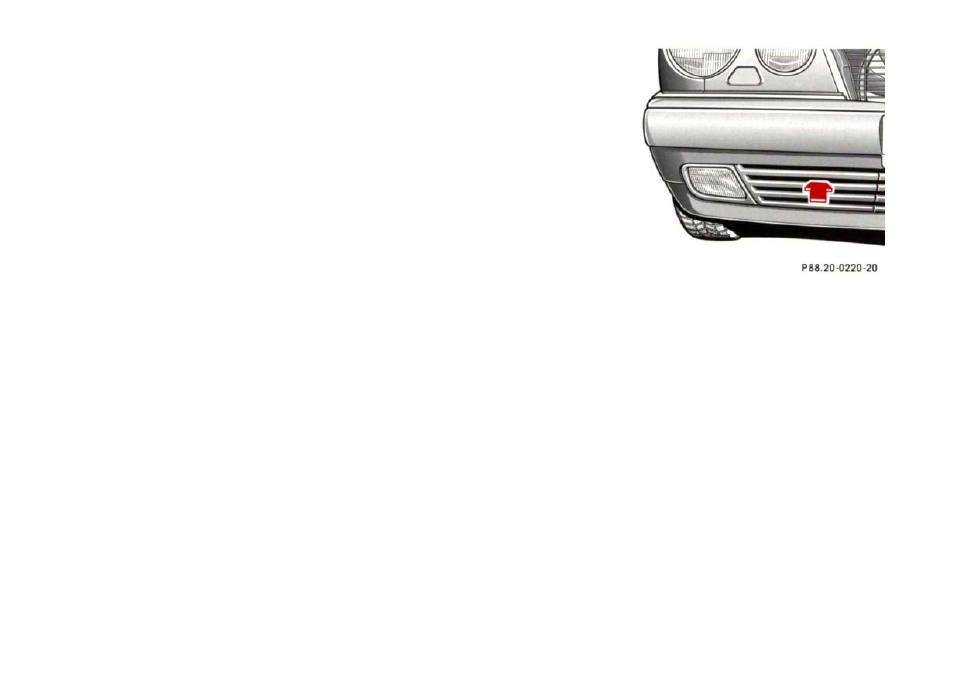
The rear towing eye is located at the
right, below the bumper. The front
towing eye is located on the passenger
side behind a flap in the bumper panel.
Flap removal (except E 55 AMG):
Insert finger in recess of flap and pull
flap out.
Flap installation:
Engage flap at bottom and press in
top securely.