6operation, Warranty, Installation – Kidco G16a-C User Manual
Page 6
6
Operation
6. Pull out the two bottom spindles (s) until they touch
mounting surface and rest on top of floor molding (if
applicable). Tighten nuts
TOWARD GATE FRAME as
tightly as possible using wrench (g) provided. Each
spindle adjusts individually and may be extended to
varying lengths to allow for molding, uneven walls, etc.
7. Close walk through door so locator (l) is aligned
directly above bottom gate rail. Do not lower handle.
Pull out the top spindle (b) on the hinge side (m) until it
touches the mounting surface. Tighten nut
TOWARD
GATE FRAME until locator drops and rests on bottom
gate rail.
8. Pull out spindle (b) in the handle side until it touches
mounting surface and tighten nut
TOWARD GATE
FRAME so the distance between pressure plate o) and
pressure hinge (area A) is sufficient for walk through
door to open in either direction.
9. Close the handle and check all hardware.
If correctly installed, gate should be firmly in place.
Once opened, the walk through door should operate
easily in either direction.
A pressure indicator (d) has been included as an
additional safeguard. Lift handle (n) and locate groove
on underside. Return handle to closed position and
place indicator hook under groove. Push in button
(r) while pulling pressure indicator up. Black gauge
within indicator will start moving down. Recommended
pressure is between 3 and 5. If gauge is more than 5,
loosen nut on handle spindle (b). If less than 3, tighten
handle spindle nut.
If unable to obtain recommended pressure, it is
important to know that gate is not defective. Gate
requires a strong, rigid surface to maintain pressure.
It may be necessary to consult a hardware store or
baby proofer to find a solution for safe installation.
Warranty
KIDCO LIMITED WARRANTY
Your KidCo product is warranted to be free from manufacturing defects for a period of one year from date of
purchase under normal non commercial use and in compliance with the operating instructions. This warranty
extends only to the original retail purchaser and is only valid when supplied with proof of purchase.
KidCo will either repair, or at our option replace, free of charge, any parts necessary to correct defects in
material or workmanship during the warranty period. This warranty is complete and exclusive. The warranty
expressly disclaims liability for incidental, special and consequential damages of any nature. Any implied
warranty arising by operation of law shall be limited in operation to the terms of this warranty. Some states
do not allow the exclusion or limitation of incidental or consequential damages or limitations on how long an
implied warranty lasts, so the above may not apply to you. This warranty gives you specific legal rights, and
you may have other rights which vary from state to state.
SHOULD REPAIR OR PARTS BE NECESSARY
Should a repair be needed during the warranty period, ship the gate in the original carton or similar protective
container (check any retail store or purchase from UPS) and send freight prepaid (we suggest UPS) to:
Kidco, Inc., 1013 Technology Way, Libertyville, IL 60048-5349.
Include a note with your return address, day-time telephone number, and specify what is wrong with the product.
Repairs can normally be made within 48 hours after receipt at KidCo. For additional information CALL our
customer service department at (800) 553-5529.
Installation
10. To Open Gate.
Release locking mechanism by pressing button (r)
in while lifting handle. BUTTON MUST ALWAYS BE
PRESSED IN WHEN LIFTING HANDLE. Lift walk
through door so hinge is raised and door will swing
open in either direction.
To Close Gate.
Lift walk through door. Position locator (l) until it is
above the bottom rail. Make sure hinge has dropped
down. Push handle down to lock.
Gate should always be in locked position when in
use.
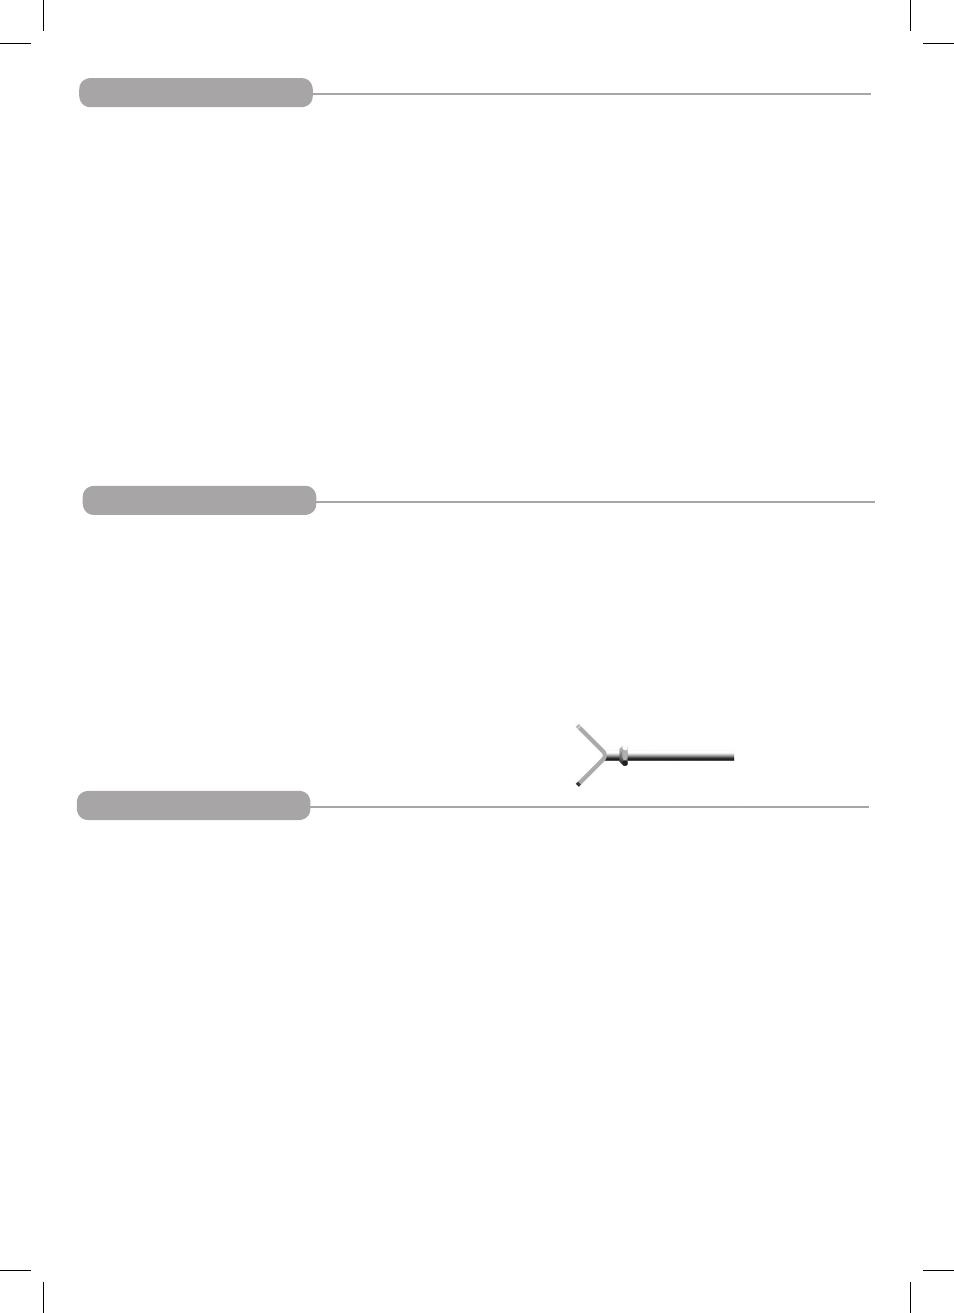
11. Installation aid
KidCo has available OPTIONAL Y spindles (Model GY-1
Spindle) to assist in installation when the
mounting surface has a round baluster. These spindles
are used in place of the spindles included with the basic
gate. They may be ordered through your local KidCo
dealer or direct from KidCo.
No more than 2 Y spindles may be used per gate
and both must be used on the same side.