Attach the rail to the header bracket, Installation step 3 – Craftsman 139.53910 User Manual
Page 14
Attention! The text in this document has been recognized automatically. To view the original document, you can use the "Original mode".
-Headar Wall
- Header Bracket
idler Pulley
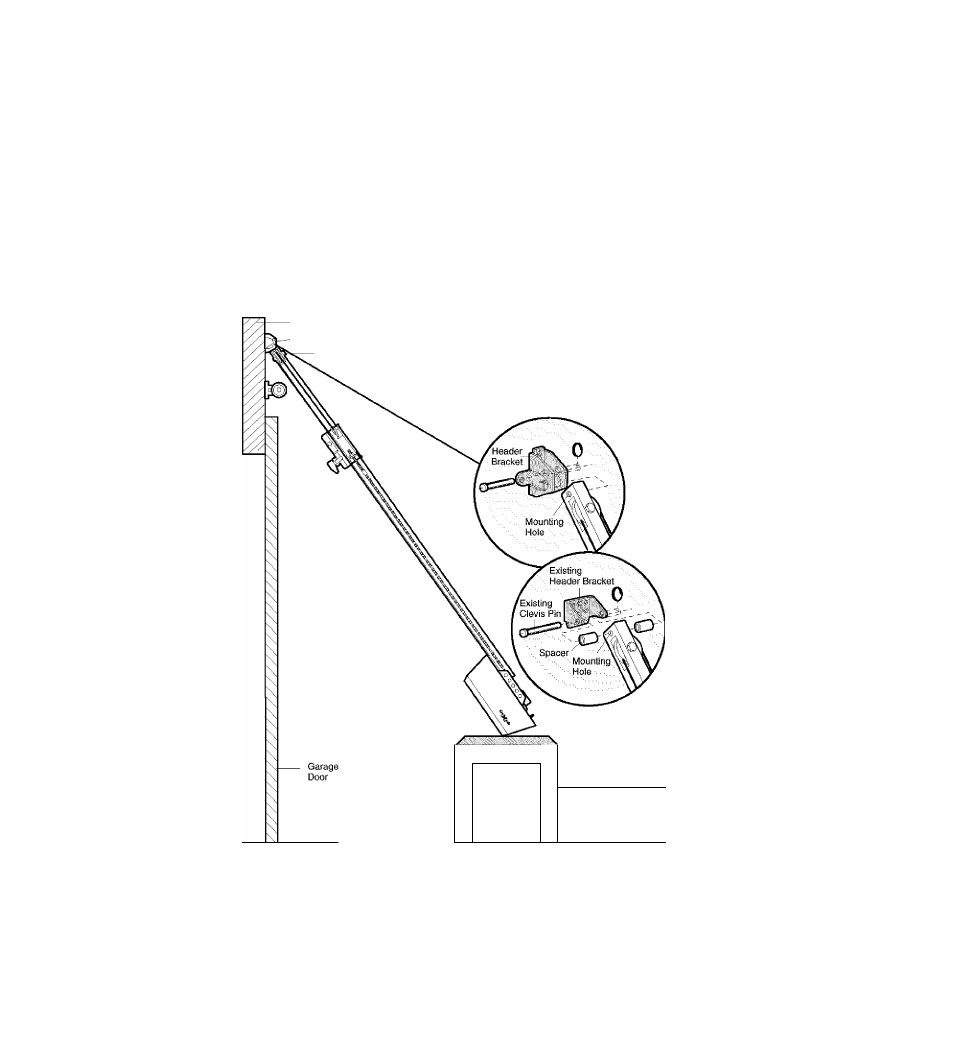
Attach the Rail to the Header
Bracket
NO TE:
(Optional) With some existing installations,
you may re-use the old header bracket with the two
plastic spacers included in the hardware bag. Place
the spacers inside the bracket on each side of the
rail, as illustrated.
• Position the opener on the garage floor below the
header bracket. Use packing material as a
protective base.
NO TE:
If the door spring is in the
way you’ll need help. Have someone hold the
opener securely on a temporary support to allow
the rail to clear the spring.
• Position the rail bracket against the header
bracket.
• Aiign the bracket holes and join with a clevis pin
5/16"x1-1/2" as shown.
• insert a ring fastener to secure.
INSTALLATION STEP 3
OPTION WITH SOME
EXISTING
INSTALLATIONS
Opener Cation or
--------- Temporary
Support
HARDWARE SHOWN ACTUAL SIZE
O
Clevis Pin S/16"x 1-1/2"
o
Ring fastener
14