Adjusting the projected image – Dell Projector 4100MP User Manual
Page 19
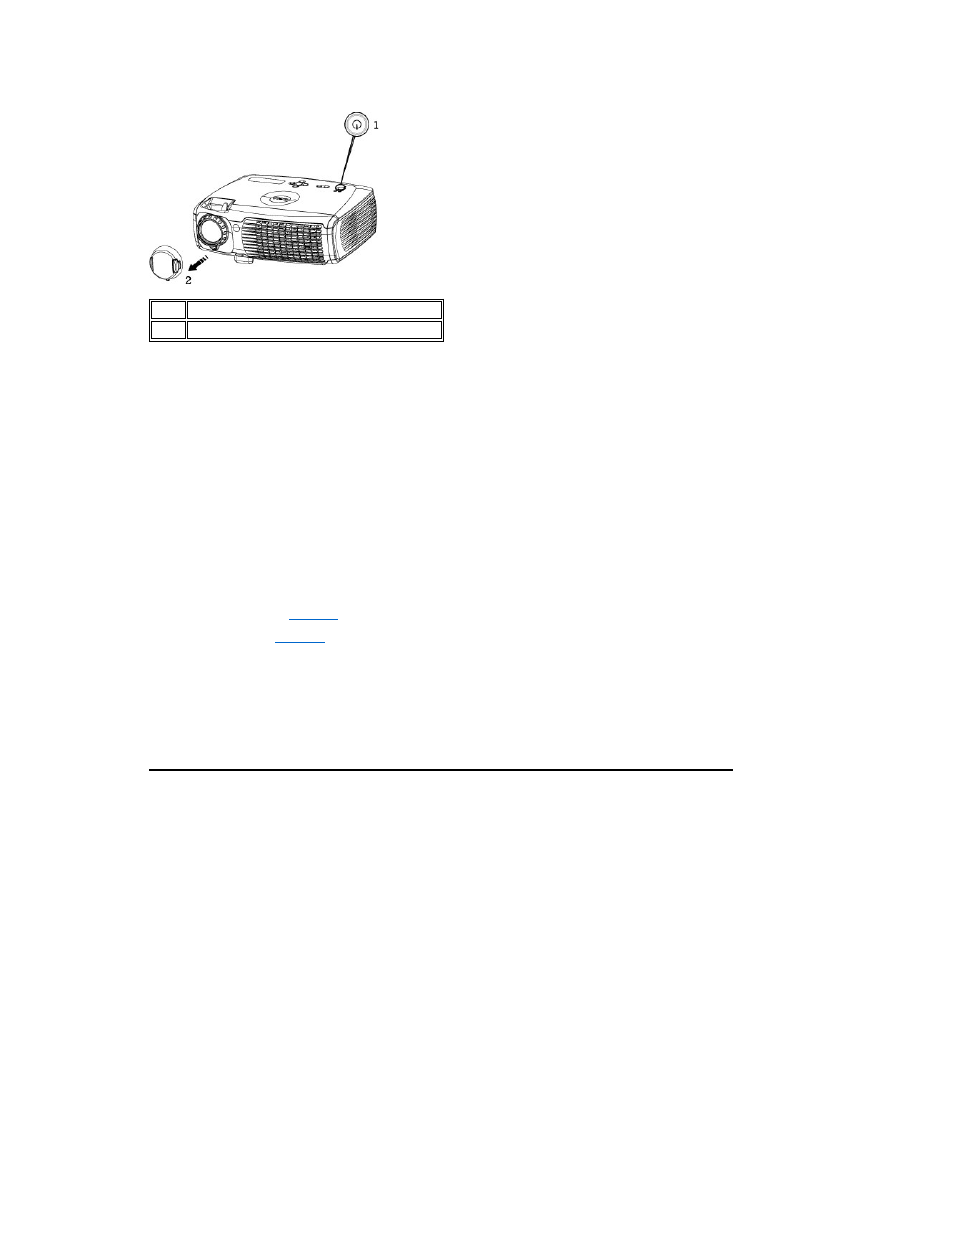
1
Power button
2
Lens cap
Powering Off the Projector
DO NOT UNPLUG THE PROJECTOR BEFORE PROPERLY SHUTTING DOWN USING THE FOLLOWING STEPS.
l
Regular powering off procedures
1. Press the power button to turn off the projector. The "Power Off the Lamp?" message appears on the OSD.
2. Press the power button again. The cooling fans continue to operate for 2 minutes.
3. If the LAMP light is solid orange and the LCD display indicates that the lamp is defective, replace the lamp.
4. If the TEMP light is solid orange and the LCD display indicates that the projector is overheated, the projector has overheated. The display
automatically shuts down. Turn the display on again after the projector cools down and the LCD message indicates there is no longer an overheated
condition. If the problem persists,
contact Dell
.
5. If the TEMP light is blinking orange and the LCD display indicates a fan failure, a projector fan has failed and the projector will automatically shut
down. If this problem persists,
contact Dell
.
6. Disconnect the power cord from the electrical outlet and the projector.
7. If you press the power button while the projector is running, the "Power Off the Lamp?" message appears on the screen. To clear the
message, press any button on the control panel or ignore the message; the message will disappear after 5 seconds.
l
Using lens cap for Smart Power Management
1. Put on the lens cap to the projection lens.
2. After 10 seconds, the projector turns off automatically and the cooling fans continue to operate for 2 minutes.
3. Disconnect the power cord from the electrical outlet and the projector.
Adjusting the Projected Image
Adjusting the Projector Height
To raise the projector:
1. Press the elevator button.
2. Raise the projector to the desired display angle, and then release the button to lock the elevator foot into position.
3. Use the tilt adjustment wheel to fine-tune the display angle.
To lower the projector:
1. Press the elevator button.
2. Lower the projector, and then release the button to lock the elevator foot into position.