Dell Projector 1220 User Manual
Page 28
28
Using Your Projector
H
ORIZONTAL
P
OSITION
—Press
to move the image right and
to
move the image left.
V
ERTICAL
P
OSITION
—Press
to move the image up and
to move
the image down.
F
REQUENCY
—Allows you to change the display data clock frequency
to match the frequency of your computer’s graphics card. If you see
a vertical flickering wave, use the Frequency control to minimize the
bars. This is a coarse adjustment.
T
RACKING
—Synchronize the phase of the display signal with the
graphic card. If you experience an unstable or flickering image, use
Tracking to correct it. This is a fine adjustment.
A
SPECT
R
ATIO
—Allows you to select the aspect ratio to adjust how
the image appears. Options are: Origin, 16:10, 16:9, and 4:3.
•Origin — Select Origin to maintain the aspect ratio of the image
projector according to the input source.
•16:10 — The input source scales to fit the width of the screen to
project a 16:10 screen image.
•16:9 — The input source scales to fit the width of the screen to
project a 16:9 screen image.
•4:3 — The input source scales to fit the screen and projects a 4:3
image.
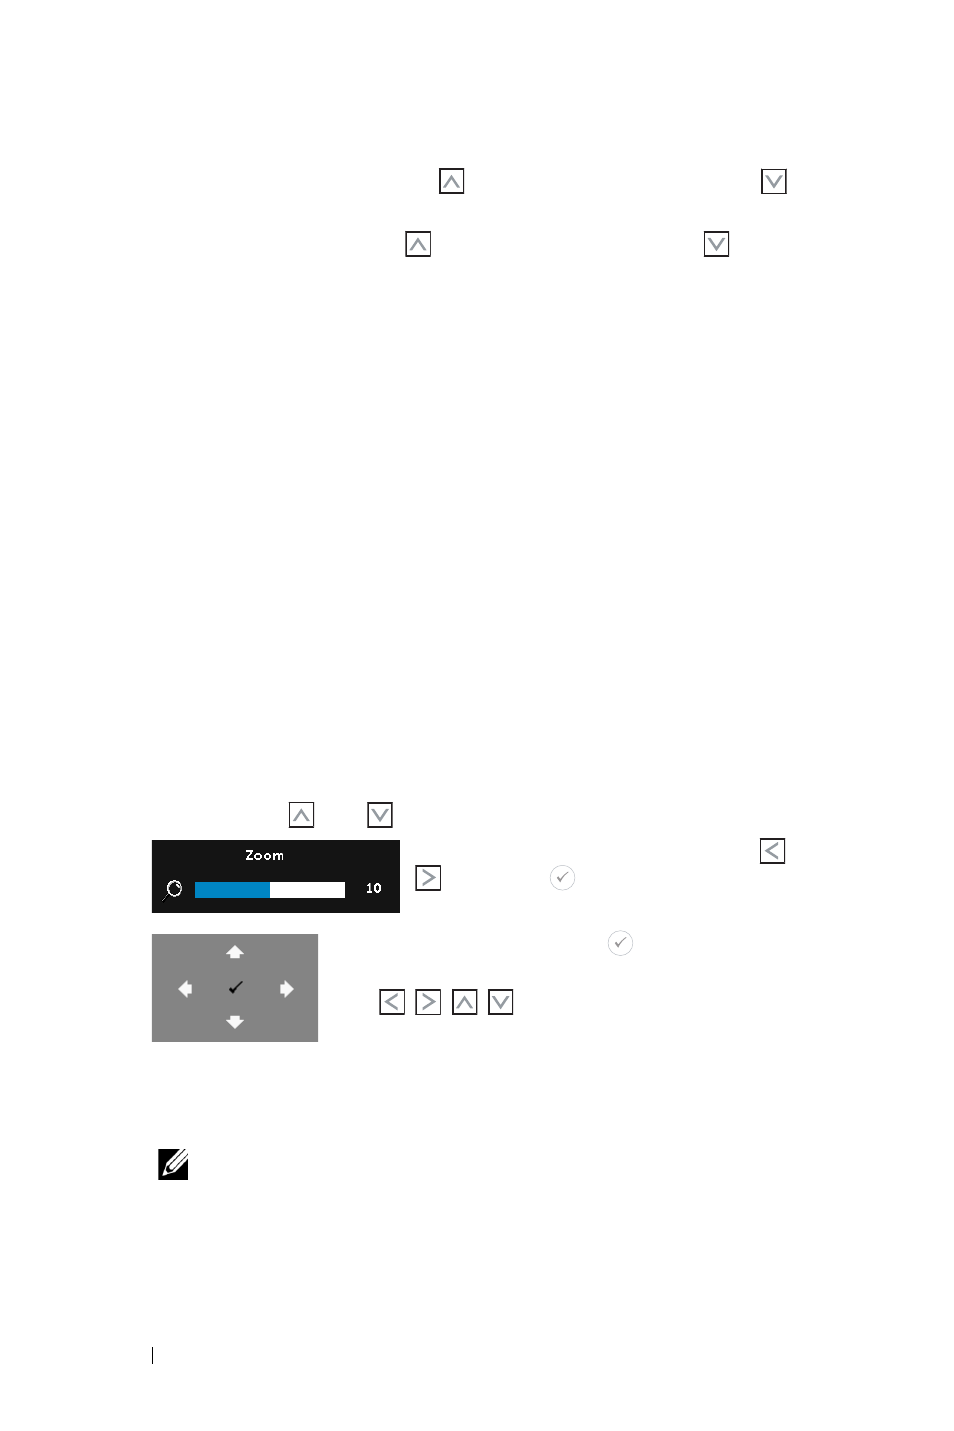
Z
OOM
—Press
and
to zoom and view the image.
Adjust the image scale by pressing
or
and press
to view on your remote
control only.
Z
OOM
N
AVIGATION
—
Press
to activate the
Zoom Navigation menu.
Use
to navigate the projection
screen.
3D D
ISPLAY
—Select On to activate the 3D display function (default is
Off).
NOTE:
1
When you want to create a 3D experience, you will need a
few other components including:
a
Computer/Laptop with a 120 Hz signal output quad-
buffered graphics card.