Adjustments – Freedom Designs Freedom NXT User Manual
Page 35
Freedom Designs, Inc.
Freedom Designs, Inc.
33
NXT
Generation NEXT
TM
Freedom Designs, Inc.
Freedom Designs, Inc.
Pelvic Belt Installation
1. Remove the pelvic belt and component from
packaging.
2. Inspect the belt and hardware to ensure that
there are no missing or damaged parts.
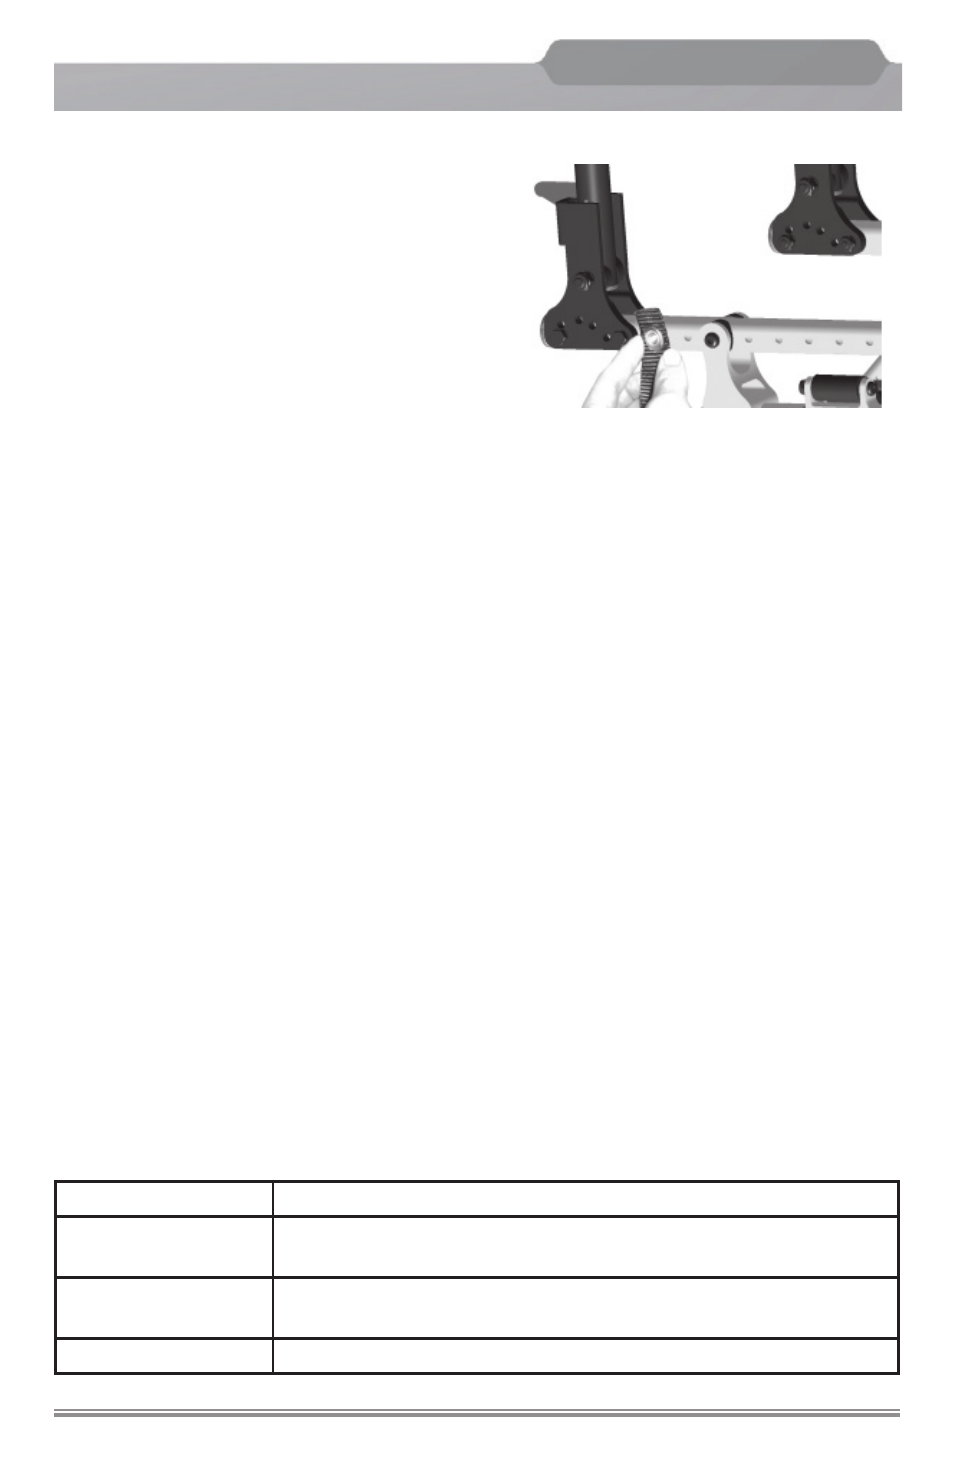
3. (2-point belts)
Locate the rear most hole in the seat frame
tube of the wheelchair. Slide a washer onto
screw and insert through the grommet or
triangular bracket (depending on belt type)
and last hole in seat rail tube. Install washer
and lock nut.
Repeat procedure on opposite side of the chair.
Tighten all hardware securely.
(4-point belts)
Locate the rear most hole in the seat frame tube of the wheelchair. Slide a washer
onto screw and insert through the grommet or triangular bracket (depending on belt type)
of the rear belt (thicker strap) and last hole in seat rail tube. Install washer and
lock nut. Next locate a hole in the seat frame 2”-3” forward of the other strap.
Repeat assembly procedure for forward strap.
Repeat assembly procedure for opposite side of the chair.
Tighten all hardware securely.
Pelvic Belt Adjustment
Ensure that the user is sitting correctly, with their bottom as far back in the seat as possible.
Position the lap belt around the user in the desired position and push the two sides of
the buckle together.
Adjust the length of the lap strap using the pulls on the side(s) of the clasp. The belt
should be a snug fi t without causing discomfort. There should be suffi cient room to
slide two fi ngers between the user and the belt. For ease, the clasp should be kept in
a central position.
To Release the Belt
See table below for release instructions.
Pelvic Belt Style
Release Instructions
Squeeze
Using the thumb and forefinger, squeeze the two plastic
buttons at the top and bottom of the buckle
Push Button
(Plastic and Metal)
Push the button in the center of the buckle.
Airline
Lift the metal flap on the buckle
Adjustments